Introduction
Intels GVT-G technology is a wild taste of the future. What if you can split up your integrated GPU into multiple smaller virtual GPUs and pass those to multiple VMs? Hardware acceleration and media encoders also supported free of charge.
Actually, this is not the future, but rather present technology supported in Broadwell (5th gen) up to Comet Lake (10th gen) Intel CPUs.
However not a whole lot of documentation was to be found, on how to use GVT-G in conjunction with traditional PCIe passthrough at the same time, let alone a tutorial. This way you can use a GVT-G GPU as a “base configuration” and an additional full-fledged Nvidia GPU if “proper” performance is in need. So this guide intents to close that documentation gap now, to save you many hours of trial and error and fiddling around.
Quick note on the hardware used: This guide was tested on an Intel NUC running an Intel i7 9750H processor with integrated UHD 630 graphics. The Nvidia GPU utilized is a GeForce RTX 3060 12 GB.
As Intels GVT-G technology is a central part of this guide, AMD-based systems are not supported, unfortunately.
Step 1: Prepare the BIOS
To start off, please make sure that Intel VT-d is enabled in the BIOS of your host machine. Depending on your mainboard model, this could also be named like “Enable Virtualization Technology“.
To ensure that Intel GVT-G is providing as many profiles as possible later on, it is advised to designate as most VRAM to the iGPU as possible. For that, please extend the Integrated Graphics Device Size (IGD) setting in your BIOS as much as possible.
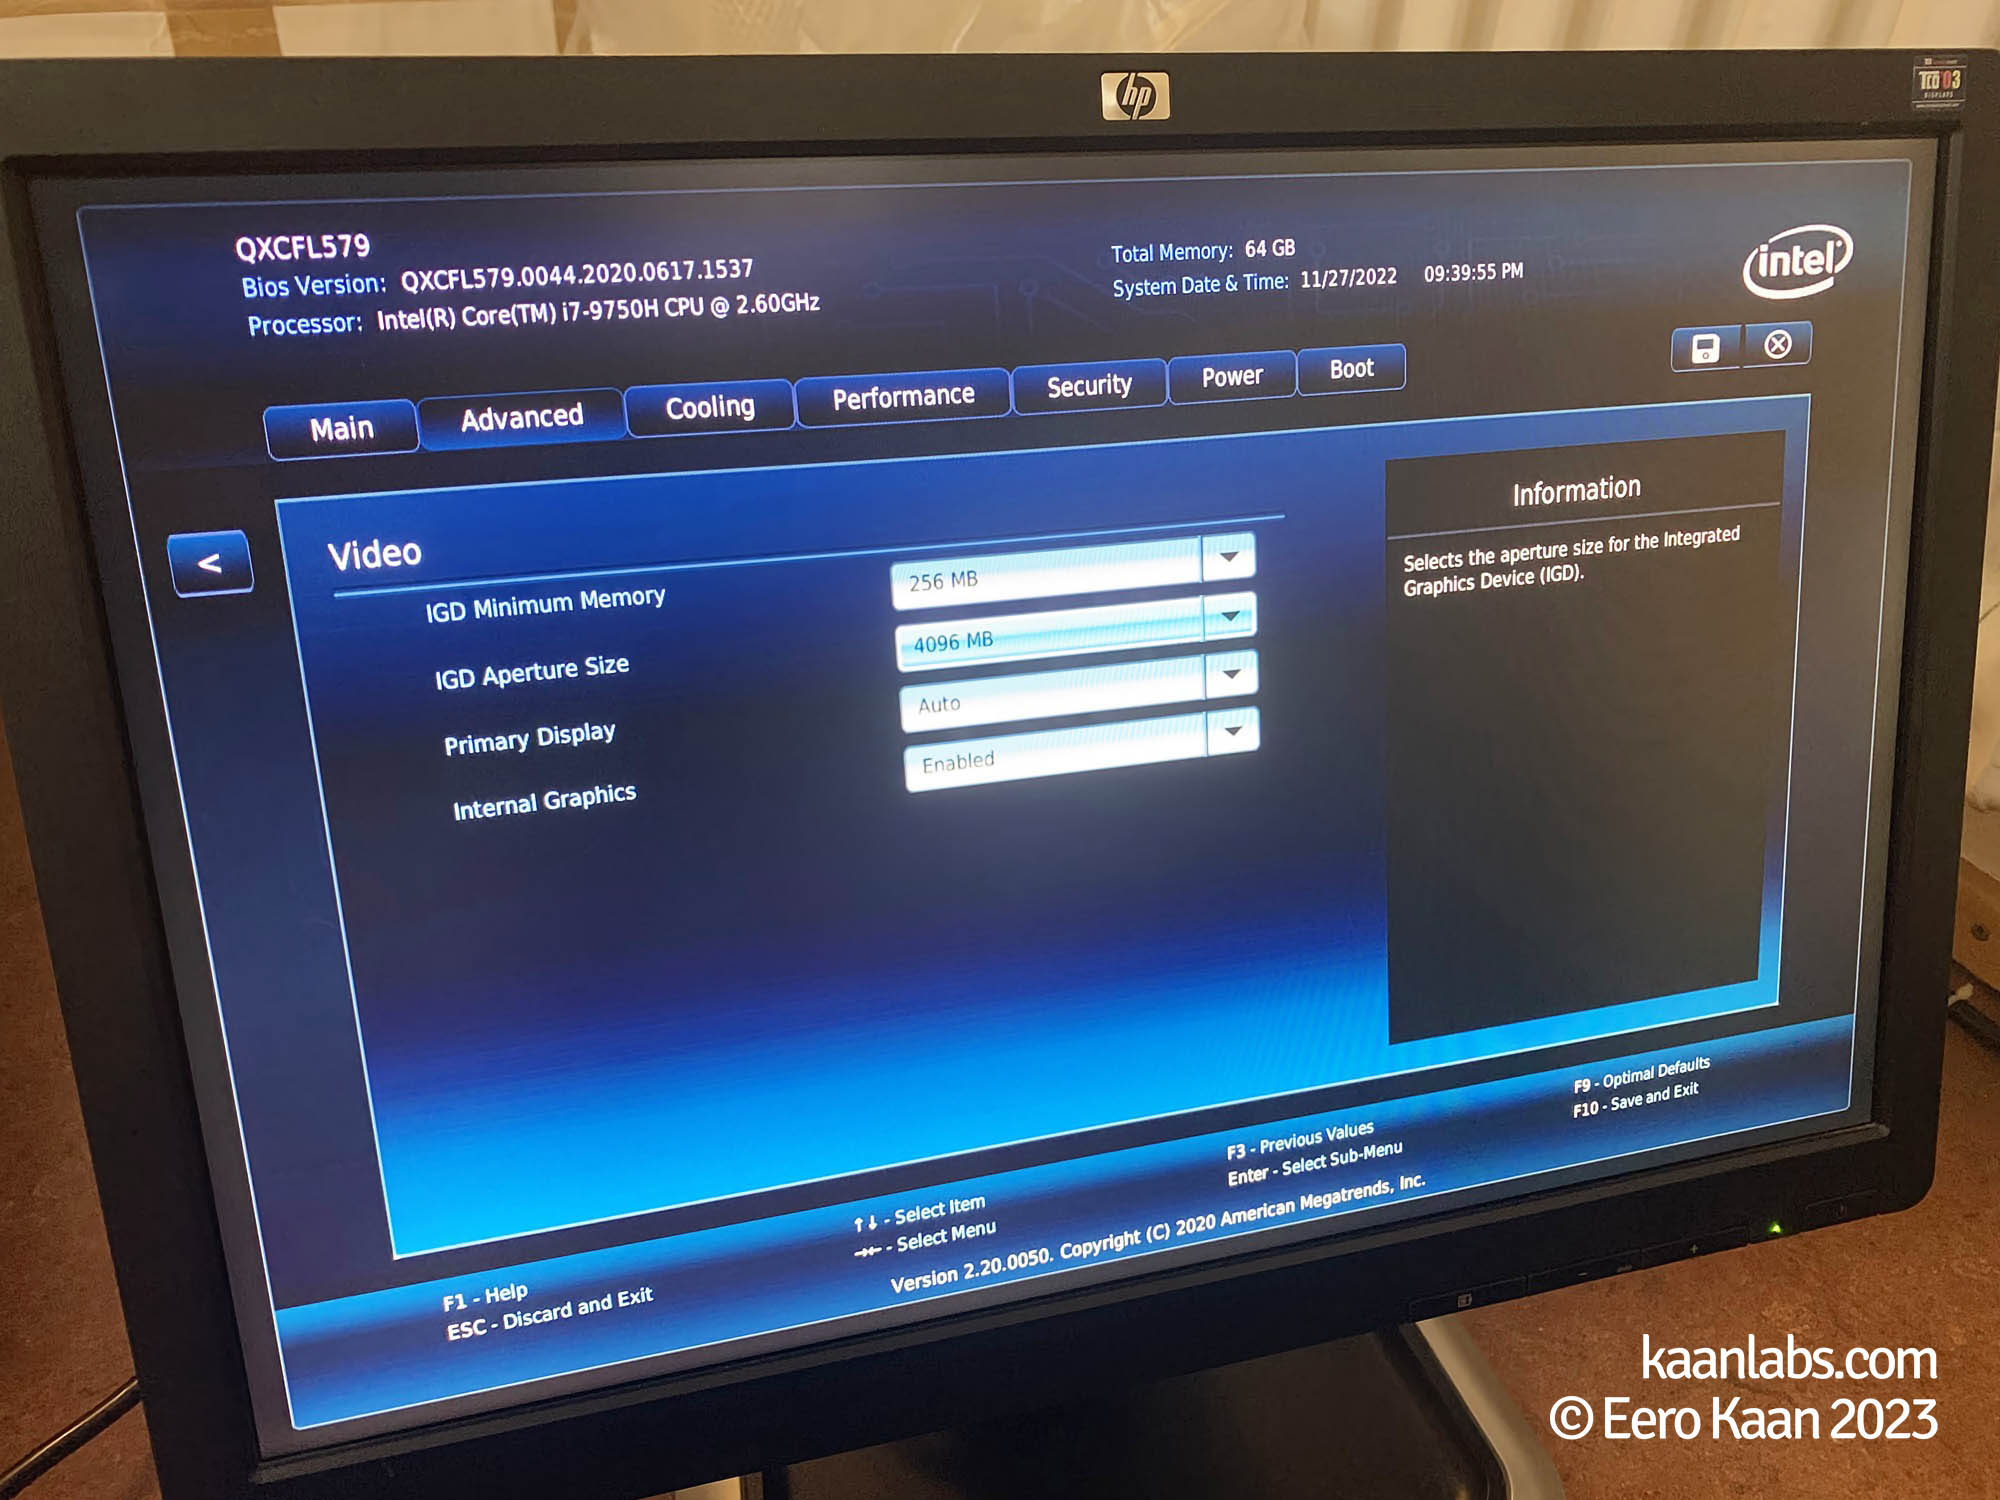
Important note to 9th-Gen Intel NUC Users: Please be aware to update your BIOS to the newest version, before attempting to enlarge the IGD size. Prior to BIOS version 0056 it is possible that this IGD setting is effectively bricking your NUCs BIOS and turning it into a paperweight. It happened to me and had to RMA the NUC in for replacement. Let my experience be your warning. Intel themselves are pointing this issue out.
With the BIOS set up and this note out of the way, you are now fully prepared to continue with the next step.
Step 2: Prepare Proxmox
Within the Proxmox environment, there are two things to take care of: Setting up the kernel modules and the GRUB bootloader.
Step 2.1: Setting up the Kernel Modules
Continue by setting up the kernel modules or rather specifying parameters for them, in order to get them working with PCIe passthrough. For that, edit and if necessary create the following files:
# Modules required for PCIe passthrough
vfio
vfio_pci
vfio_iommu_type1
vfio_virqfd

# Modules required for Intel GVT
kvmgt
exngt
vfio_mdev
blacklist nouveau
blacklist nvidia
blacklist radeon
blacklist snd_hda_intel
blacklist snd_hda_codec_hdmi
blacklist snd_sof_pcioptions drm debug=0options i915 enable_gvt=1
options i915 enable_guc=0options kvm ignore_msrs=1
options kvm report_ignored_msrs=0options net ifnames=0options vfio_iommu_type1 allow_unsafe_interrupts=1This way, by creating separate configuration files within modprobe, we can make sure to un-bloat GRUBs GRUB_CMDLINE_LINUX parameter as much as possible.
Apply these changes by issuing
update-initramfs -u -k allStep 2.2: Setting up GRUB
Edit GRUBs configuration file and change the GRUB_CMDLINE_LINUX parameter as follows:
GRUB_CMDLINE_LINUX="intel_iommu=on iommu=pt initcall_blacklist=sysfb_init"To apply these changes, please update GRUB and restart your system:
update-grub
shutdown -r now
Step 3: Create the Virtual Machines
As Linux and Windows based systems diverge in their configuration needs here, I will cover them both separately.
Step 3.1: Linux VMs
Step 3.1.1: VM Installation
Change into the Proxmox webinterface and create a new VM as you normally would do. Just be aware to set the following settings like this:
| Guest OS Type | Linux |
| Guest OS Version | 5.x – 2.6 Kernel |
| Graphic Card | Default |
| Machine | q35 |
| BIOS | OVMF (UEFI) |
| Pre-Enroll Keys | No |
| CPU Type | host |
| Memory Ballooning | No |
Don’t add any PCIe devices just yet, only the base configuration for now.
After creating the VM, please specify the machine type to a specific version. Go to “Hardware > Machine” and select the highest available Q35 version. For Proxmox 7.3.3 instances, this should be 7.1, resulting in a pc-q35-7.1 machine type.
Continue by installing your favorite Linux as you normally would do over the Proxmox Display Console. As an example, Ubuntu 22.04 will be used here.
After the installation process finishes, boot into your OS and install all avalaible updates along with the qemu-guest-agent so you can control your VM over the Proxmox webinterface. You can also set up first basic settings if you want to (e.g. screen-saver timeout, desktop background, etc.).
sudo -i
apt-get update
apt-get upgrade
apt-get install qemu-guest-agent
apt-get autoremove
Next up, please make sure that your VM is reachable under a static IP address. This is only optional, but will make our lives much easier later on when installing the display drivers over SSH. Depending on your Linux distro this can be archived via the NetworkManager GUI or via the Terminal. With Ubuntu 22.04 this is done over the GUI:

I like to use a tool called NoMachine to remote into VMs as the utilized NX protocol is way more performant and feature rich, without being bloated as VNC would be for example. You can even create virtual monitors, if no physical display is attached to the VMs graphics card. This is the next best thing you can get on Linux, next to Parsec or Teradici in my opinion.
After a quick download and install, NoMachine is set up on this VM:
cd /tmp
wget https://download.nomachine.com/download/8.2/Linux/nomachine_8.2.3_4_amd64.deb
dpkg -i nomachine_8.2.3_4_amd64.deb
rm -rf nomachine_8.2.3_4_amd64.deb
Please make sure to install a SSH Server on the VM aswell. Shutdown your machine afterwards.
apt-get install openssh-server
shutdown -h now
Next up, install both the Intel and Nvidia drivers after one another. We begin with the Intel iGPU first, the Nvidia GPU will be passed through later on.
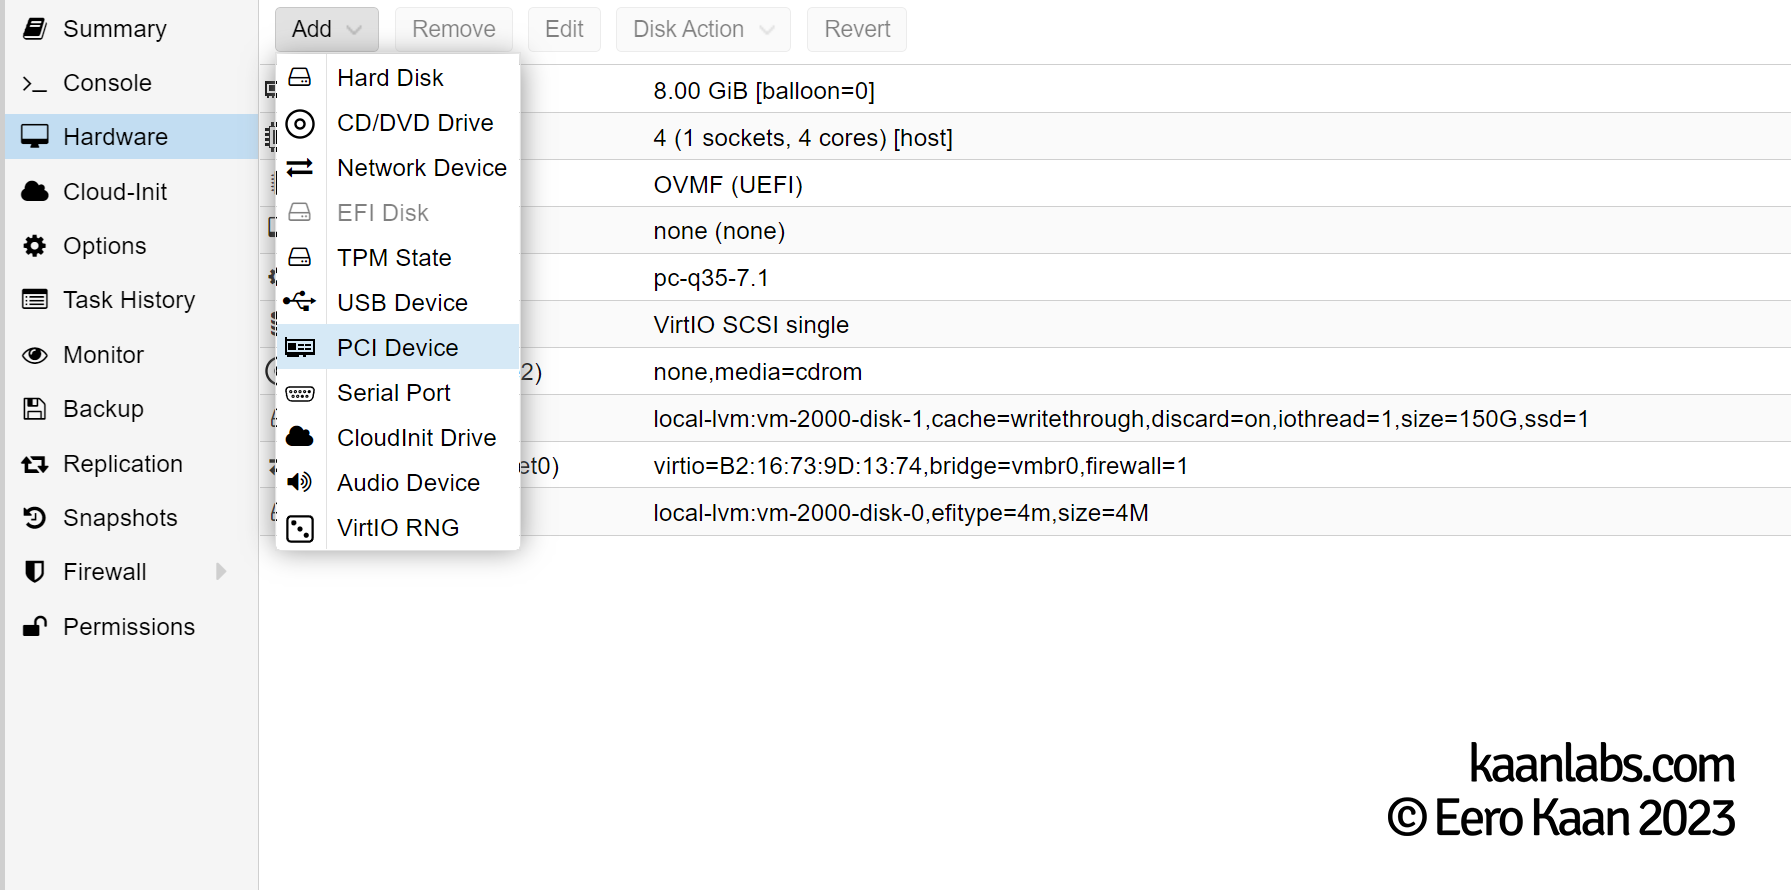
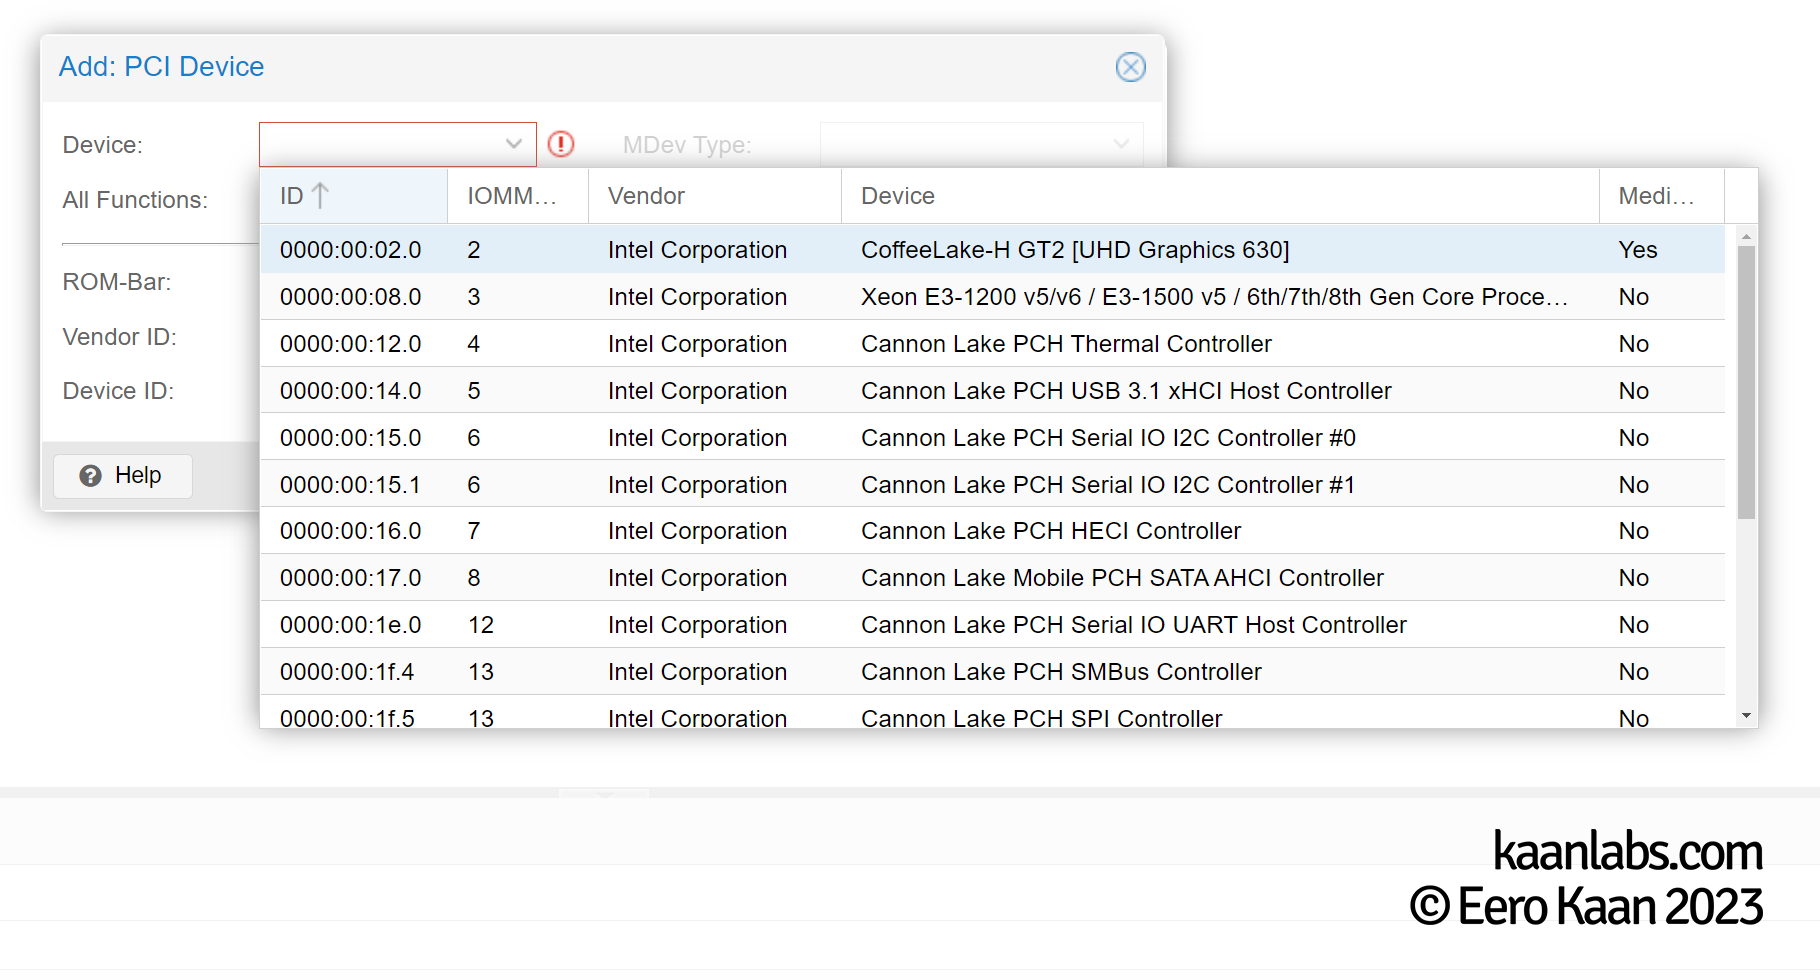
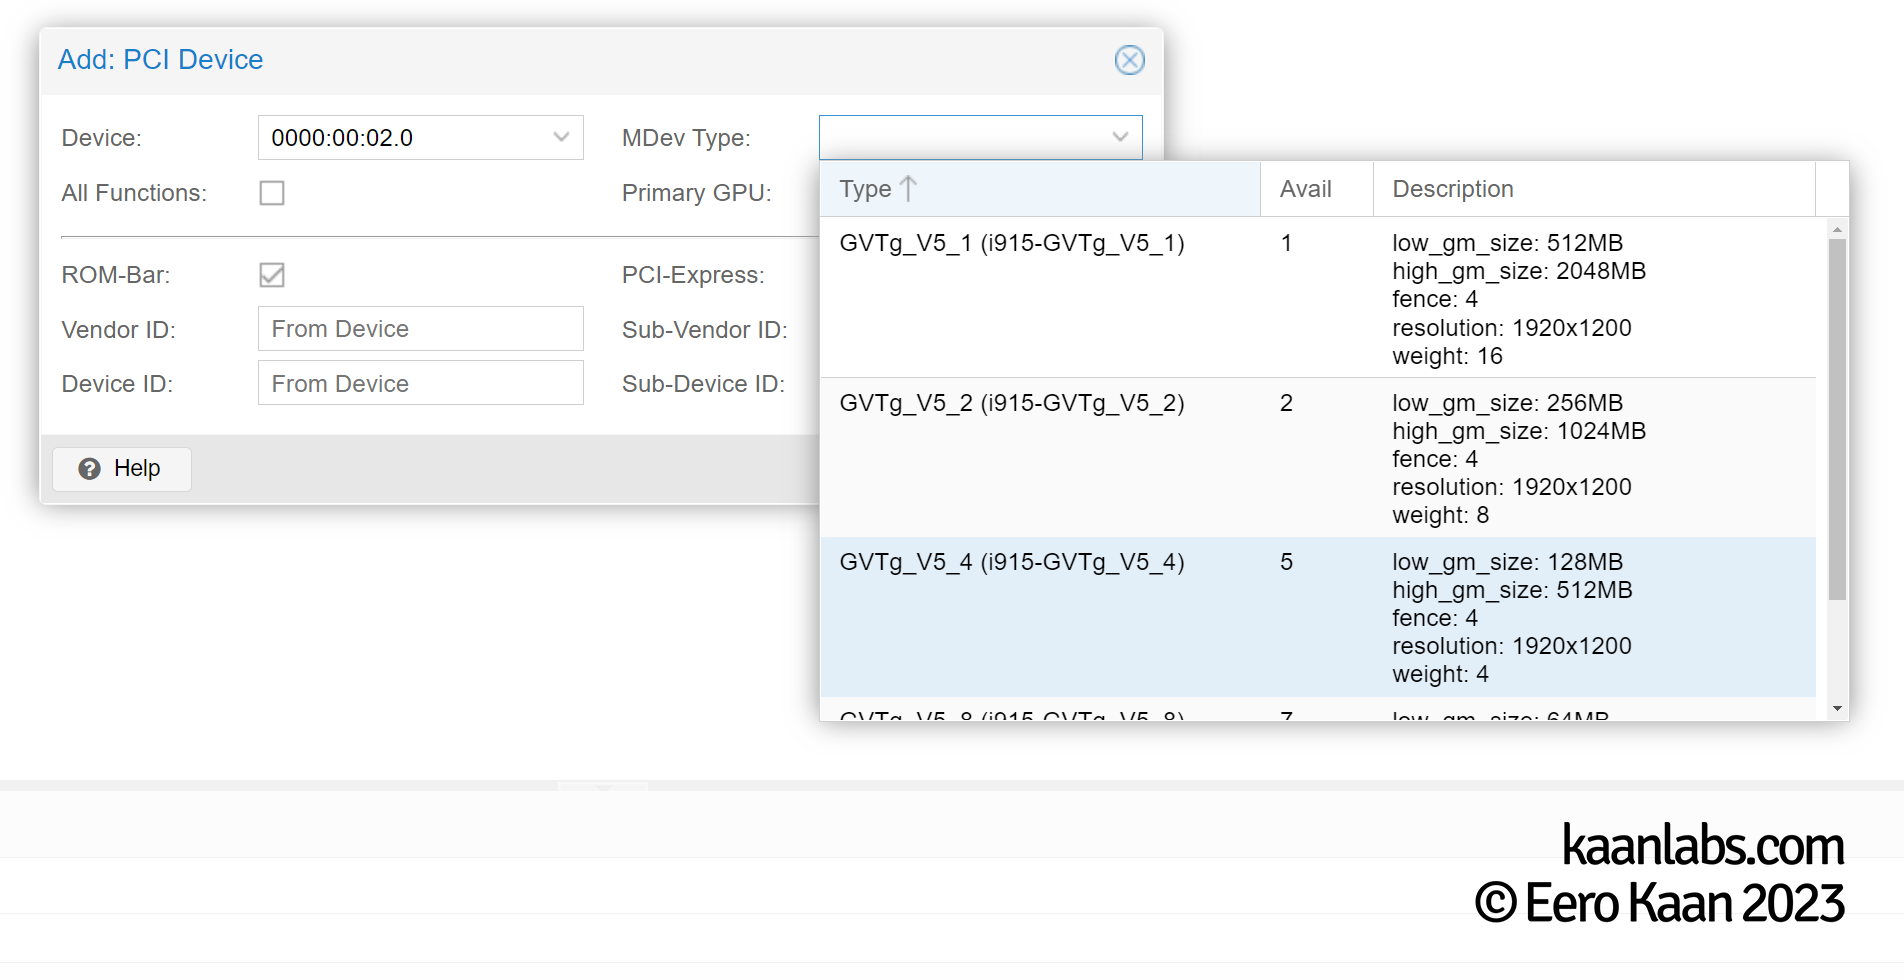
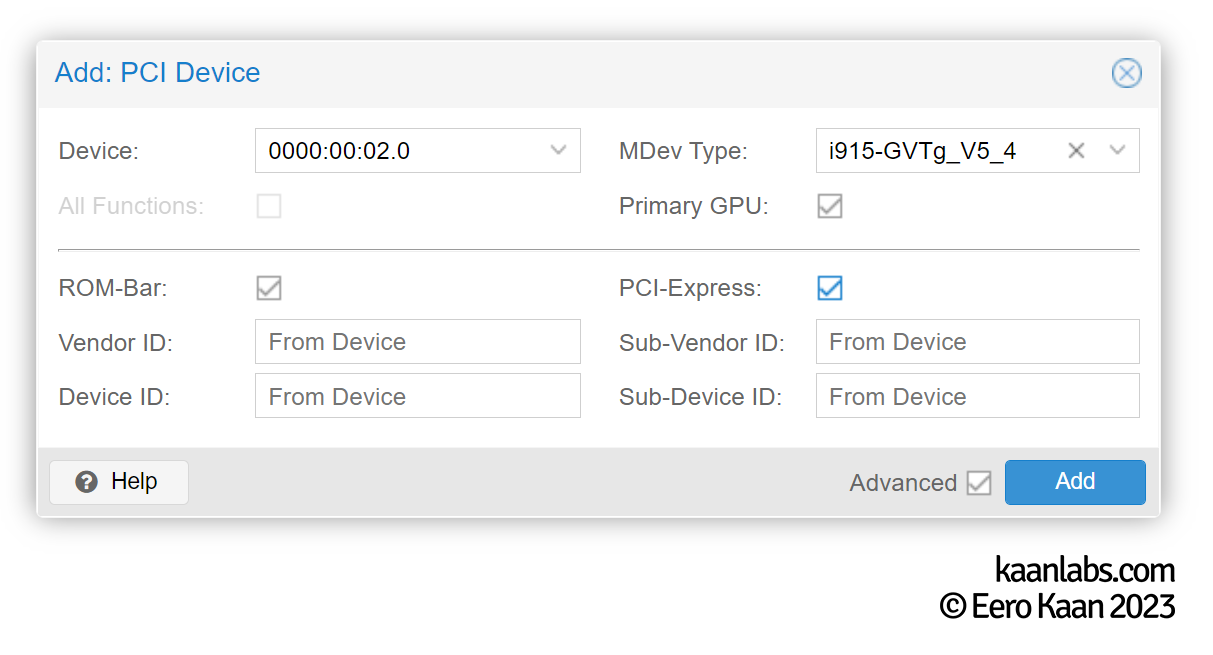
In Proxmox, set the Default graphics under the Hardware tab to none and passthrough an Intel GVT-G mediated device GPU as a PCIe device. After these changes, you can startup your VM again.
Step 3.1.2: Intel GPU Drivers
Now SSH into your VM and check if the GVT-G graphics card is picked up here. A simple search through lspci will do:
lspci | grep 'VGA'01:00.0 VGA compatible controller: Intel Corporation CoffeeLake-H GT2 [UHD Graphics 630]If so, continue by installing the Intel graphics driver like stated in their documentation.
apt-get install gpg-agent wget
wget -qO - https://repositories.intel.com/graphics/intel-graphics.key | gpg --dearmor --output /usr/share/keyrings/intel-graphics.gpg
echo 'deb [arch=amd64,i386 signed-by=/usr/share/keyrings/intel-graphics.gpg] https://repositories.intel.com/graphics/ubuntu jammy arc' | tee /etc/apt/sources.list.d/intel.gpu.jammy.list
apt-get update
apt-get install --install-suggests linux-image-5.17.0-1020-oem
sed -i "s/GRUB_DEFAULT=.*/GRUB_DEFAULT=\"1> $(echo $(($(awk -F\' '/menuentry / {print $2}' /boot/grub/grub.cfg | grep -no '5.17.0-1020' | sed 's/:/\n/g' | head -n 1)-2)))\"/" /etc/default/grub
update-grub
shutdown -r nowMake sure that you use the 5.17.0-1020-oem kernel now. This step is basically the same thing we did few steps earlier on the Proxmox host.
uname -rNow continue to remove possible newer kernels, as they might produce some unresolvable problems later on. To receive a list of all installed kernels, issue:
dpkg -l | grep linux-imageii linux-image-5.15.0-25-generic 5.15.0-25.25 amd64 Signed kernel image generic
ii linux-image-5.17.0-1020-oem 5.17.0-1020.21 amd64 Signed kernel image OEM
ii linux-image-5.19.0-38-generic 5.19.0-38.39~22.04.1 amd64 Signed kernel image generic
ii linux-image-generic-hwe-22.04 5.19.0.38.39~22.04.12 amd64 Generic Linux kernel imageHere, we have to remove kernel 5.19, as it is newer as the Intel 5.17 OEM kernel.
apt-get purge linux-image-5.19.0-38-generic
apt-get purge linux-headers-5.19.0-38-generic
apt-get autoremove

sed -i "s/GRUB_DEFAULT=.*/GRUB_DEFAULT=\"1> $(echo $(($(awk -F\' '/menuentry / {print $2}' /boot/grub/grub.cfg | grep -no '5.17.0-1020' | sed 's/:/\n/g' | head -n 1)-2)))\"/" /etc/default/grub
update-grub

shutdown -r now
After the reboot, you can start to install the Intel DKMS kernel modules:
apt-get update
apt-get install gawk dkms linux-headers-$(uname -r) libc6-dev udev
apt-get install intel-platform-vsec-dkms intel-platform-cse-dkms
apt-get install intel-i915-dkms intel-fw-gpu
apt-get install intel-opencl-icd intel-level-zero-gpu level-zero intel-media-va-driver-non-free libmfx1 libmfxgen1 libvpl2 libegl-mesa0 libegl1-mesa libegl1-mesa-dev libgbm1 libgl1-mesa-dev libgl1-mesa-dri libglapi-mesa libgles2-mesa-dev libglx-mesa0 libigdgmm12 libxatracker2 mesa-va-drivers mesa-vdpau-drivers mesa-vulkan-drivers va-driver-all
shutdown -r nowTo use the render functions of the GPU, the individual user has to be a member of the render group. ${USER} refers to the currently signed on user here, but can be replaced with any existing username.
gpasswd -a ${USER} render
newgrp render
The Intel driver should now be installed and ready. You can verify this by checking with the following tools:
export DISPLAY=:0.0
apt-get install hwinfo vainfo clinfo mesa-utils
28: PCI 02.0: 0300 VGA compatible controller (VGA)
[Created at pci.386]
Unique ID: _Znp.rCilE76BCCB
SysFS ID: /devices/pci0000:00/0000:00:02.0
SysFS BusID: 0000:00:02.0
Hardware Class: graphics card
Device Name: "GPU"
Model: "Intel VGA compatible controller"
Vendor: pci 0x8086 "Intel Corporation"
Device: pci 0x5690
SubVendor: pci 0x8086 "Intel Corporation"
SubDevice: pci 0x2081
Revision: 0x04
Driver: "i915"
Driver Modules: "i915"libva info: VA-API version 1.14.0
libva info: Trying to open /usr/lib/x86_64-linux-gnu/dri/iHD_drv_video.so
libva info: Found init function __vaDriverInit_1_14
libva info: va_openDriver() returns 0
vainfo: VA-API version: 1.14 (libva 2.12.0)Number of platforms 2
Platform Name Intel(R) OpenCL HD Graphics
Platform Vendor Intel(R) Corporation
Platform Version OpenCL 3.0
Platform Profile FULL_PROFILEOpenGL vendor string: Intel
OpenGL renderer string: Mesa Intel(R) Graphics (DG2)
OpenGL core profile version string: 4.6 (Core Profile) Mesa 22.2.0-devel (git-44289c46d9)
OpenGL core profile shading language version string: 4.60
OpenGL core profile context flags: (none)
OpenGL core profile profile mask: core profile
OpenGL core profile extensions:
OpenGL version string: 4.6 (Compatibility Profile) Mesa 22.2.0-devel (git-44289c46d9)Now that the Intel driver is ready, you can restart your system and remote into it via NoMachine as a first test.
shutdown -r now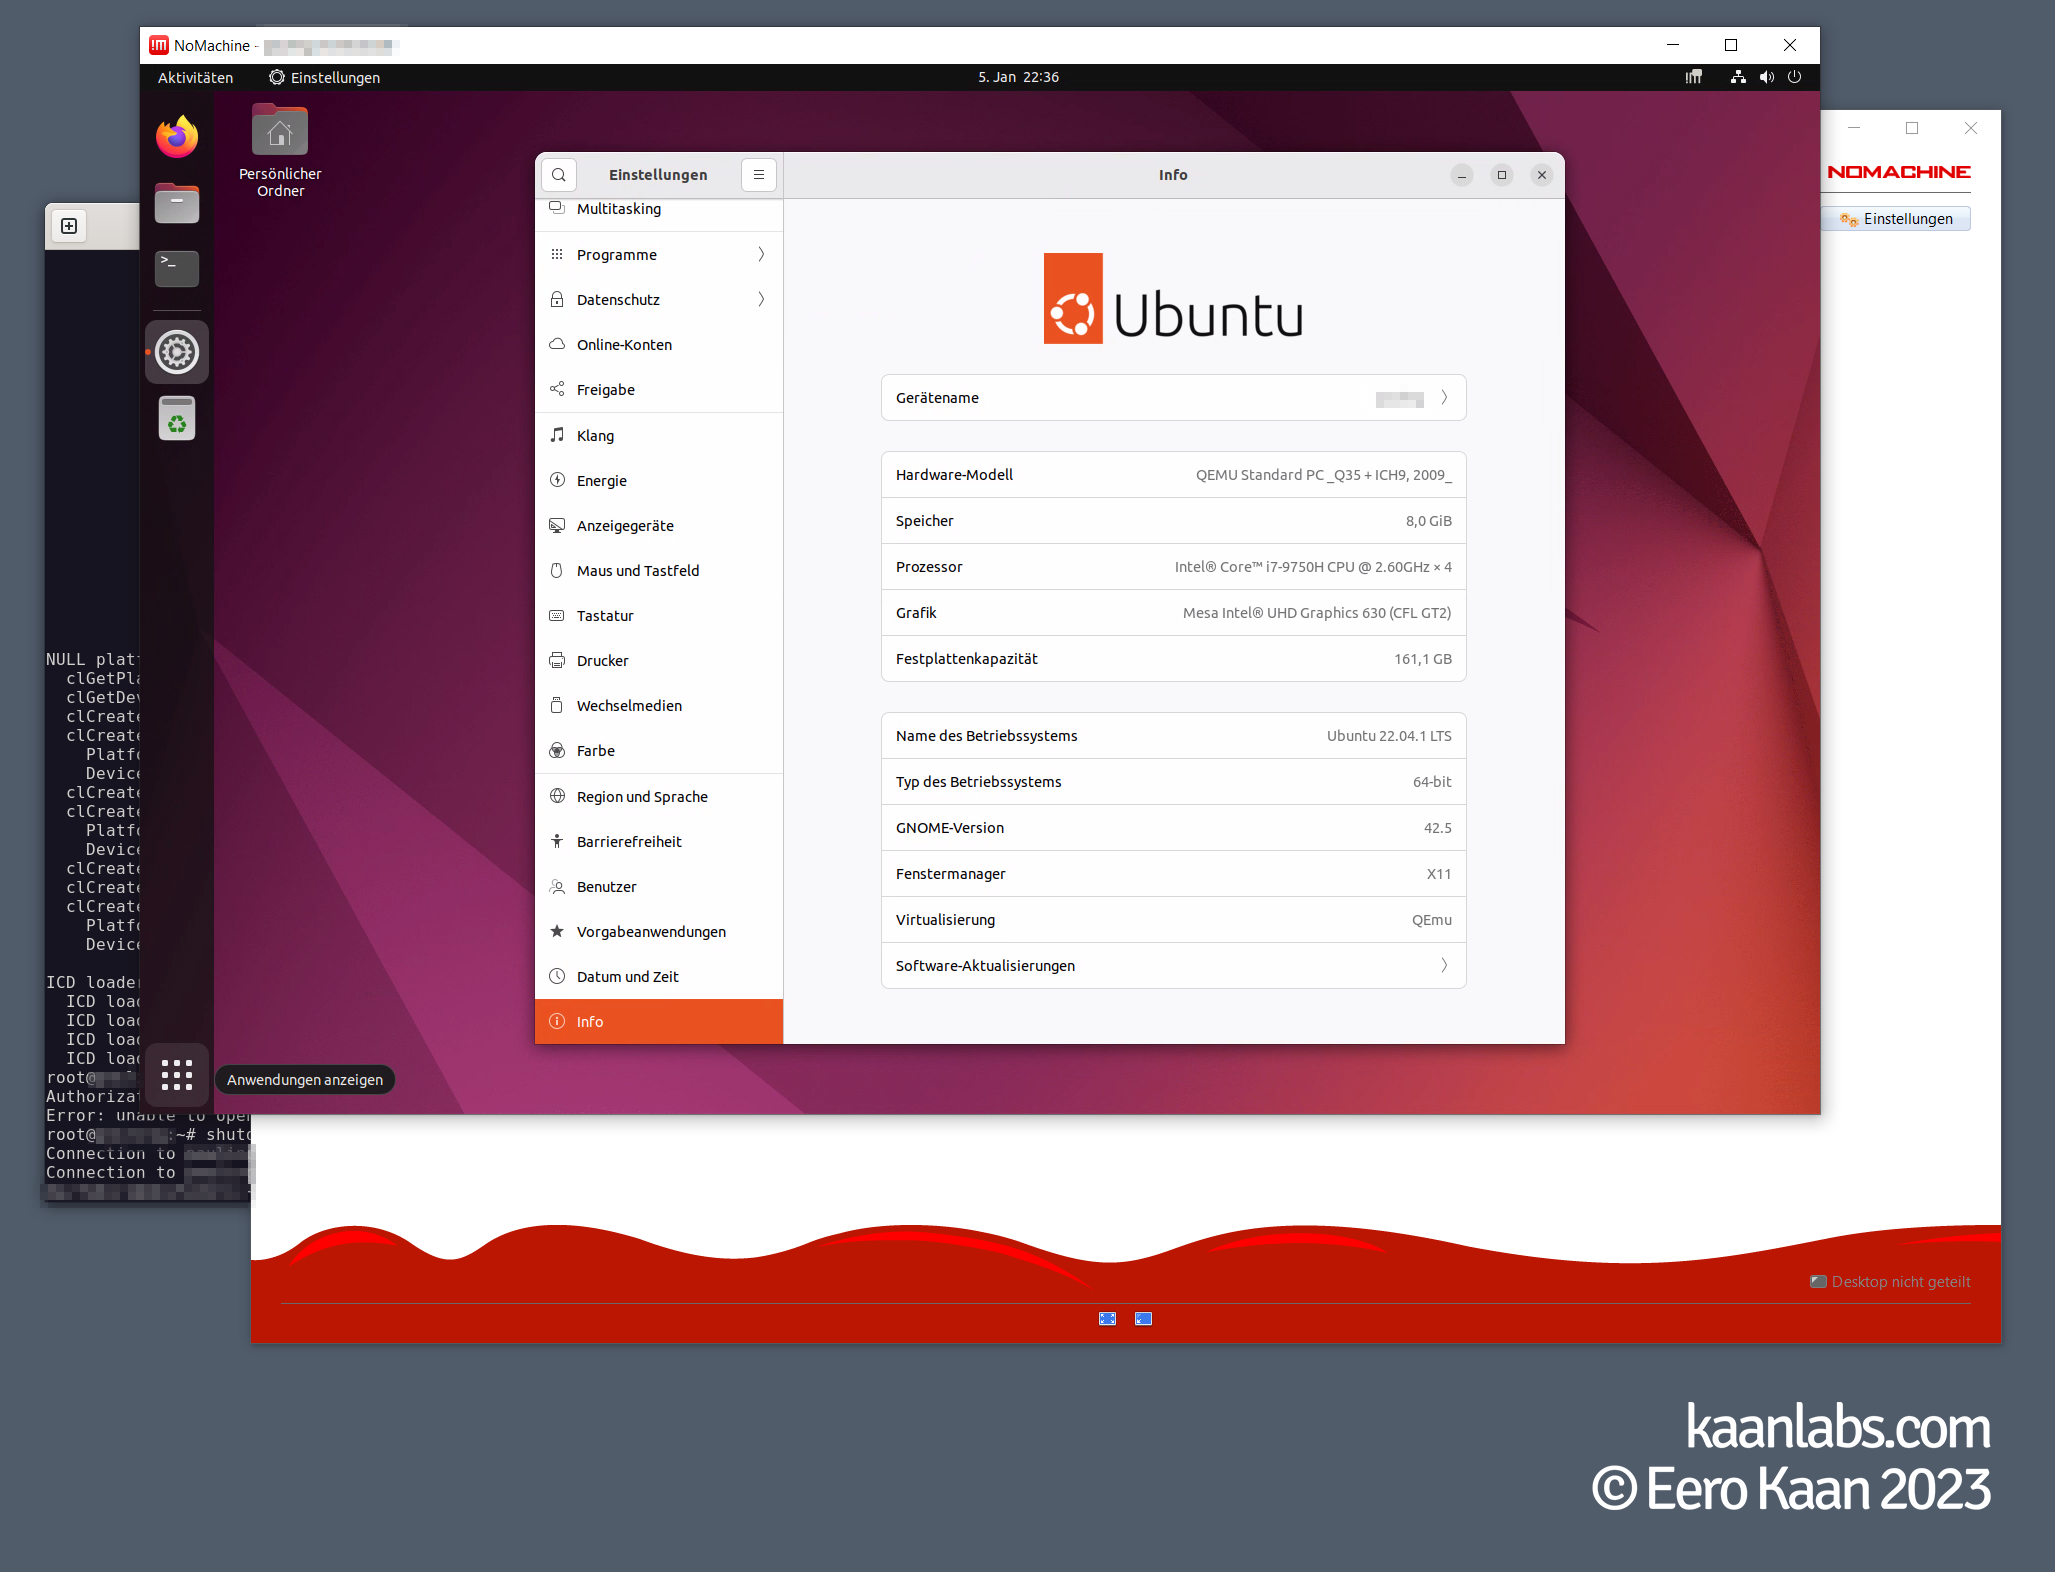
Now that the Intel driver is in place now, the installation process of the Nvidia driver is quite similar. Shutdown the VM, passtrough the device, restart the VM and install the driver software. So let’s start by shutting down the VM first.
shutdown -h nowI recommend creating a backup within Proxmox, so you can revert to this “checkpoint” in case something goes wrong later on.
Step 3.1.3: Nvidia GPU Drivers
Proceed to passthrough the Nvidia graphics card in Proxmox…

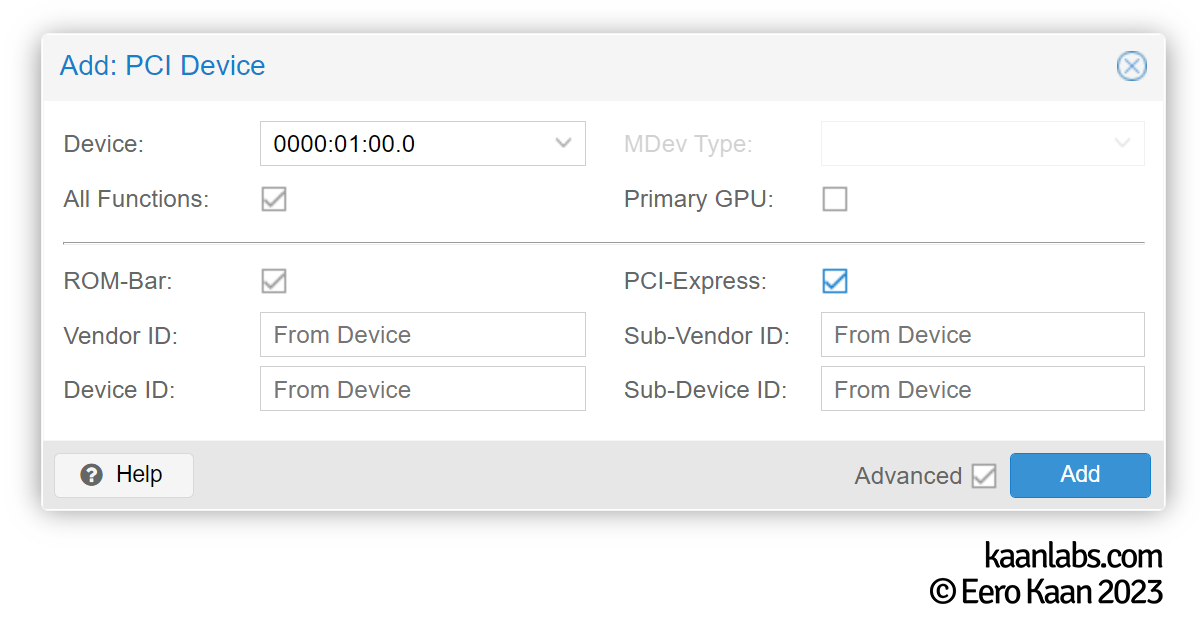
…and start up the VM and establish a SSH session in order to install the drivers.
The Nvidia drivers consist of three different parts: The display driver itself, The CUDA driver to support GPGPU workloads and the cuDNN library to support AI based tasks.
Step 3.1.3.1: Display Driver
So first up, download and install the display driver. You can find the latest version on Nvidias driver archive page. At the time of writing this guide, the latest production version is 525.78.01.
wget https://us.download.nvidia.com/XFree86/Linux-x86_64/525.78.01/NVIDIA-Linux-x86_64-525.78.01.runMake sure to mark this installer as executable and proceed to run it.
chmod +x NVIDIA-Linux-x86_64-525.78.01.run
./NVIDIA-Linux-x86_64-525.78.01.run
Follow the instructions within the installer. Make sure to register the driver in DKMS but don’t issue the nvidia-xconfig utility, as the Nvidia GPU is intended as a coprocessor for CUDA tasks only, not as a display renderer (this is done via the Intel iGPU instead).
You may end up restarting your VM multiple times, as the installer tries to disable the Nouveau kernel driver, for example.
Step 3.1.3.2: CUDA Drivers
After the display driver finishes it’s install, restart your VM and continue to install the CUDA driver. The same procedure applies here; download the file, mark the file as executable and run it:
wget https://developer.download.nvidia.com/compute/cuda/12.0.0/local_installers/cuda_12.0.0_525.60.13_linux.run
chmod +x cuda_12.0.0_525.60.13_linux.run
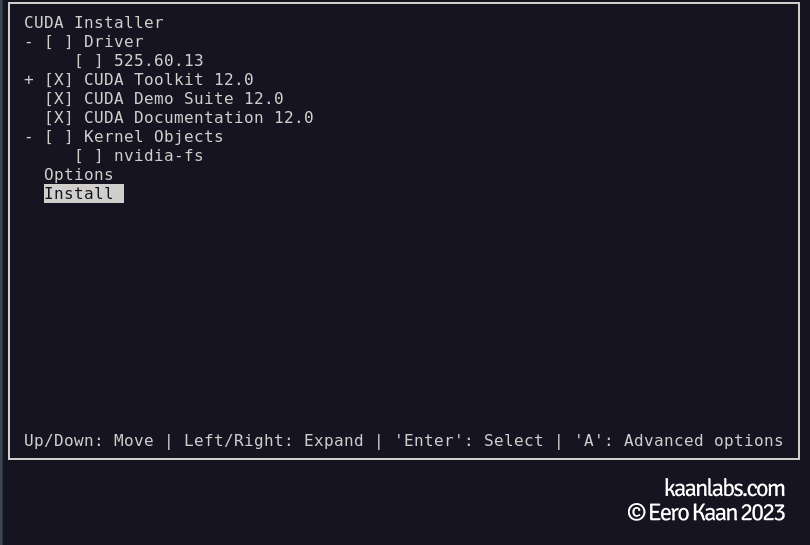
./cuda_12.0.0_525.60.13_linux.runAccept the EULA and deselect the Driver part of the CUDA installer, as we just installed the display driver already. The reason of this “divide” being that the CUDA installer only bundles an older version of the display driver, whereas by installing the driver separately, one can assure to install the latest version indeed.
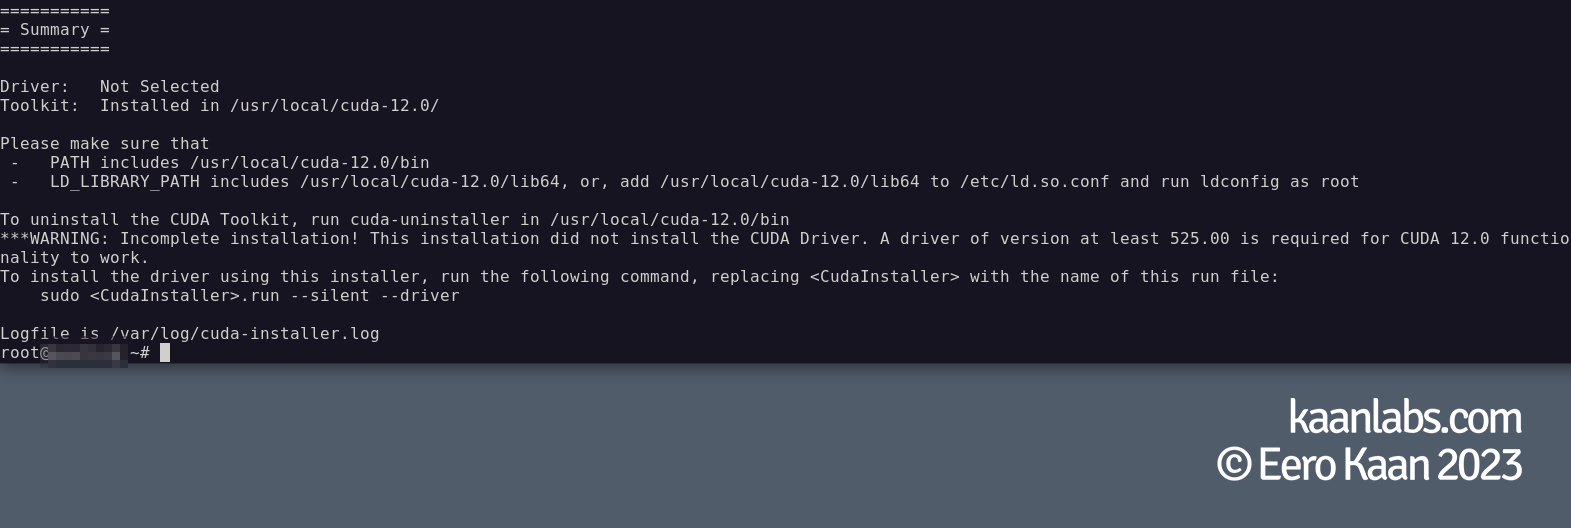
Follow the instructions in the summary and add the given paths to the PATH and LD_LIBRARY_PATH environment variables. For that, you can use the .bashrc file for root and other users respectively.
echo '' >> /root/.bashrc
echo '# NVIDIA Paths' >> /root/.bashrc
echo 'export PATH=/usr/local/cuda-/bin:$PATH' >> /root/.bashrc
echo 'export LD_LIBRARY_PATH=/usr/local/cuda-/lib64:$LD_LIBRARY_PATH' >> /root/.bashrc
echo '' >> /home//.bashrc
echo '# NVIDIA Paths' >> /home//.bashrc
echo 'export PATH=/usr/local/cuda-/bin:$PATH' >> /home//.bashrc
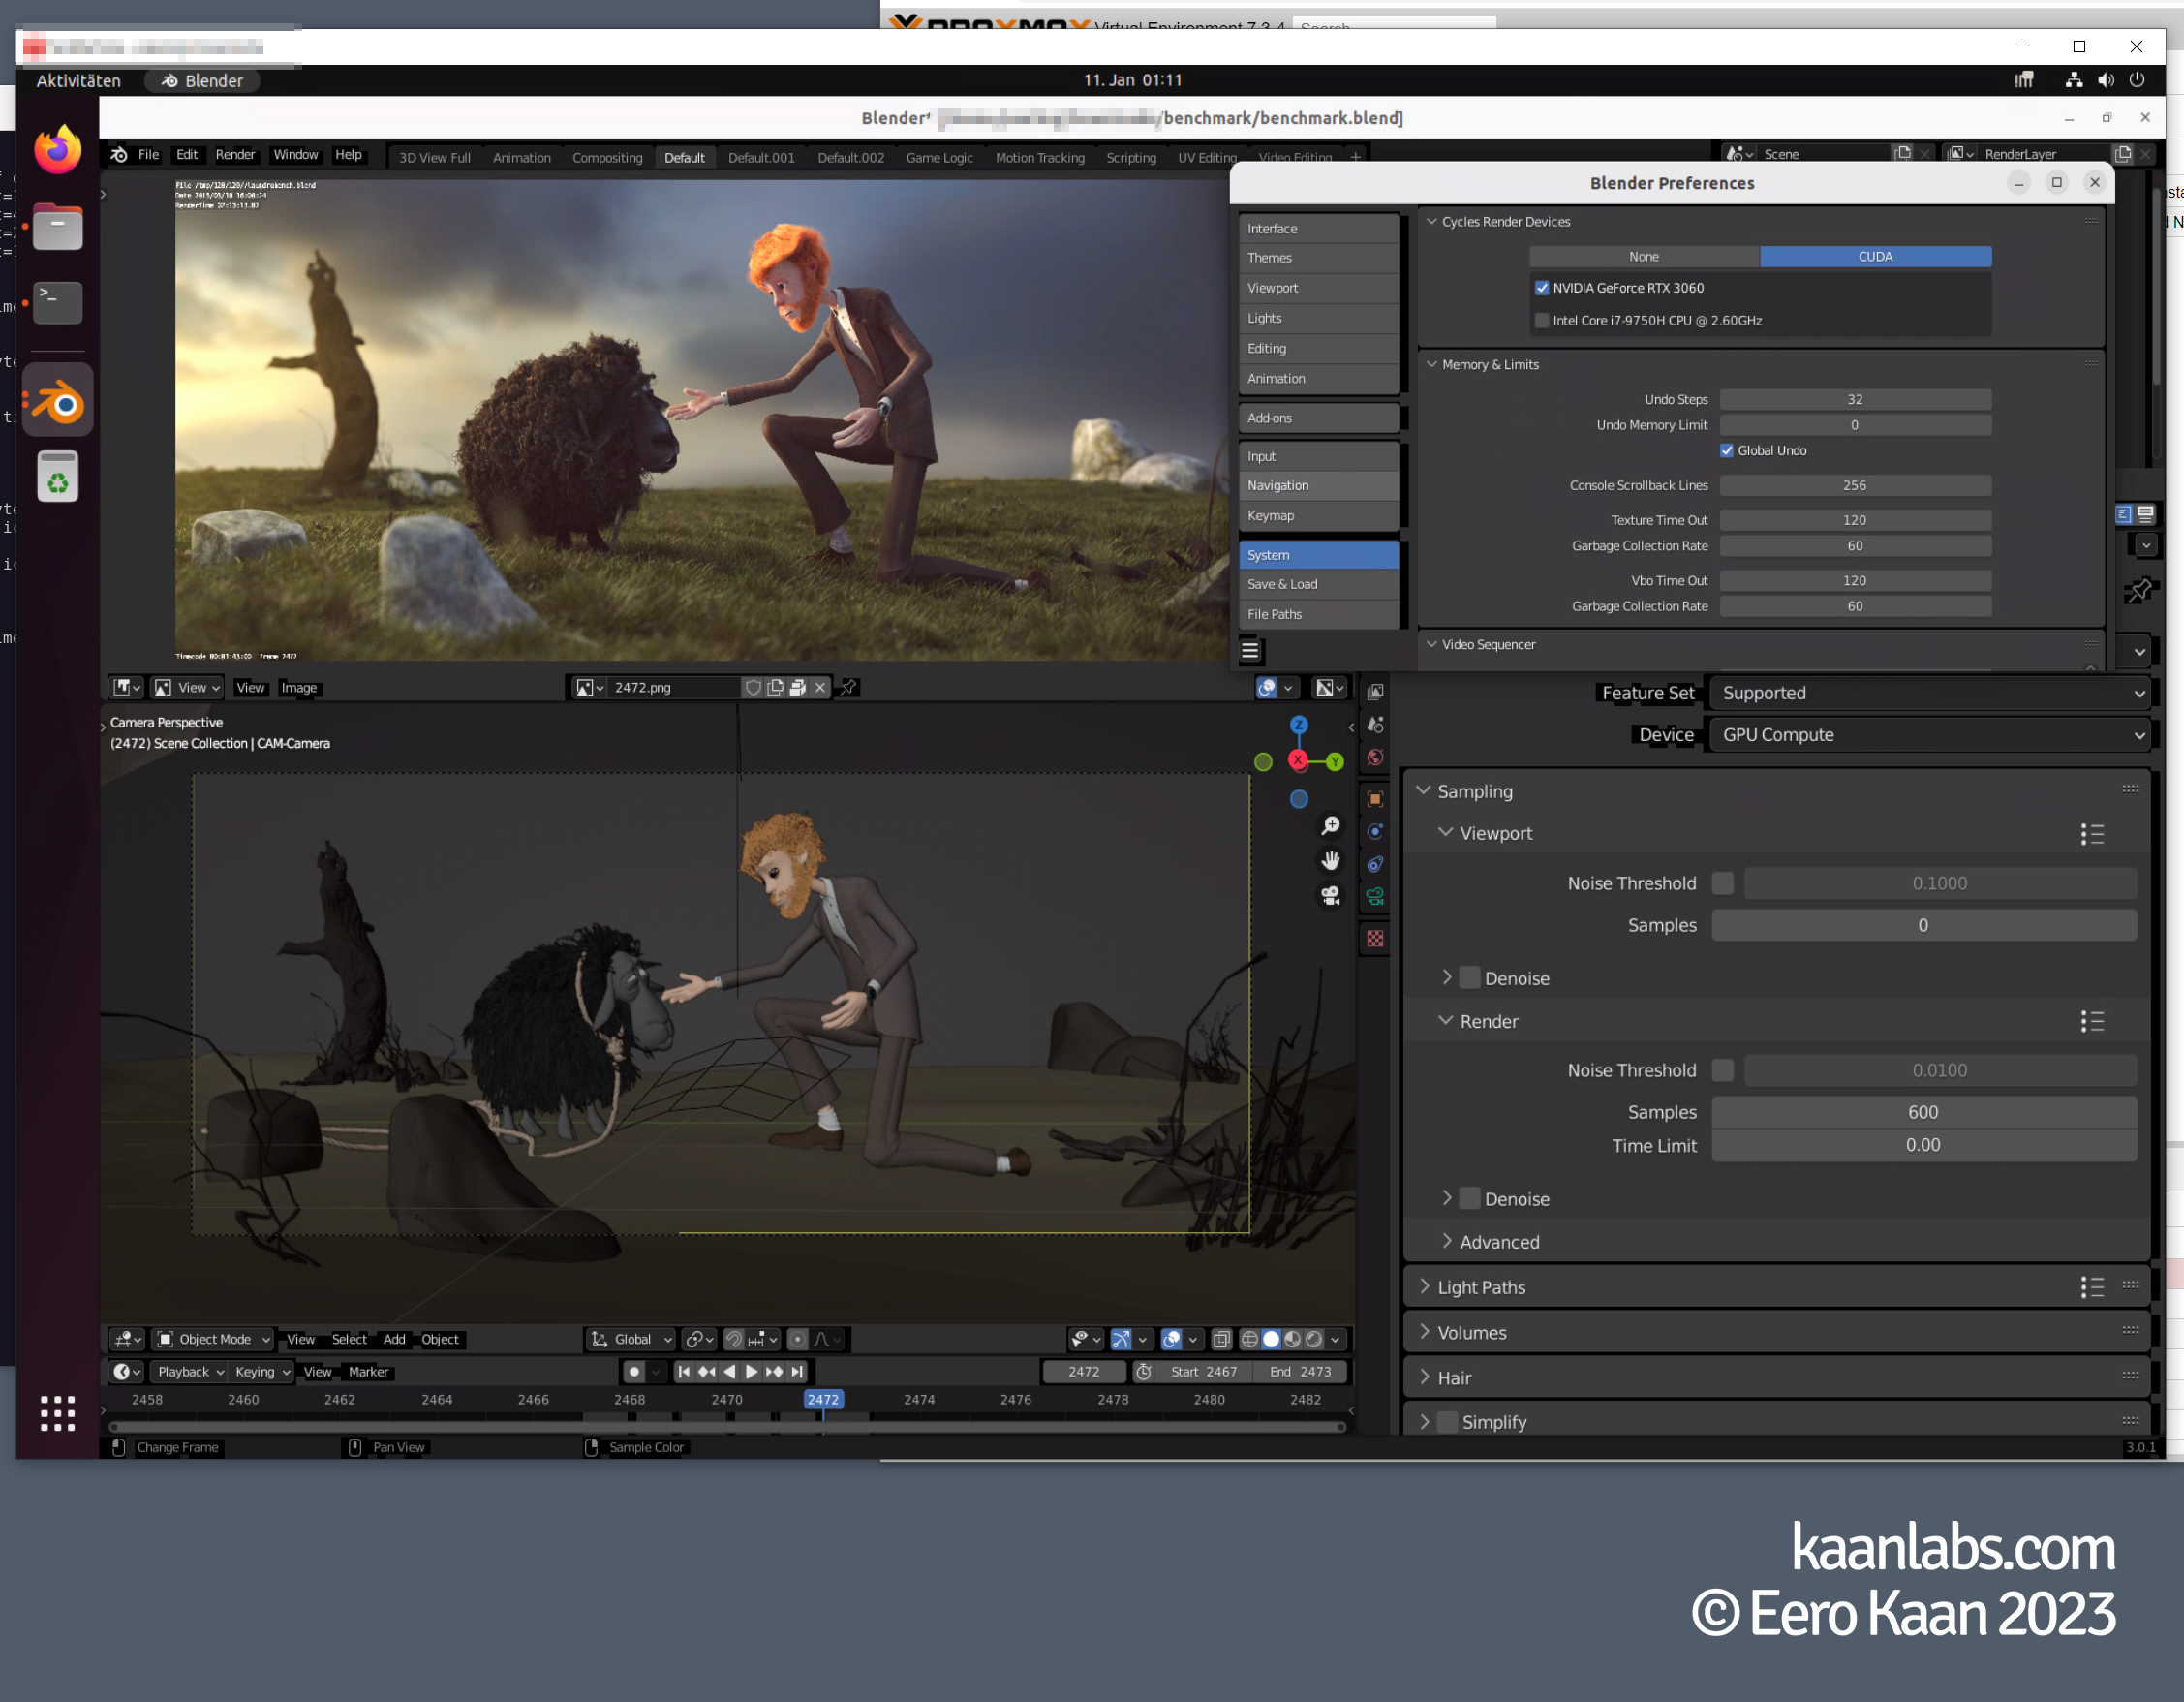
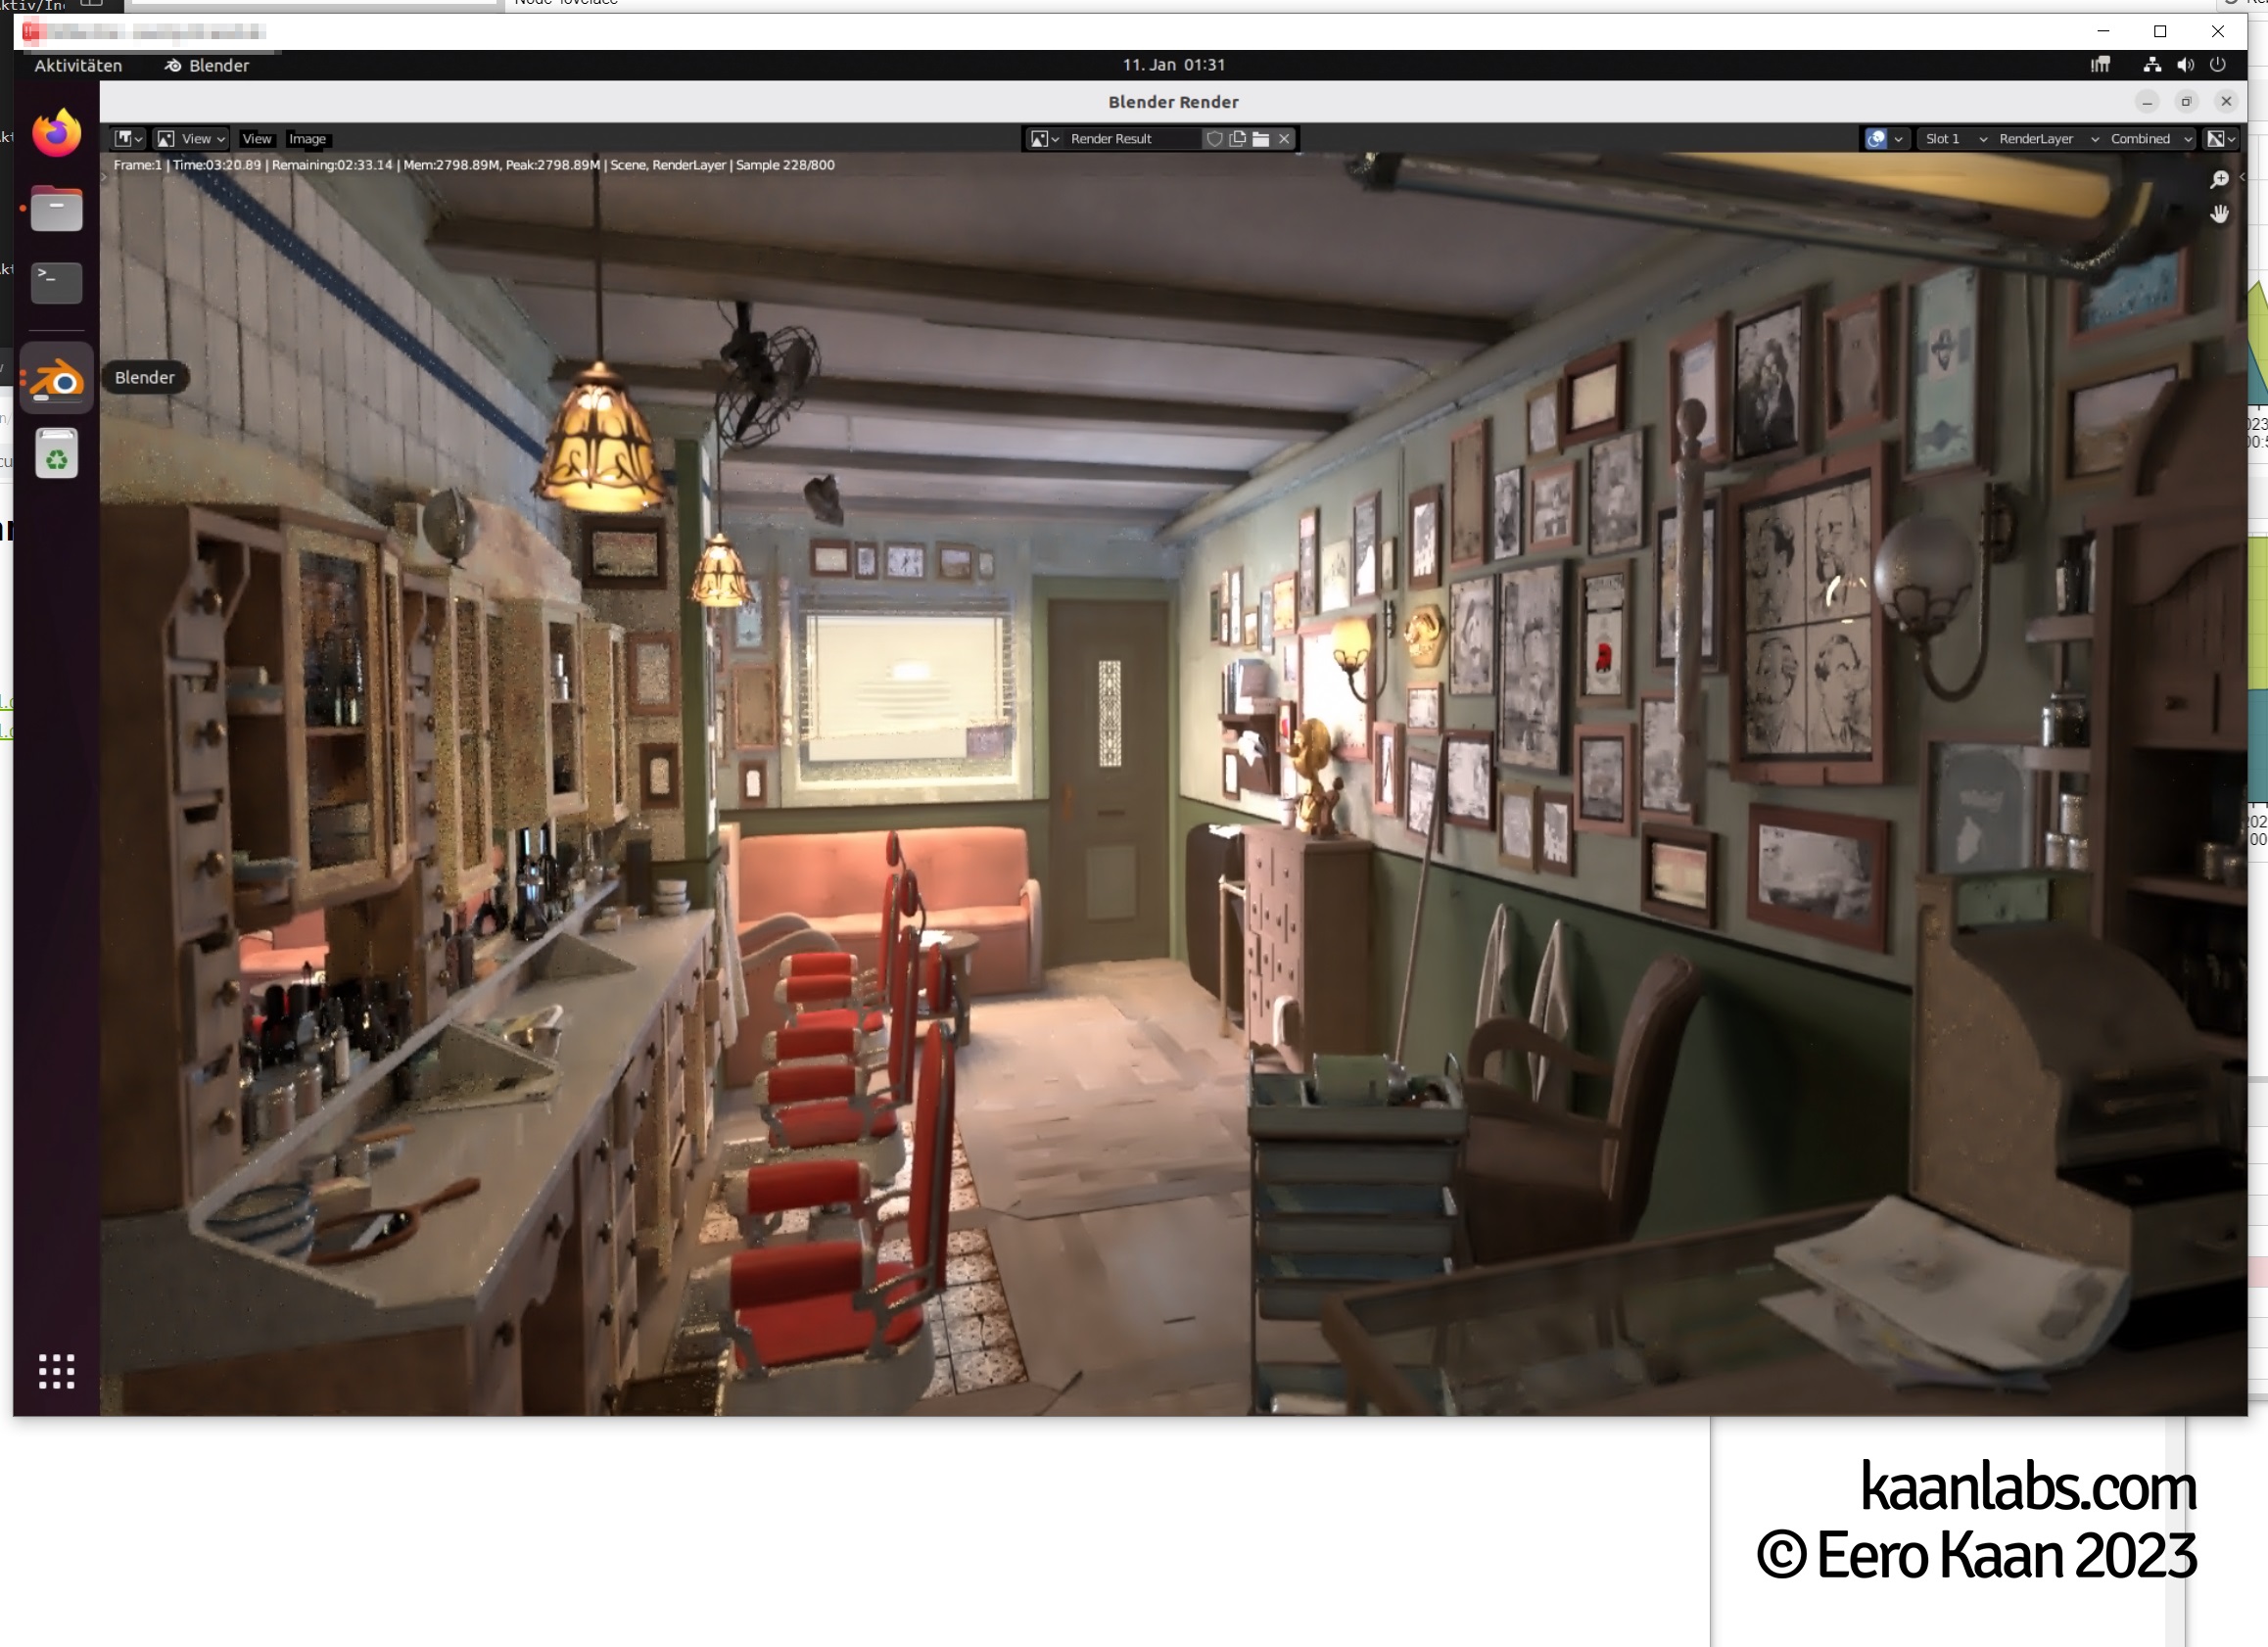
echo 'export LD_LIBRARY_PATH=/usr/local/cuda-/lib64:$LD_LIBRARY_PATH' >> /home//.bashrc Also don’t be irritated about the Incomplete installation! This installation did not install the CUDA Driver [...] message – This is a reminder, that the bundled driver was not used, as we already installed our own version before. I’ve tested the functionality of CUDA in a separate VM snapshot and indeed, Blender was rendering a scene on the GPU flawlessly.
Now restart your VM to apply these changes.
shutdown -r nowStep 3.1.3.3: cuDNN Library (Optional)
Now onto the last step for the Nvidia Installation – getting the cuDNN library to work. Theoretically, you have to sign in to Nvidias developer program, in order to get access to cuDNN here. However, just like for the display driver, an archive page exists for cuDNN with direct links to the download files.
Download the latest version for Linux x86 as .tar.xz archive, extract the contents of the archive and cd into it.
wget https://developer.download.nvidia.com/compute/redist/cudnn/v8.7.0/local_installers/11.8/cudnn-linux-x86_64-8.7.0.84_cuda11-archive.tar.xz
tar -xJf cudnn-linux-x86_64-8.7.0.84_cuda11-archive.tar.xz
cd cudnn-linux-x86_64-8.7.0.84_cuda11-archive
Just like the official Nvidia documentation states, please install zlib and proceed to copy following cuDNN files to the CUDA toolkit directory:
apt-get install zlib1g
cp include/cudnn*.h /usr/local/cuda/include
cp -P lib/libcudnn* /usr/local/cuda/lib64
chmod a+r /usr/local/cuda/include/cudnn*.h /usr/local/cuda/lib64/libcudnn*
Restart your VM for a final time and that’s it! The Intel and Nvidia GPUs are now ready for use.
Step 3.2: Windows VMs
Step 3.2.1: VM Installation
The base setup is quite similar to the Linux one actually.
Change into the Proxmox webinterface and create a new VM as you normally would do. Just be aware to set the following settings like this:
| Guest OS Type | Microsoft Windows |
| Guest OS Version | 10/2016/2019 |
| Graphic Card | Default |
| Machine | q35 |
| BIOS | OVMF (UEFI) |
| Pre-Enroll Keys | No |
| Disk Bus/Device | SCSI |
| CPU Type | host |
| Memory Ballooning | No |
Don’t add any PCIe devices just yet, only the base configuration for now.
After creating the VM, please specify the machine type to a specific version. Go to “Hardware > Machine” and select version 6.0 explicitly, resulting in a pc-q35-6.0 machine type.
This is the first quirk of Windows VMs. The installation has to take place in Q35 v6.0, or the VirtIO drivers will not be detected in the installer later on.
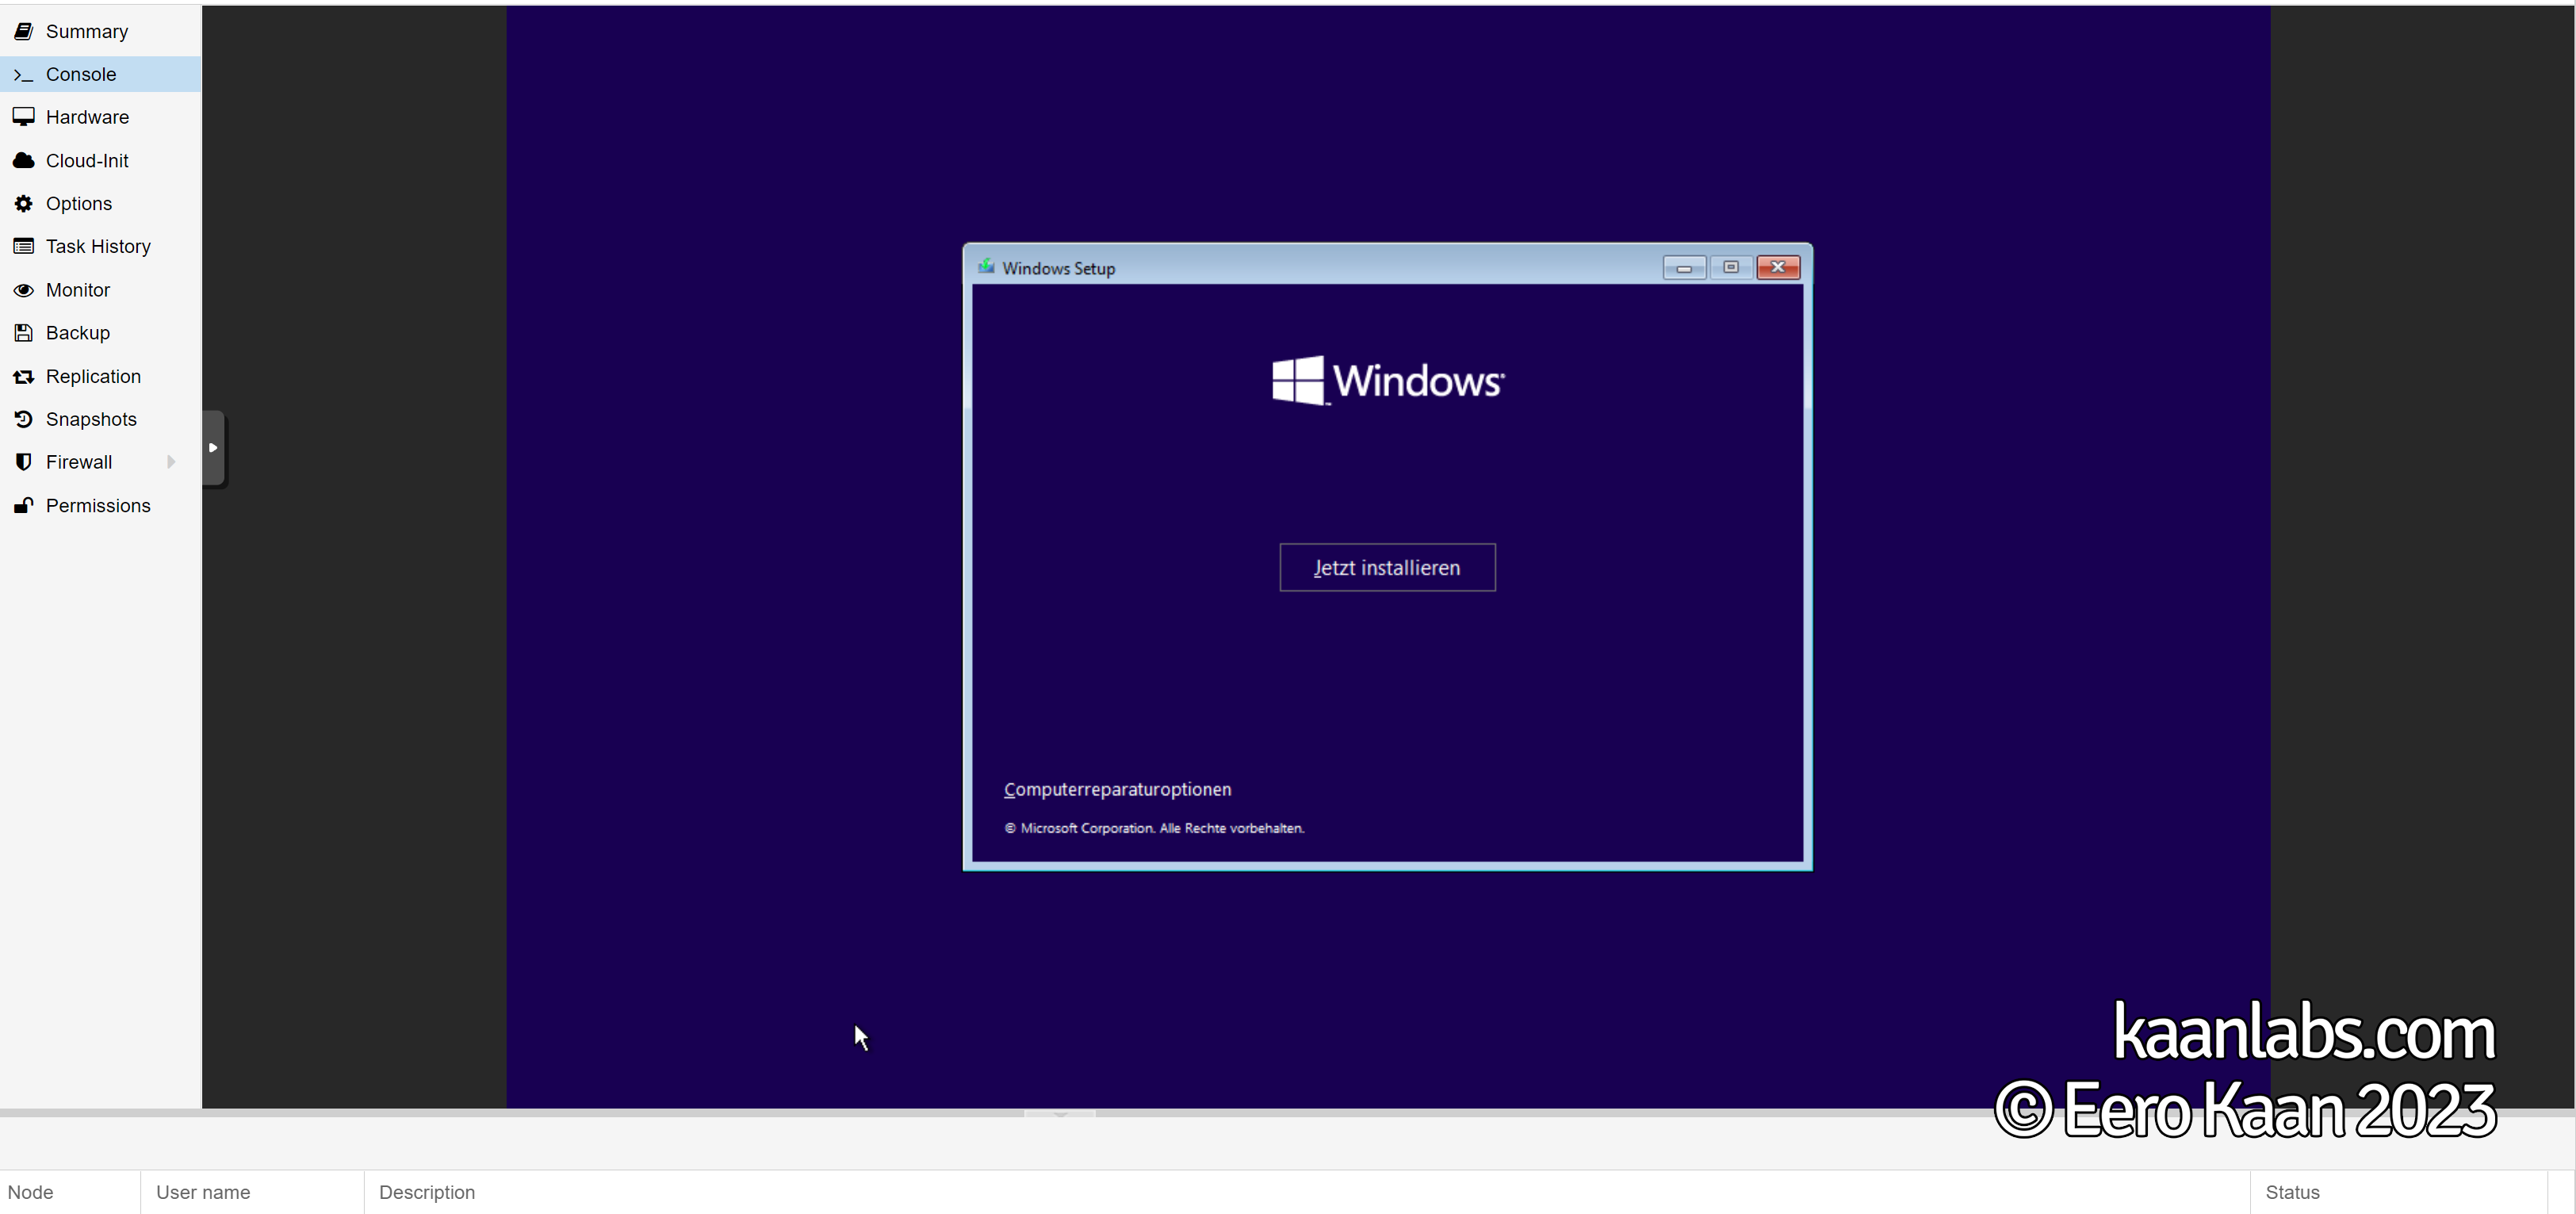
Continue by installing Windows as you normally would do over the Proxmox Display Console. As an example, Windows 10 Pro will be used here.
Select your language and continue with the Install now button.
Enter your Windows Product Key and select your flavor of Windows to be installed. Finally, choose the Custom Installation type.

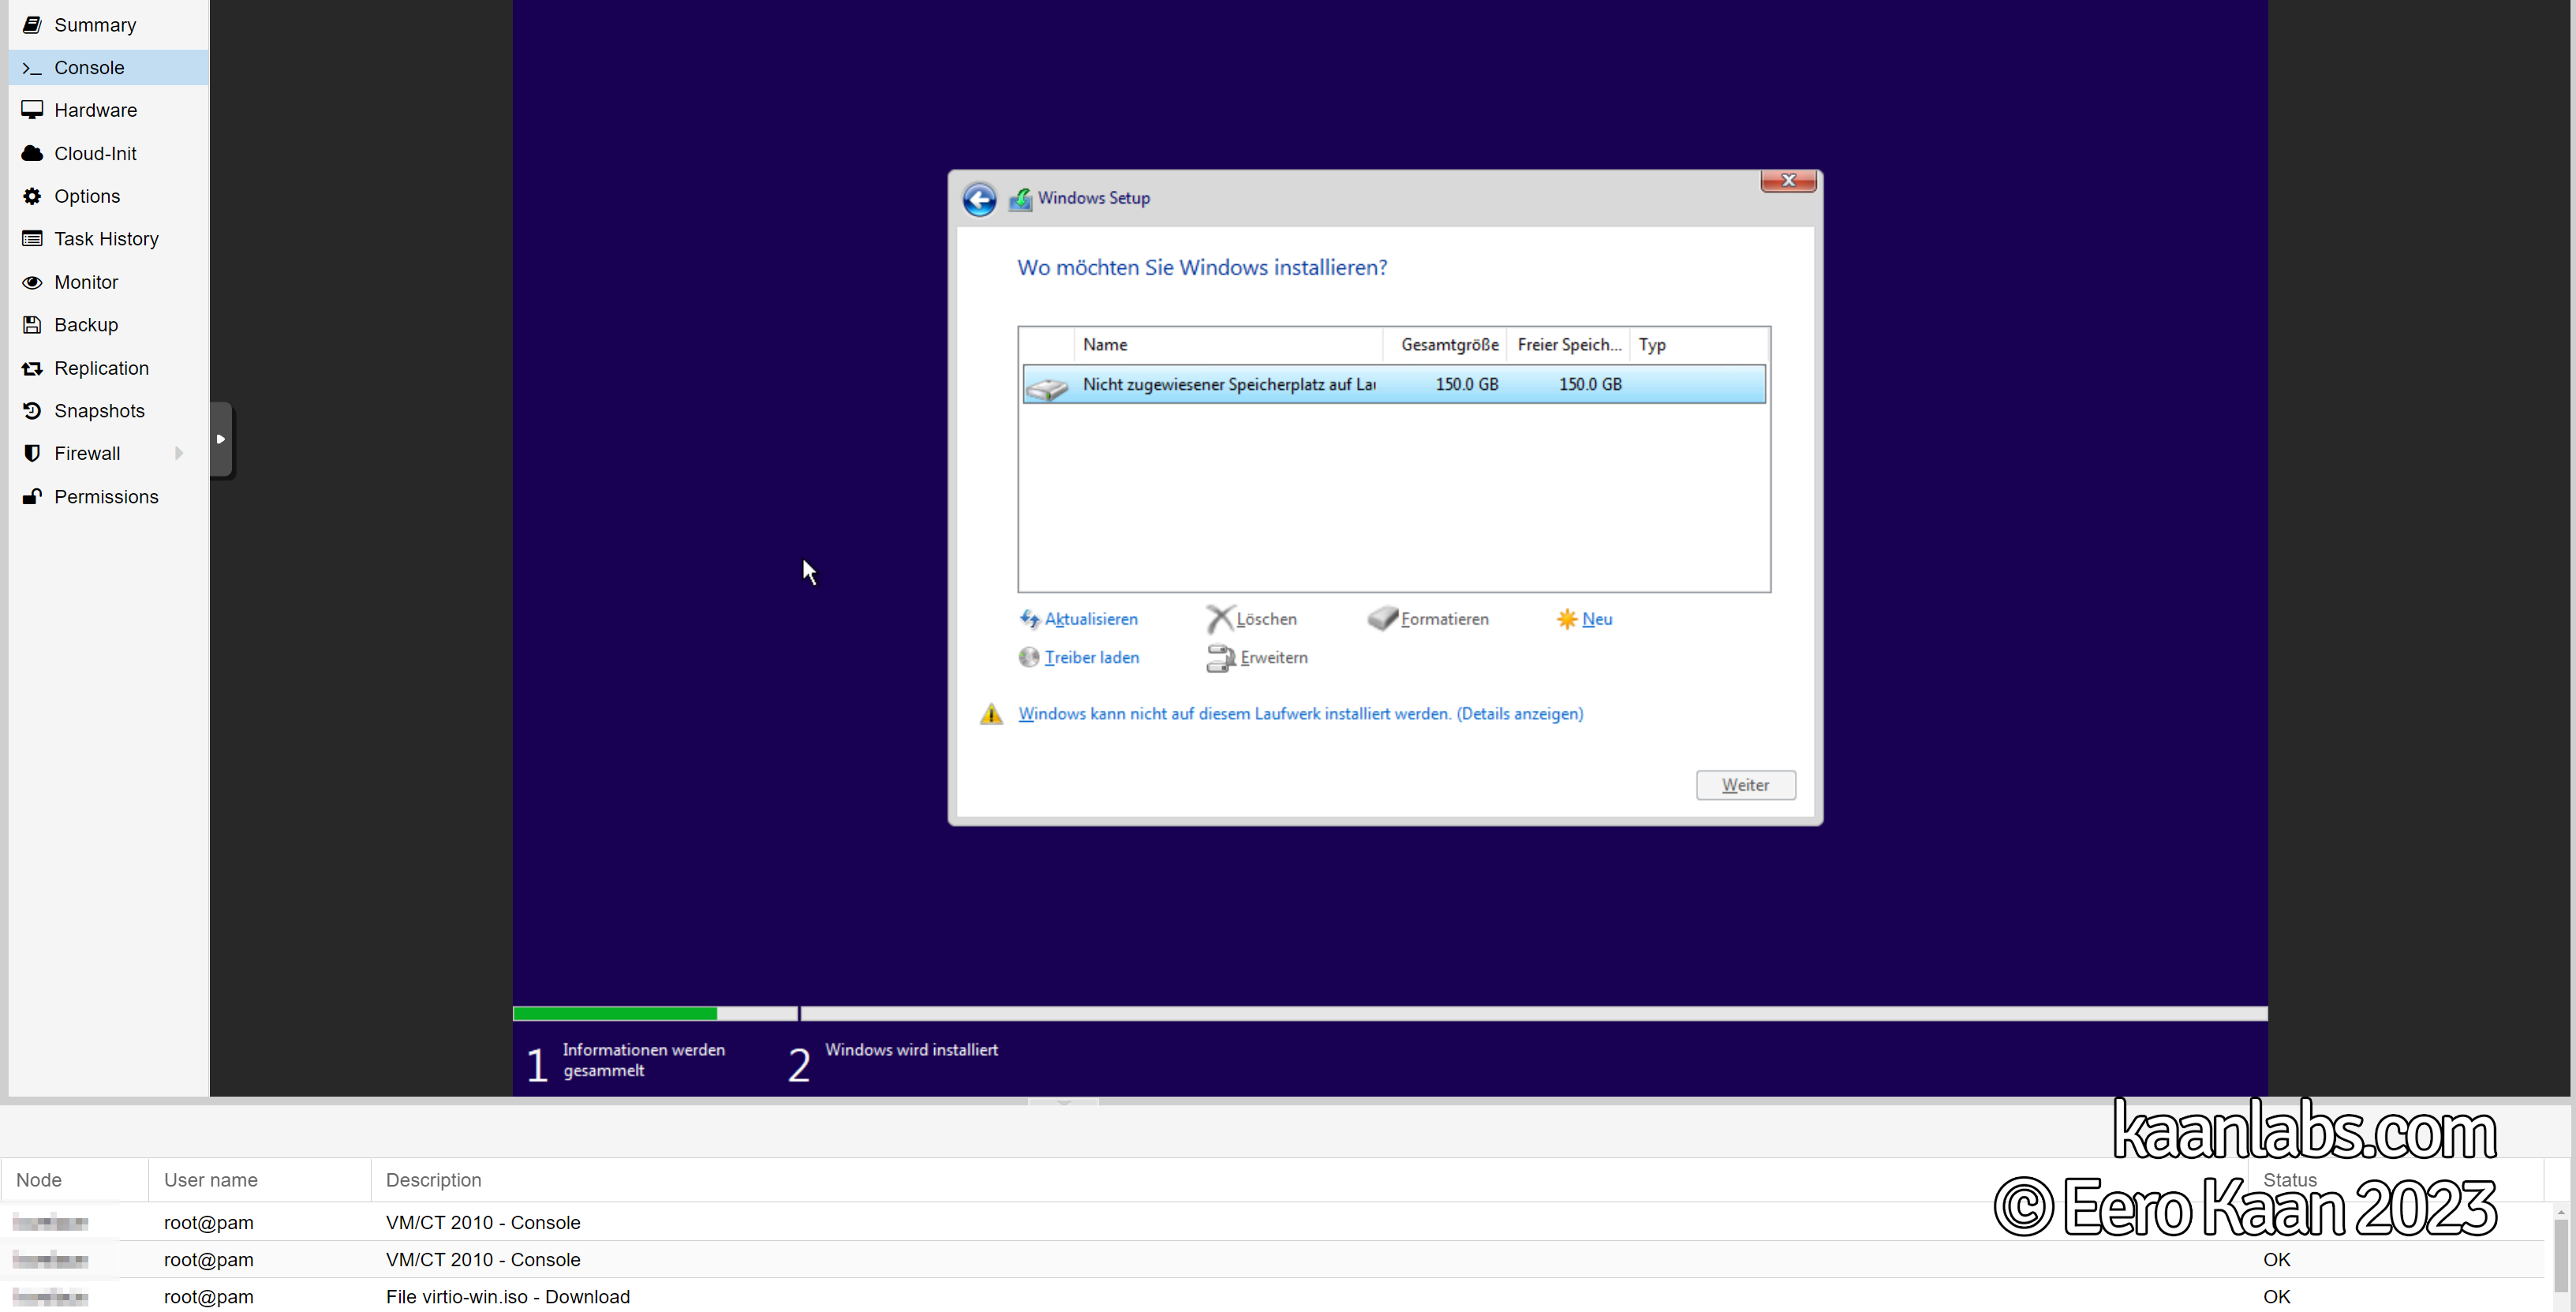
The Windows installer will complain that no drives could be found, as the virtualized SCSI hard drive requires additional drivers.
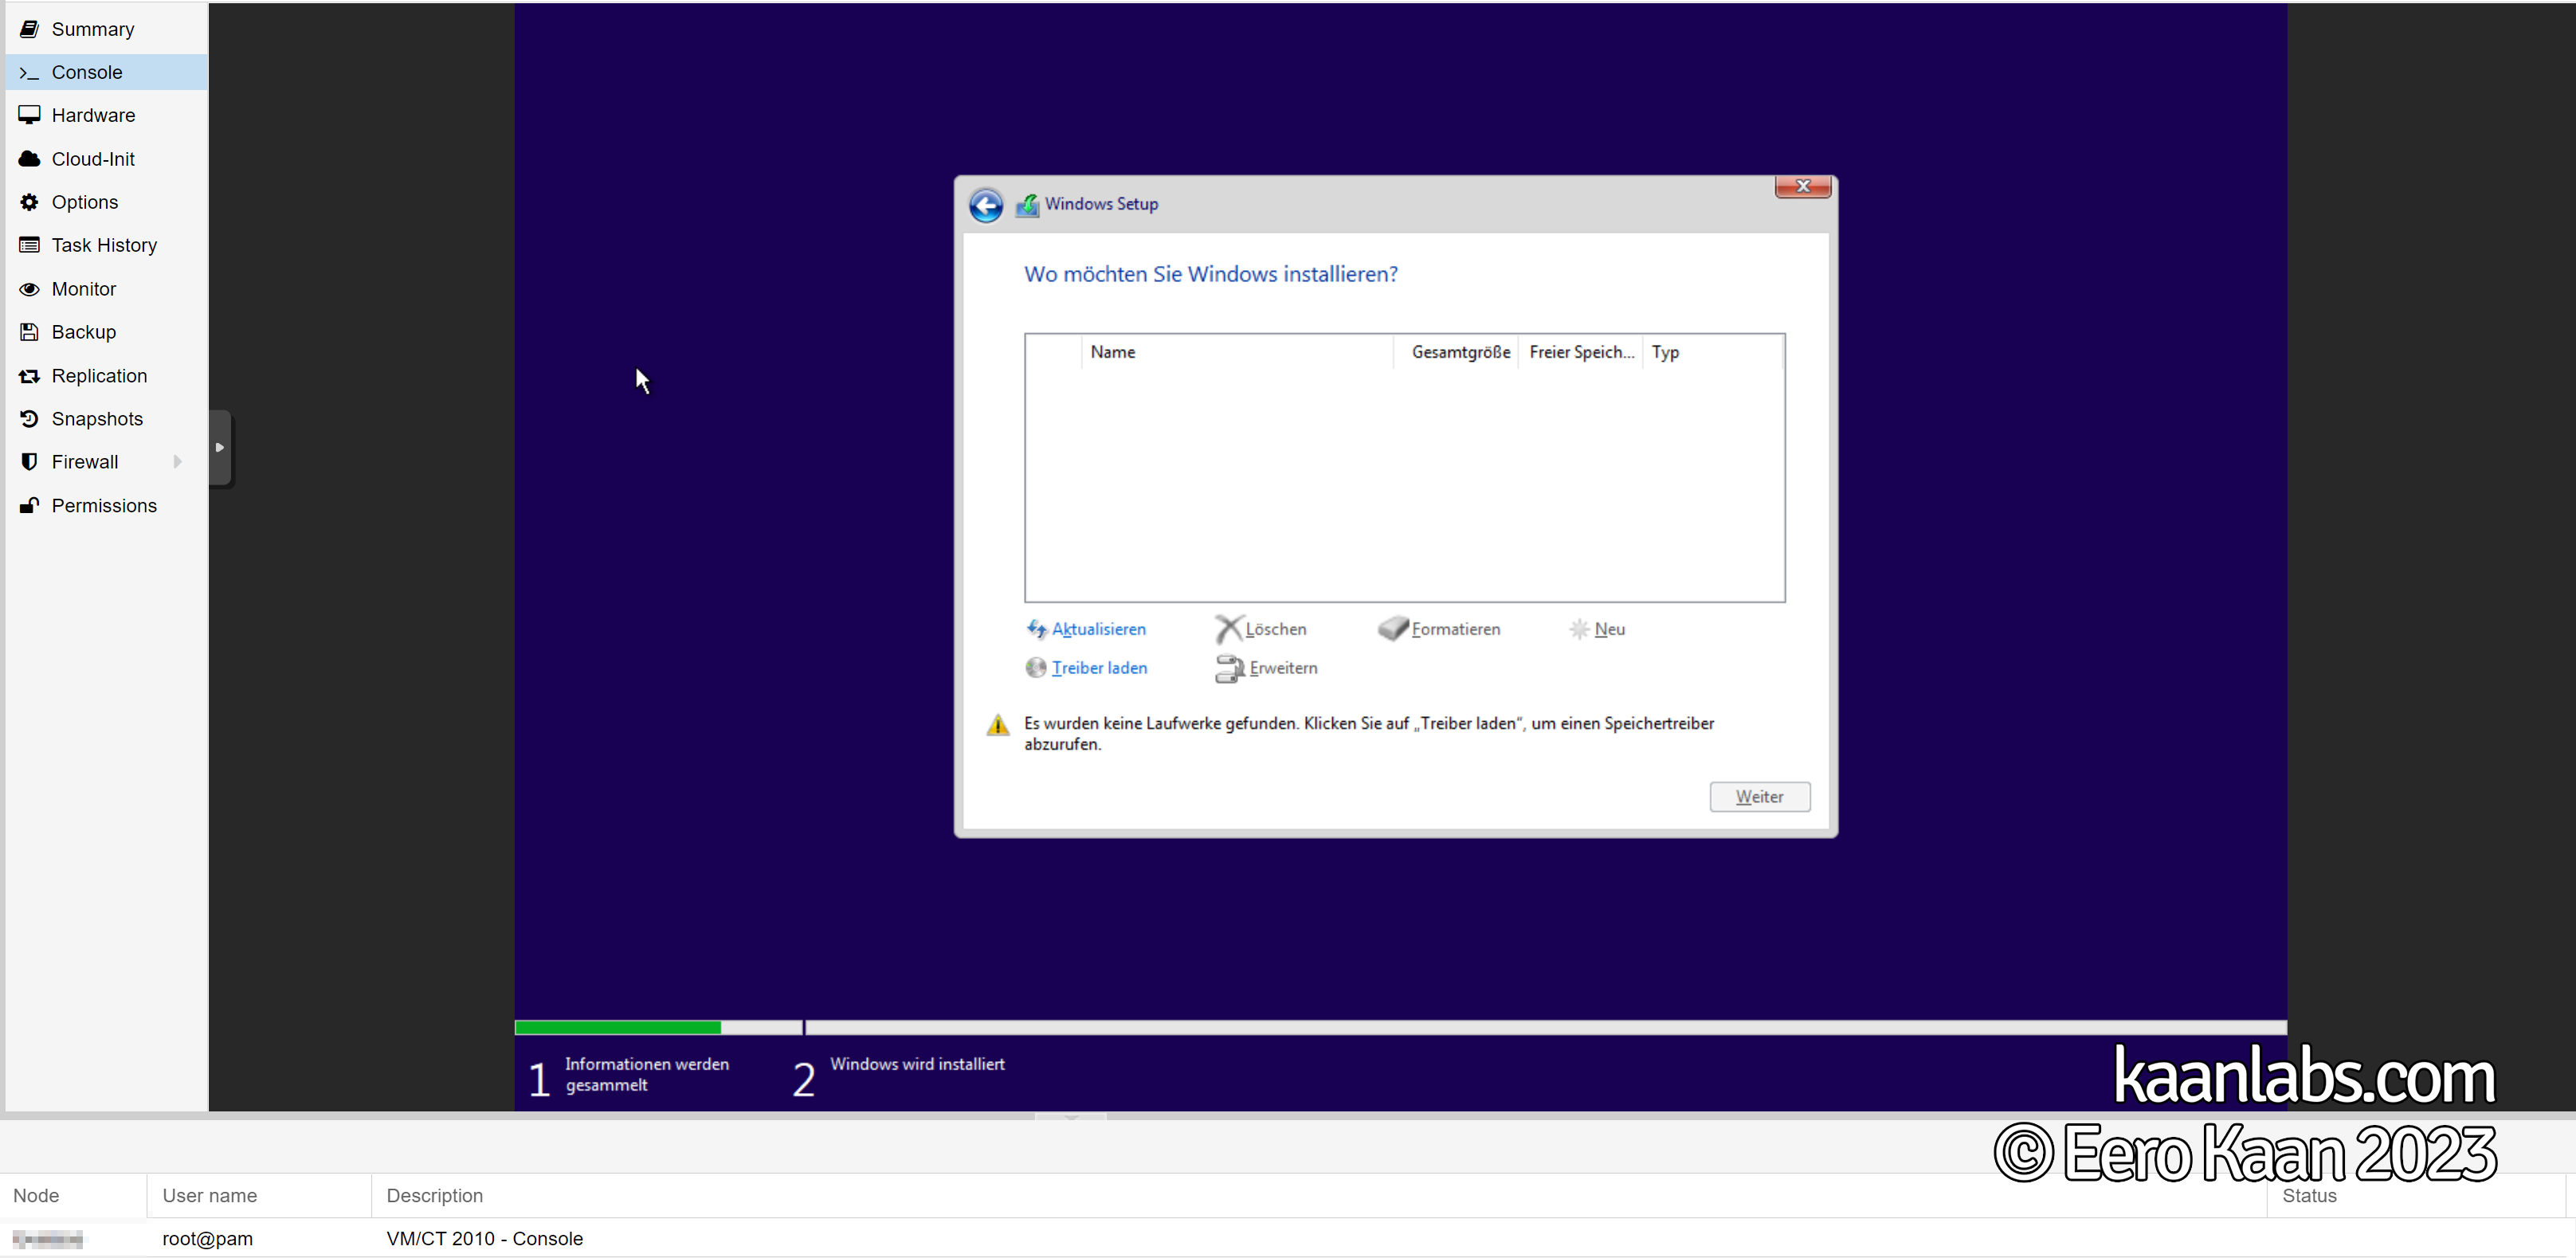
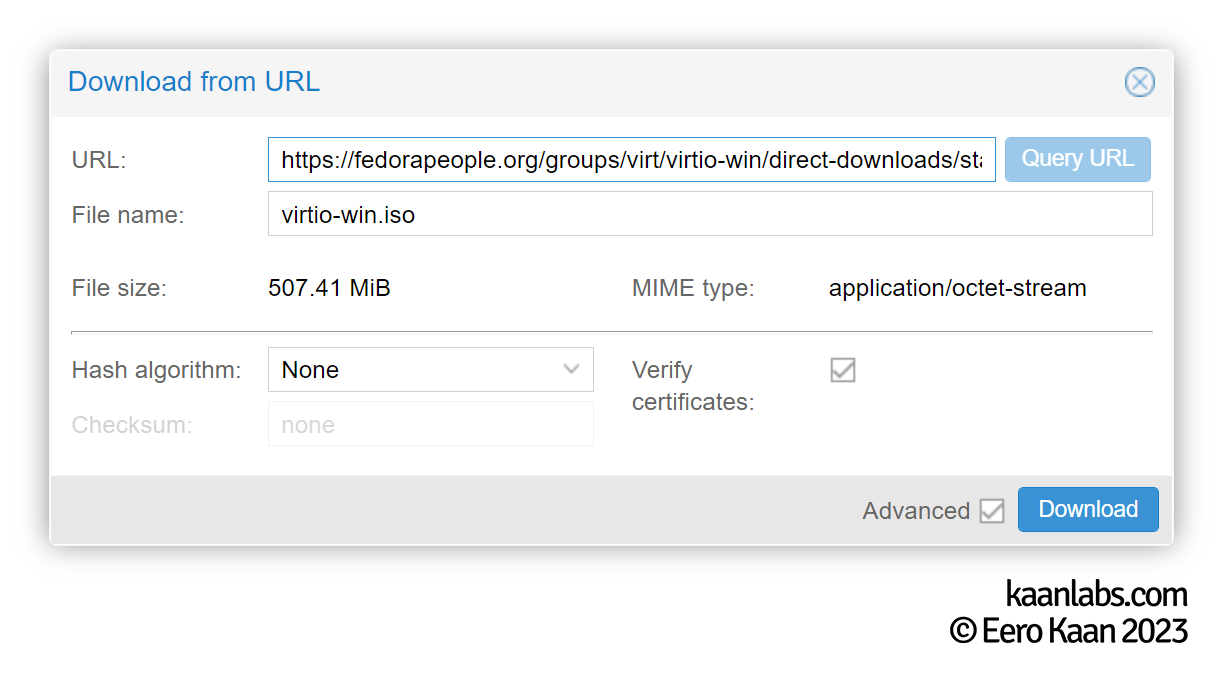
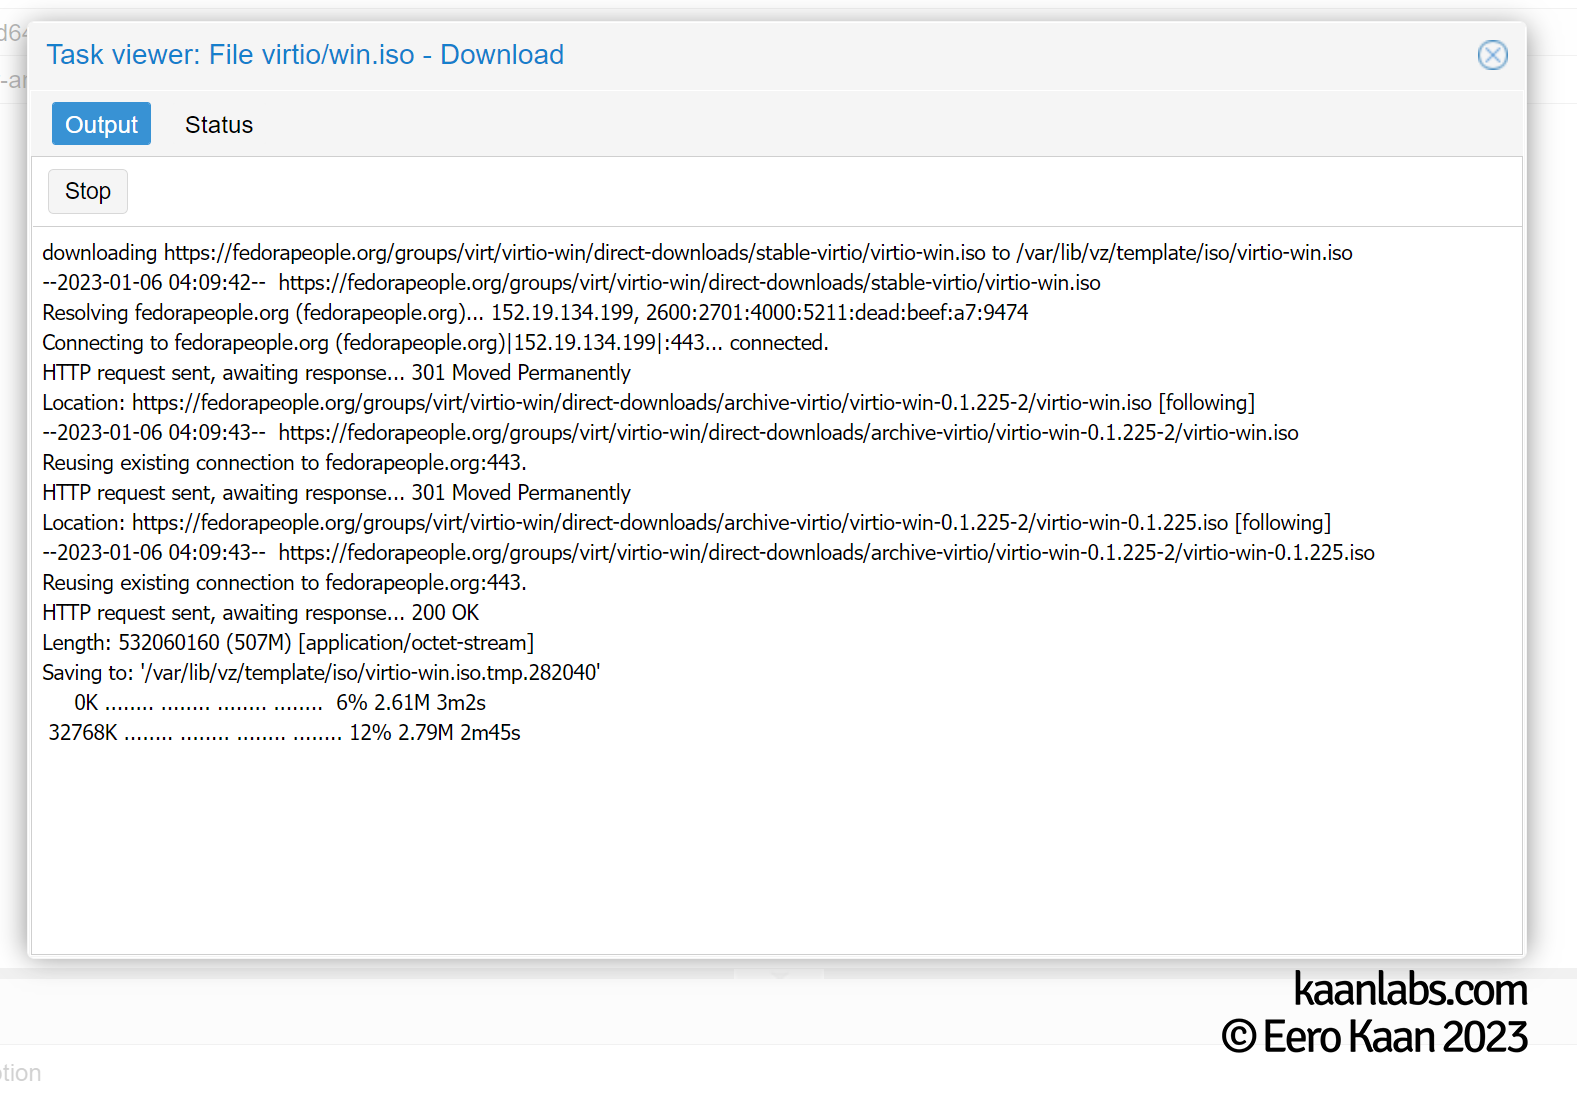
Switch back to Proxmox and download the latest stable VirtIO driver version if you don’t have it already. You can do that under the volume, where you normally store your system ISOs and click on Download from URL.
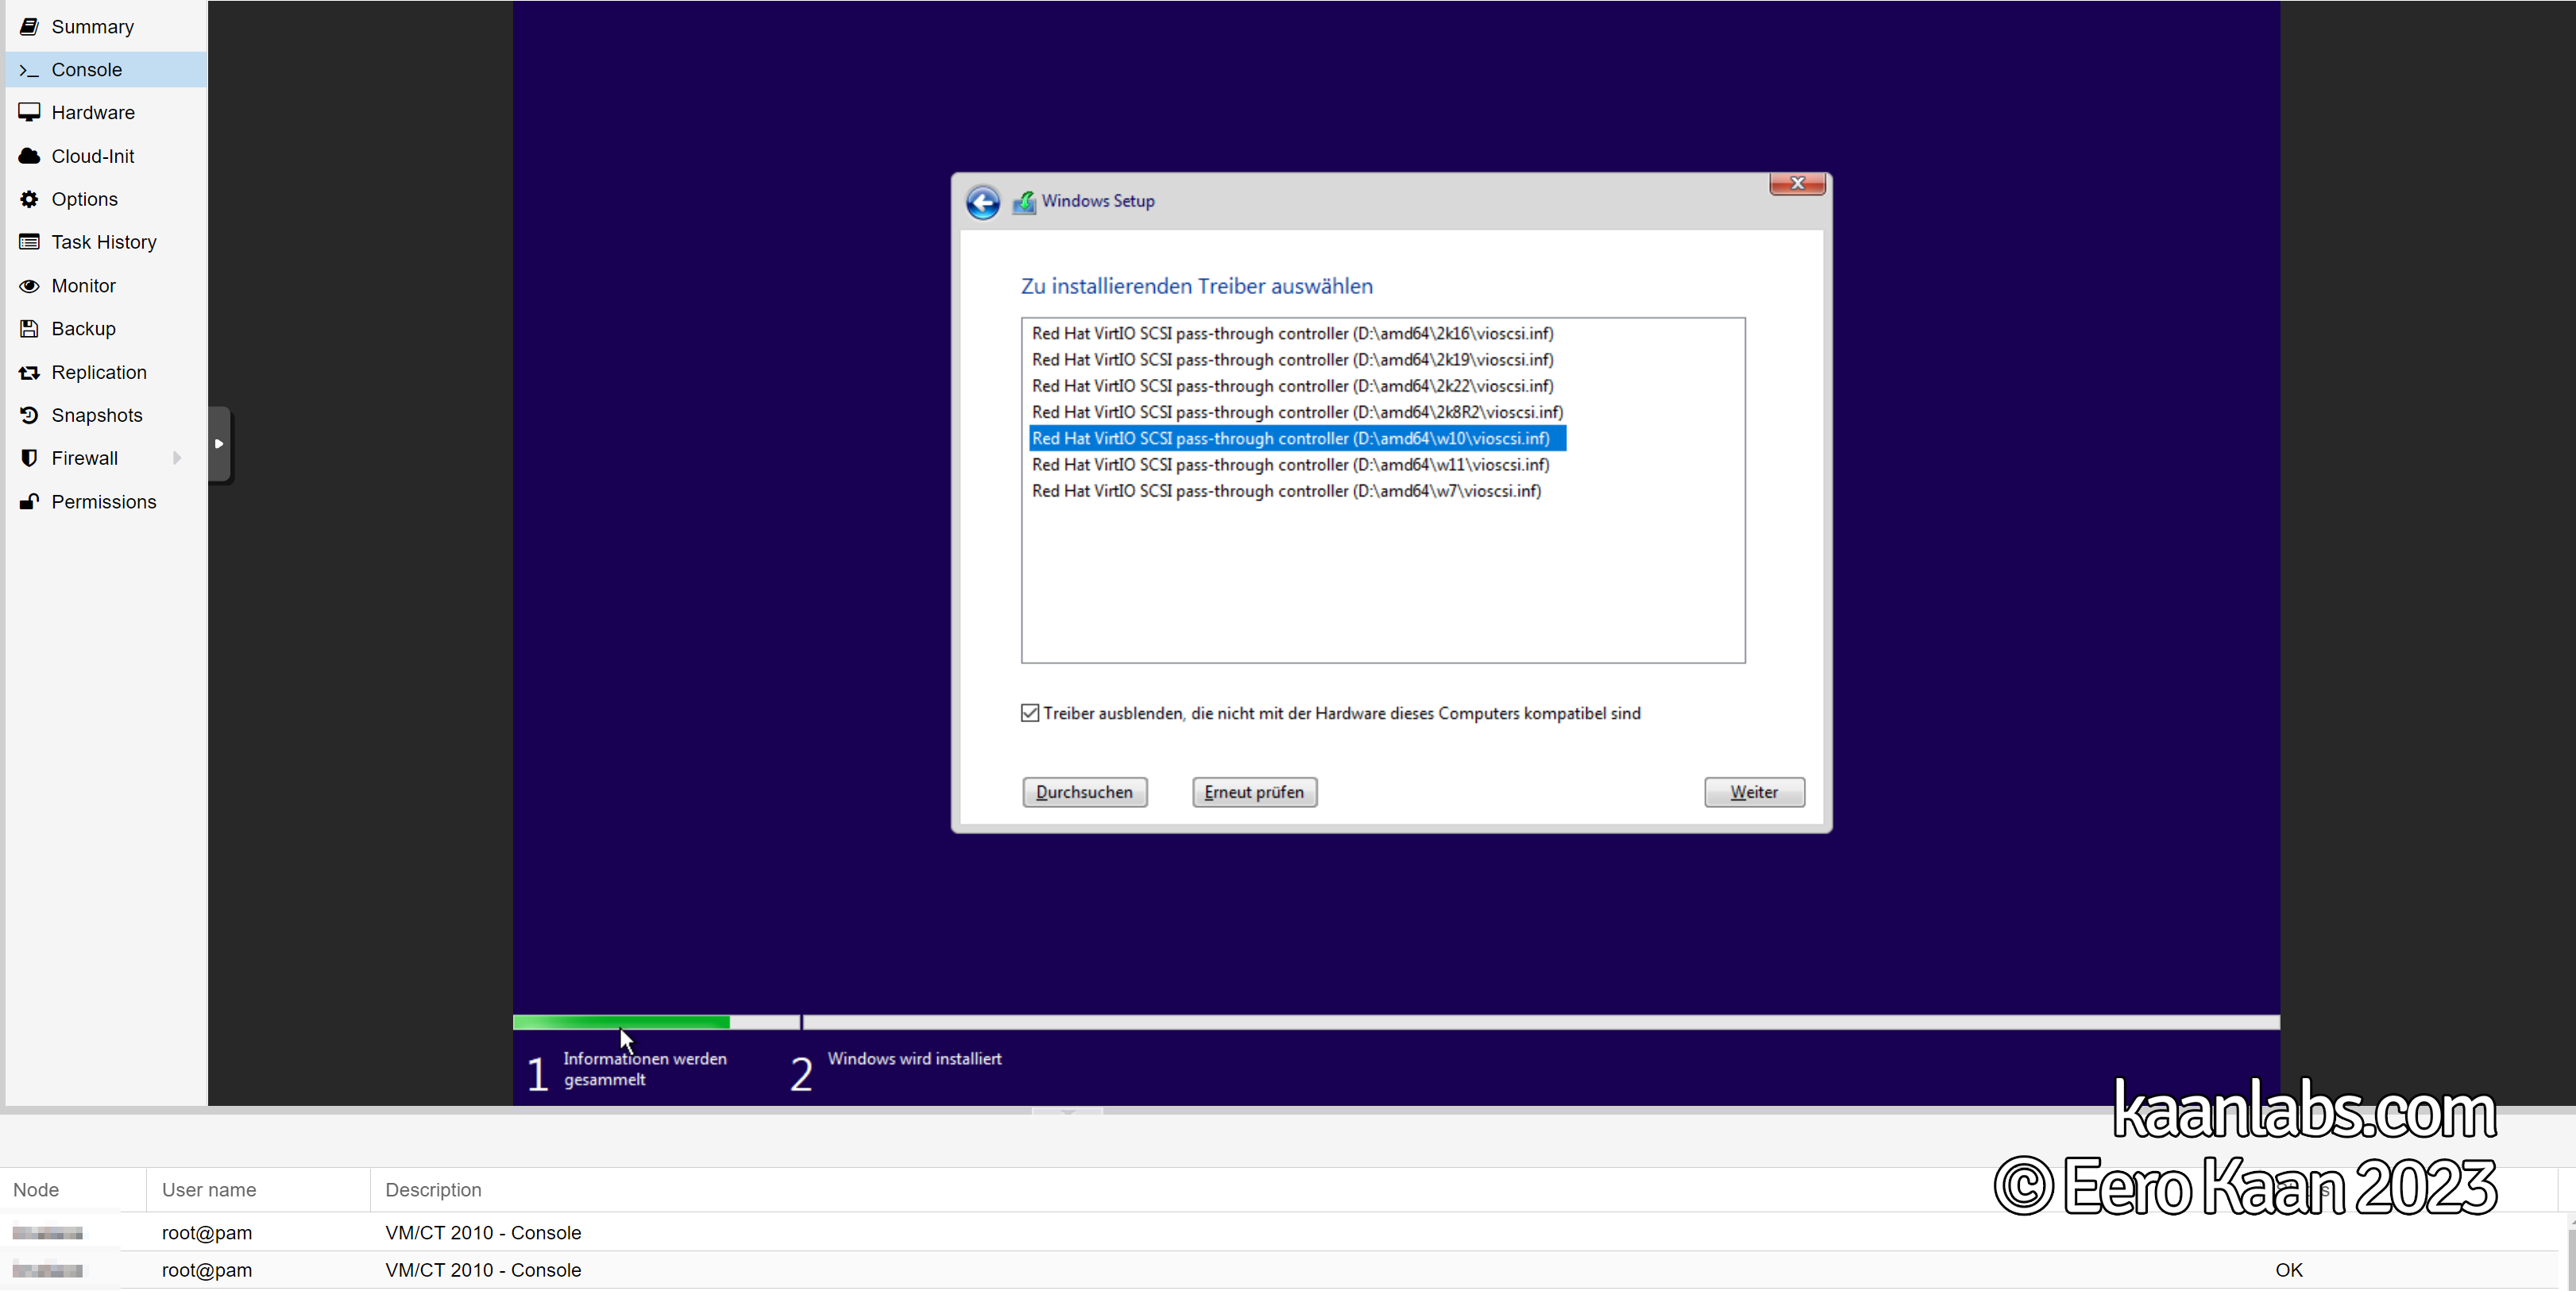
Replace the Windows ISO in your virtual disc drive with the VirtIO drivers ISO and switch back to the Display Console. Click on Load drivers and select the correct SCSI VirtIO driver to be installed.
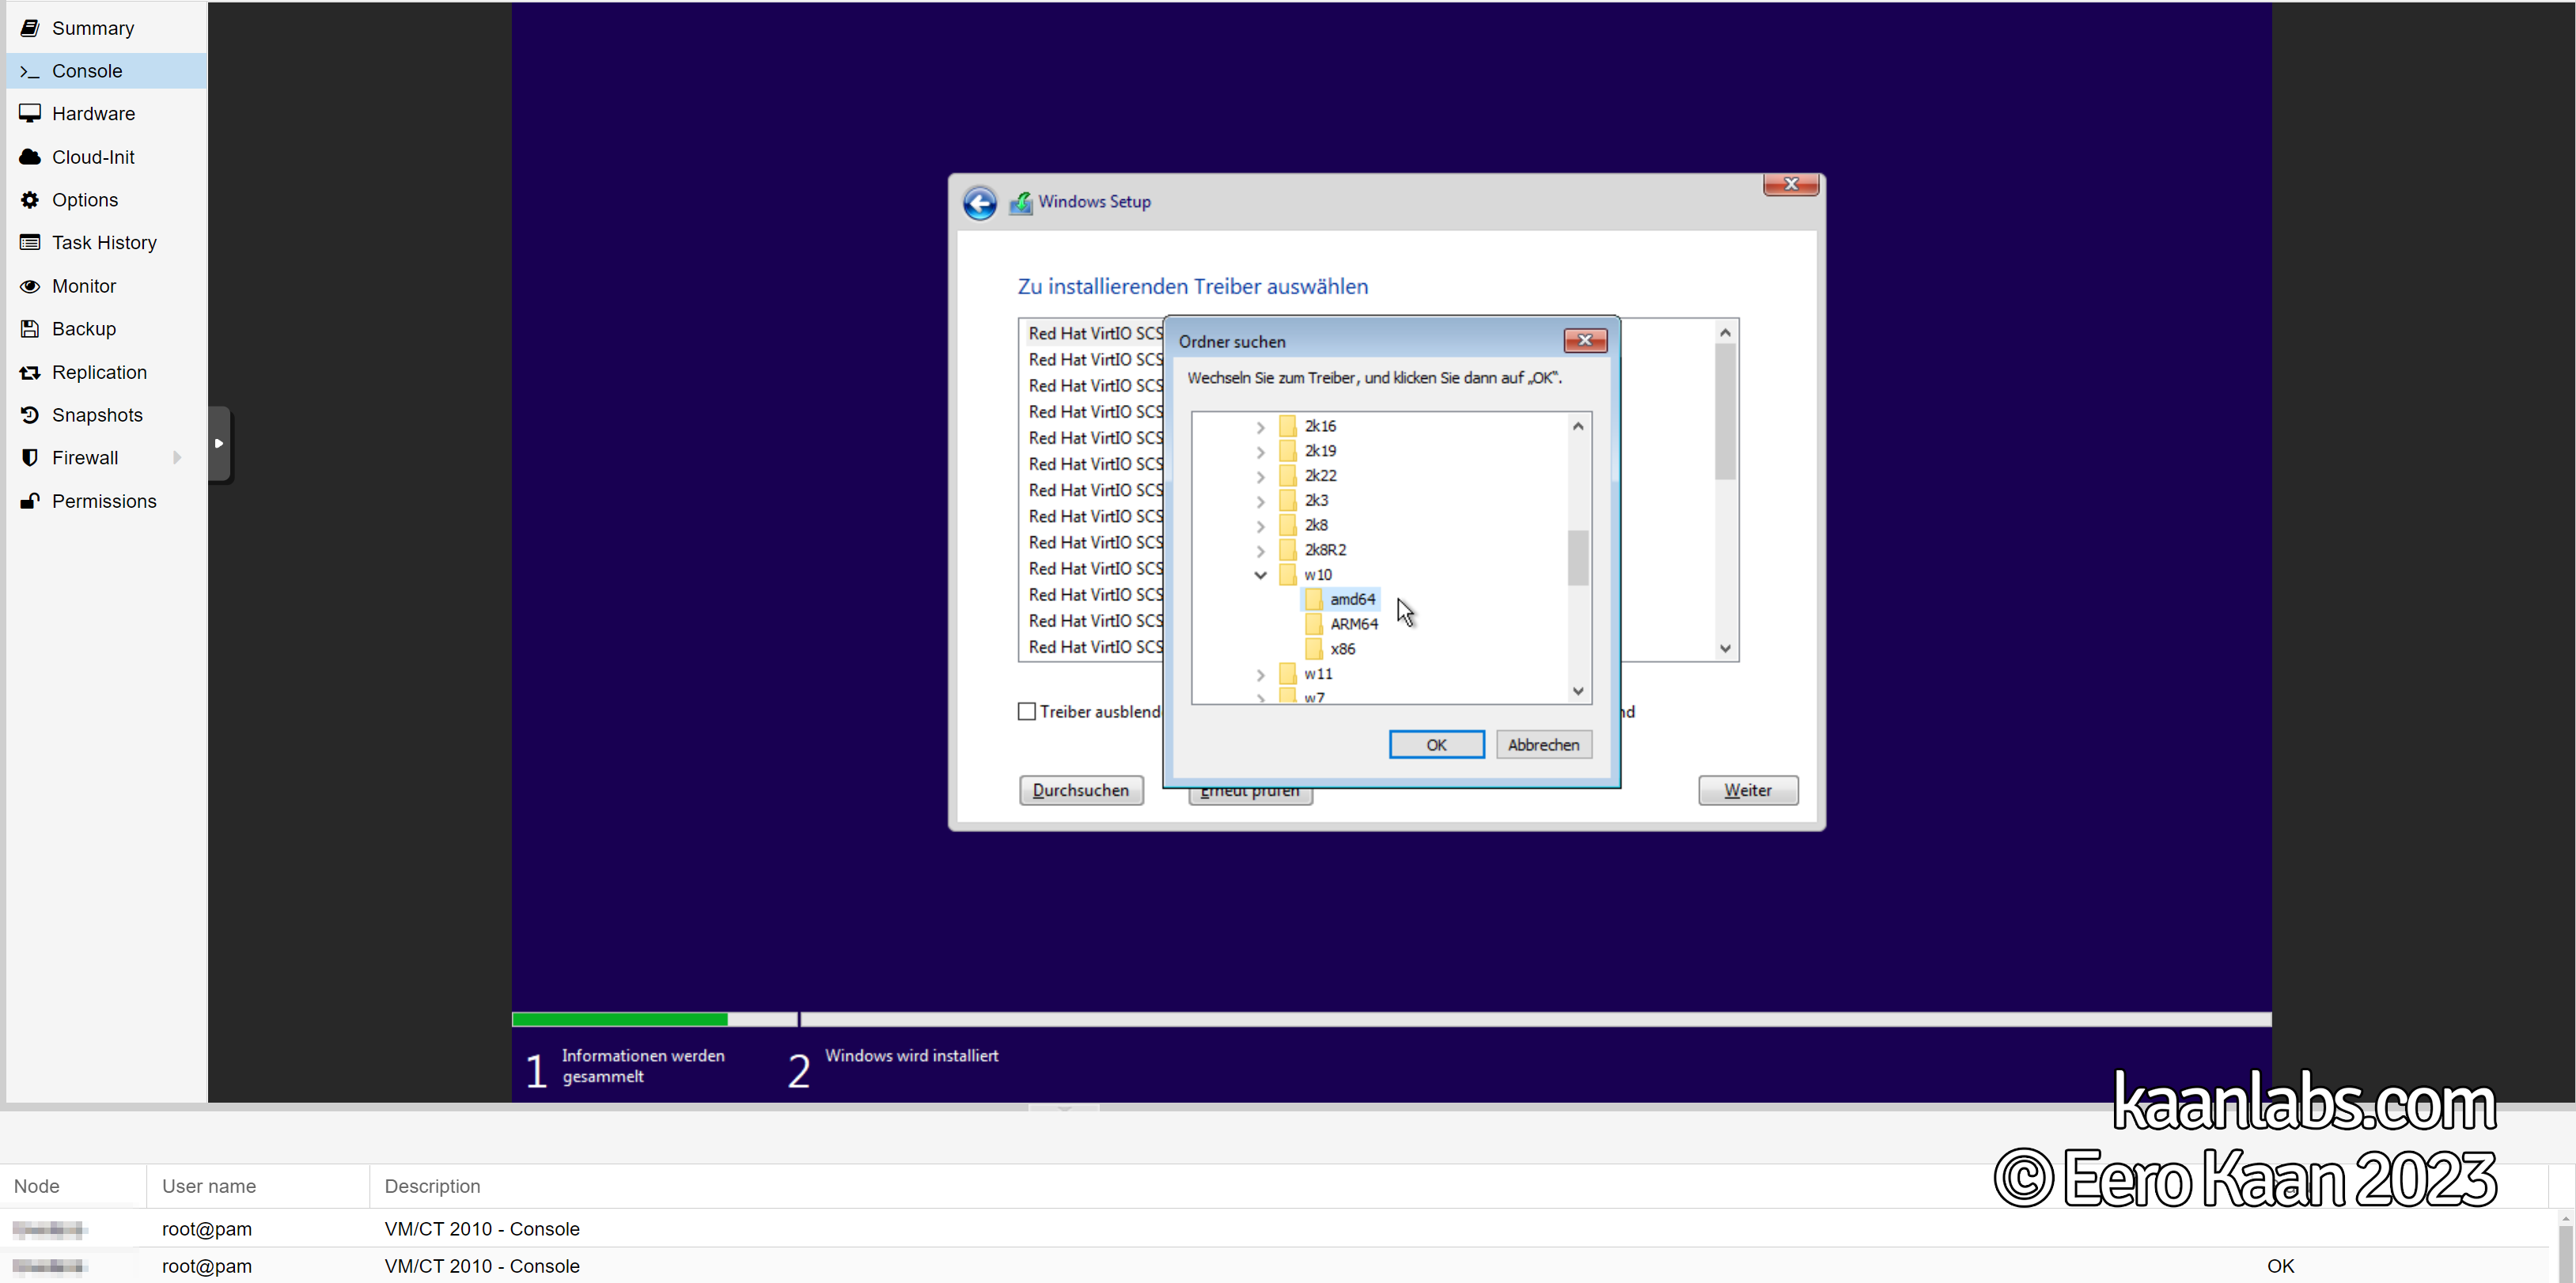
Back at the drive overview, the drive is now listed there, but don’t continue the installation just yet. Go back again to the Load drivers menu, take out the Hide drivers checkbox and continue by selecting the network cards driver manually under D:\NetKVM\w10\amd64.
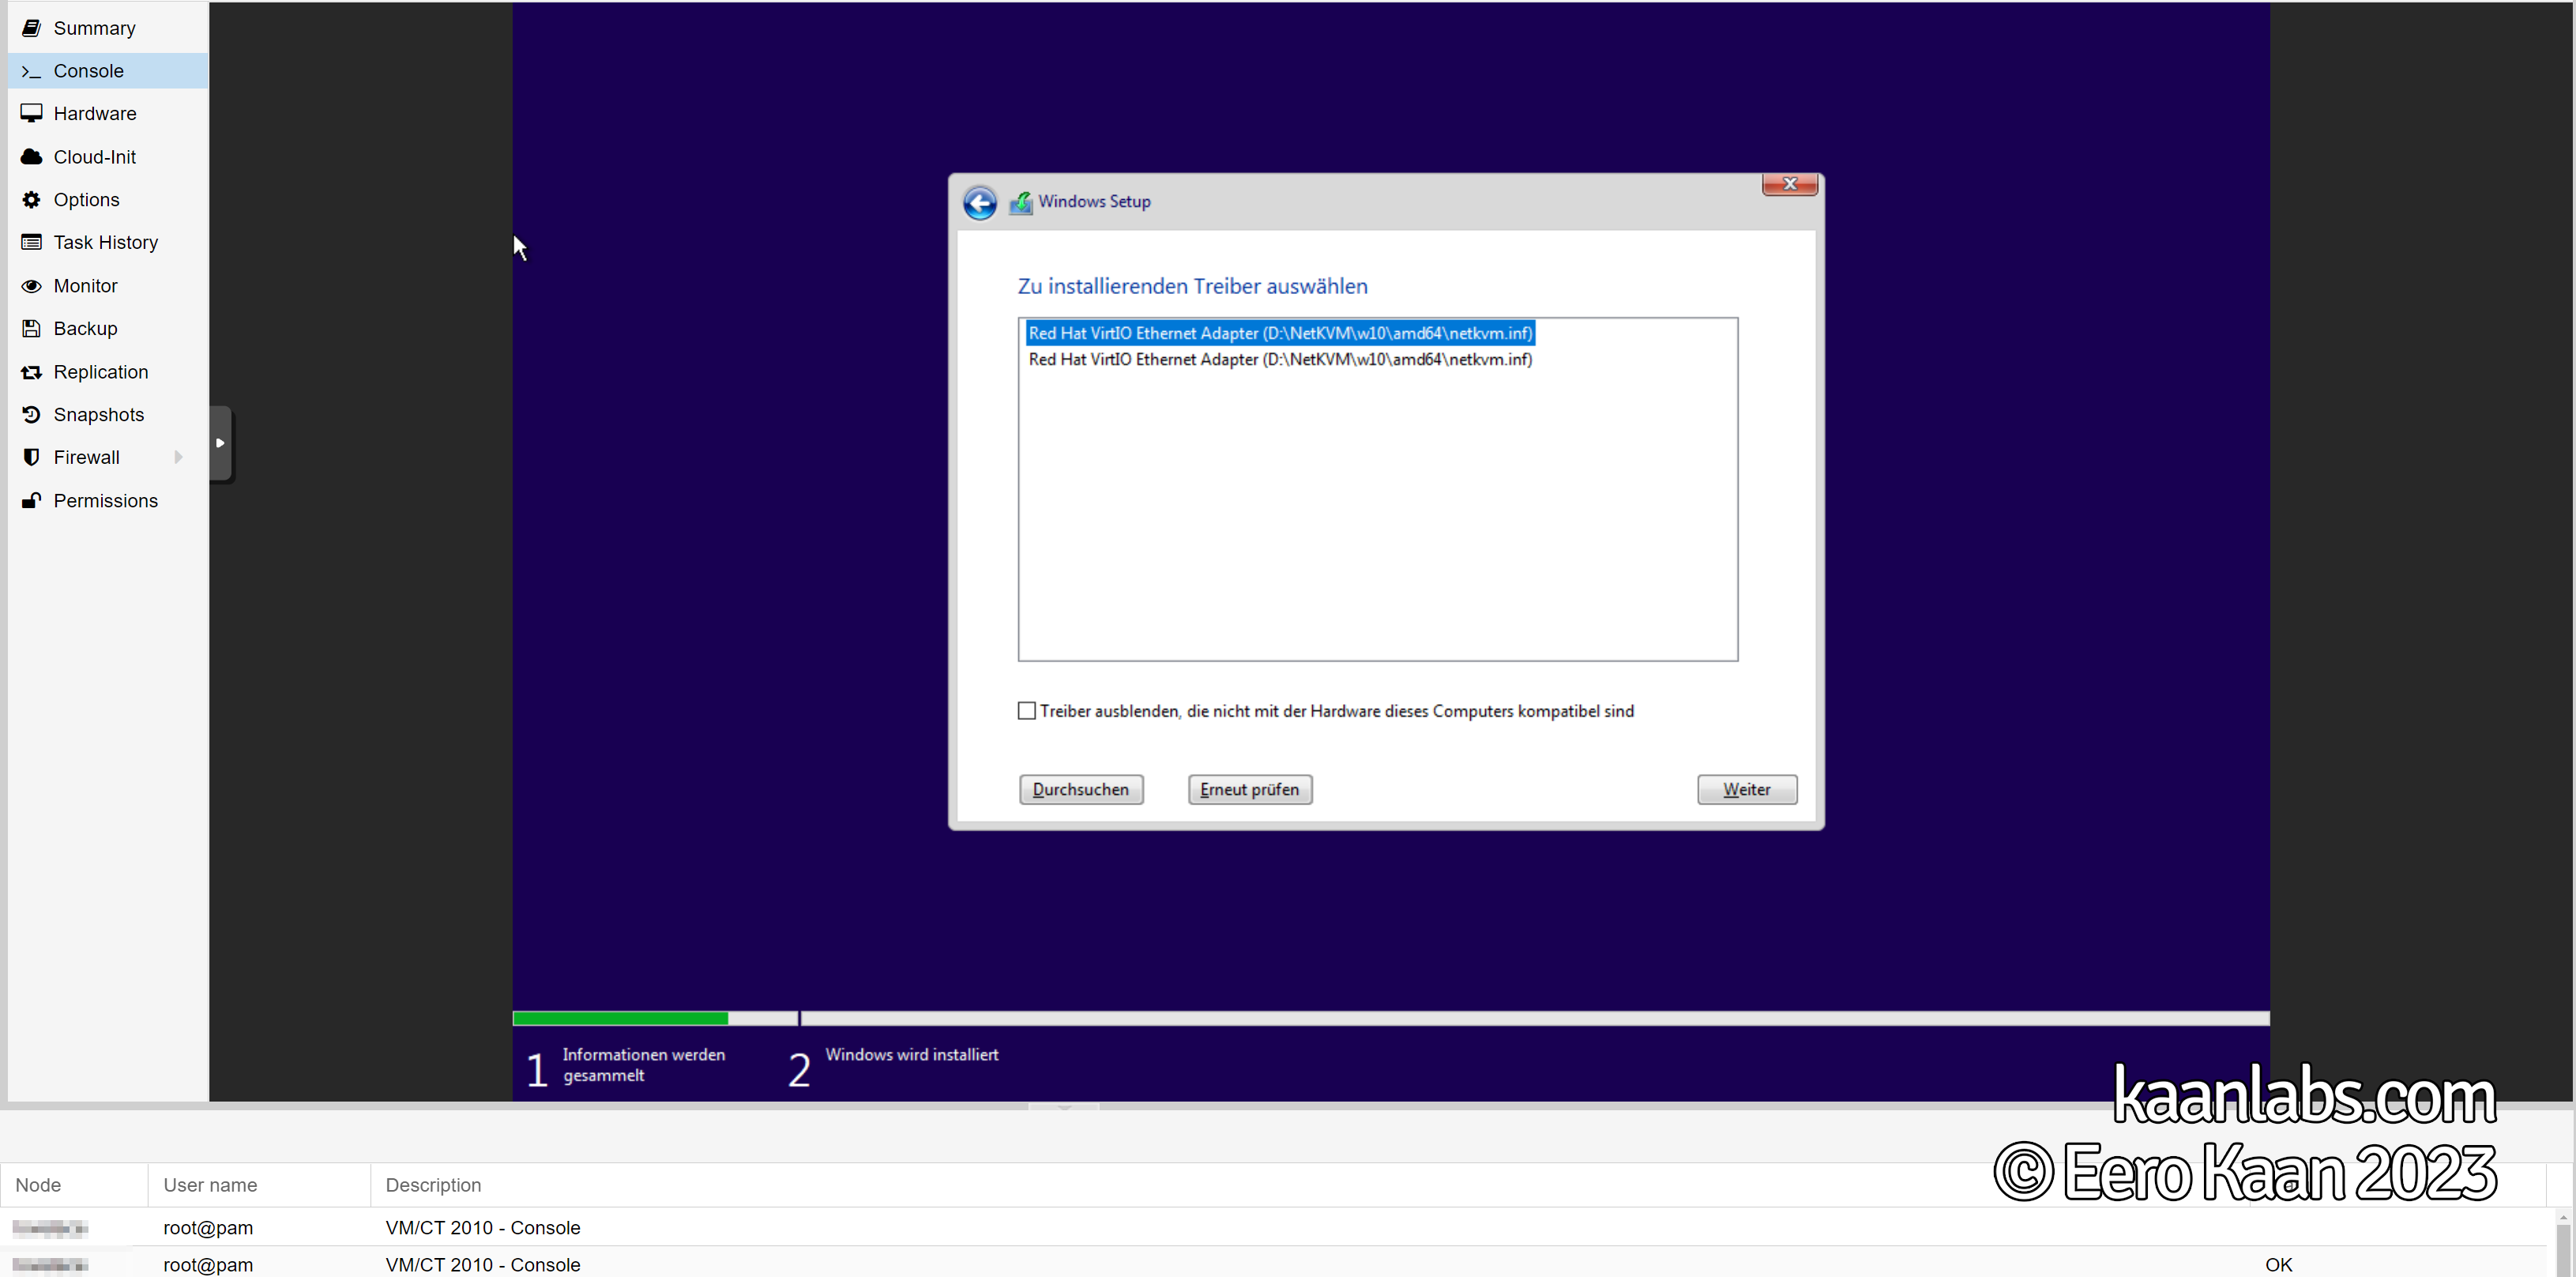
After the driver is installed, continue by replacing the VirtIO drivers ISO again for the Windows ISO in Proxmox. Click on Refresh in the Windows installer and begin the installation by clicking on Next.
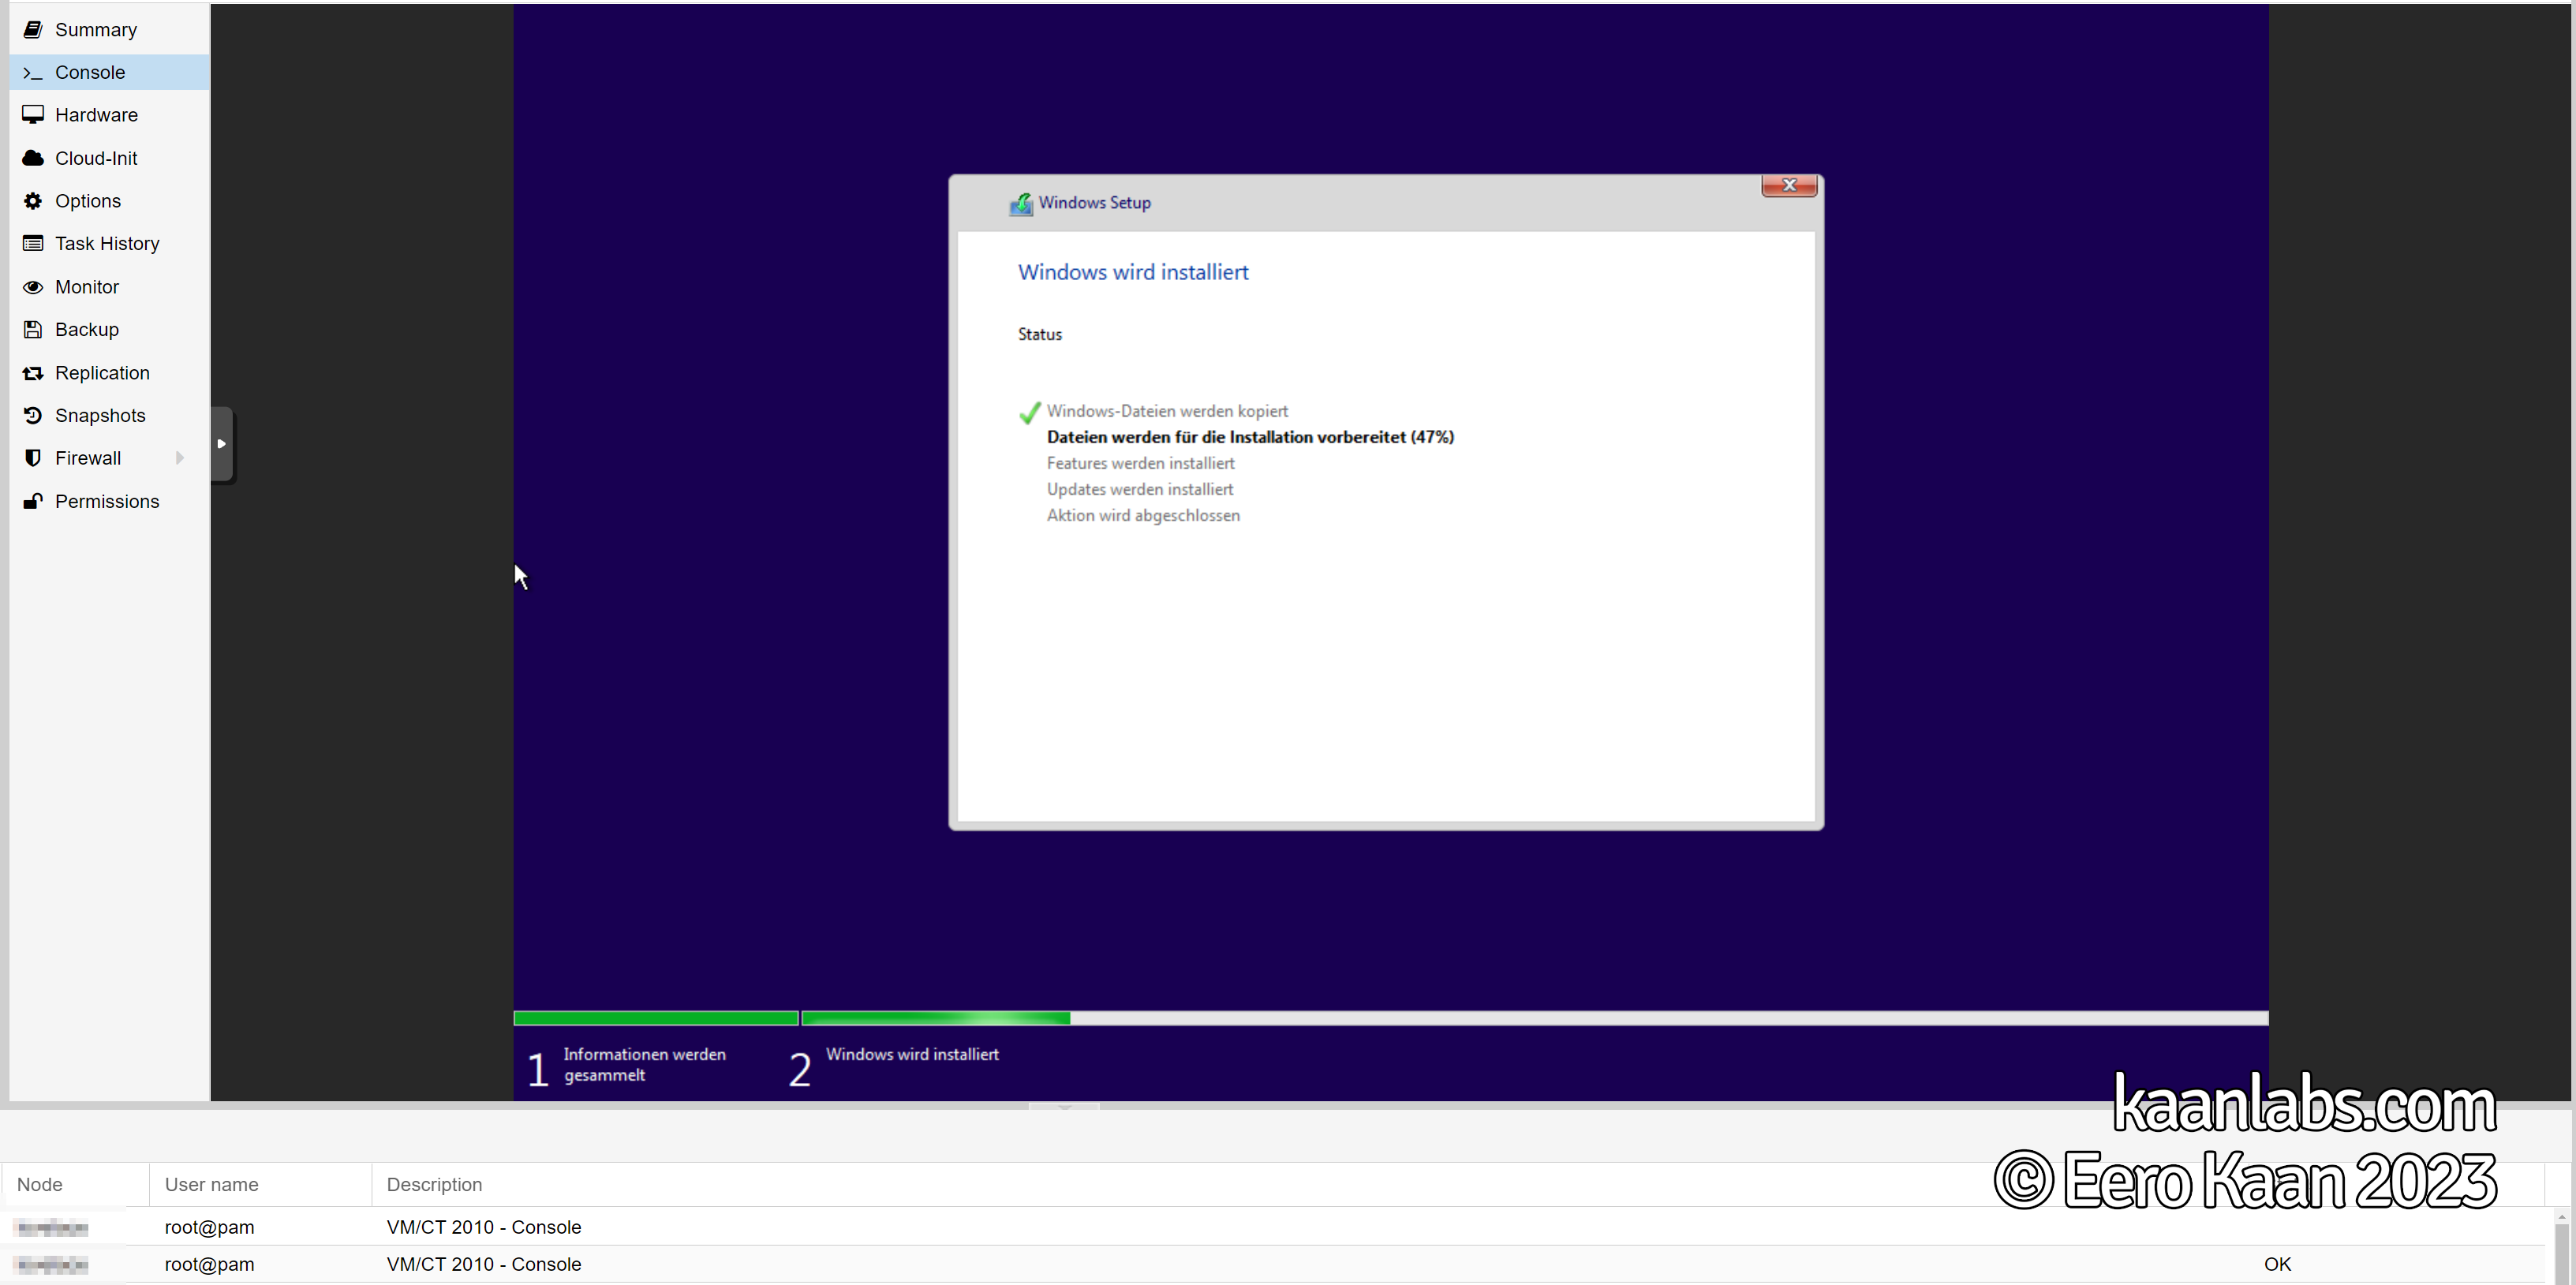
Let the installation process run through, enter your information within the OOBE and finally get into Windows.
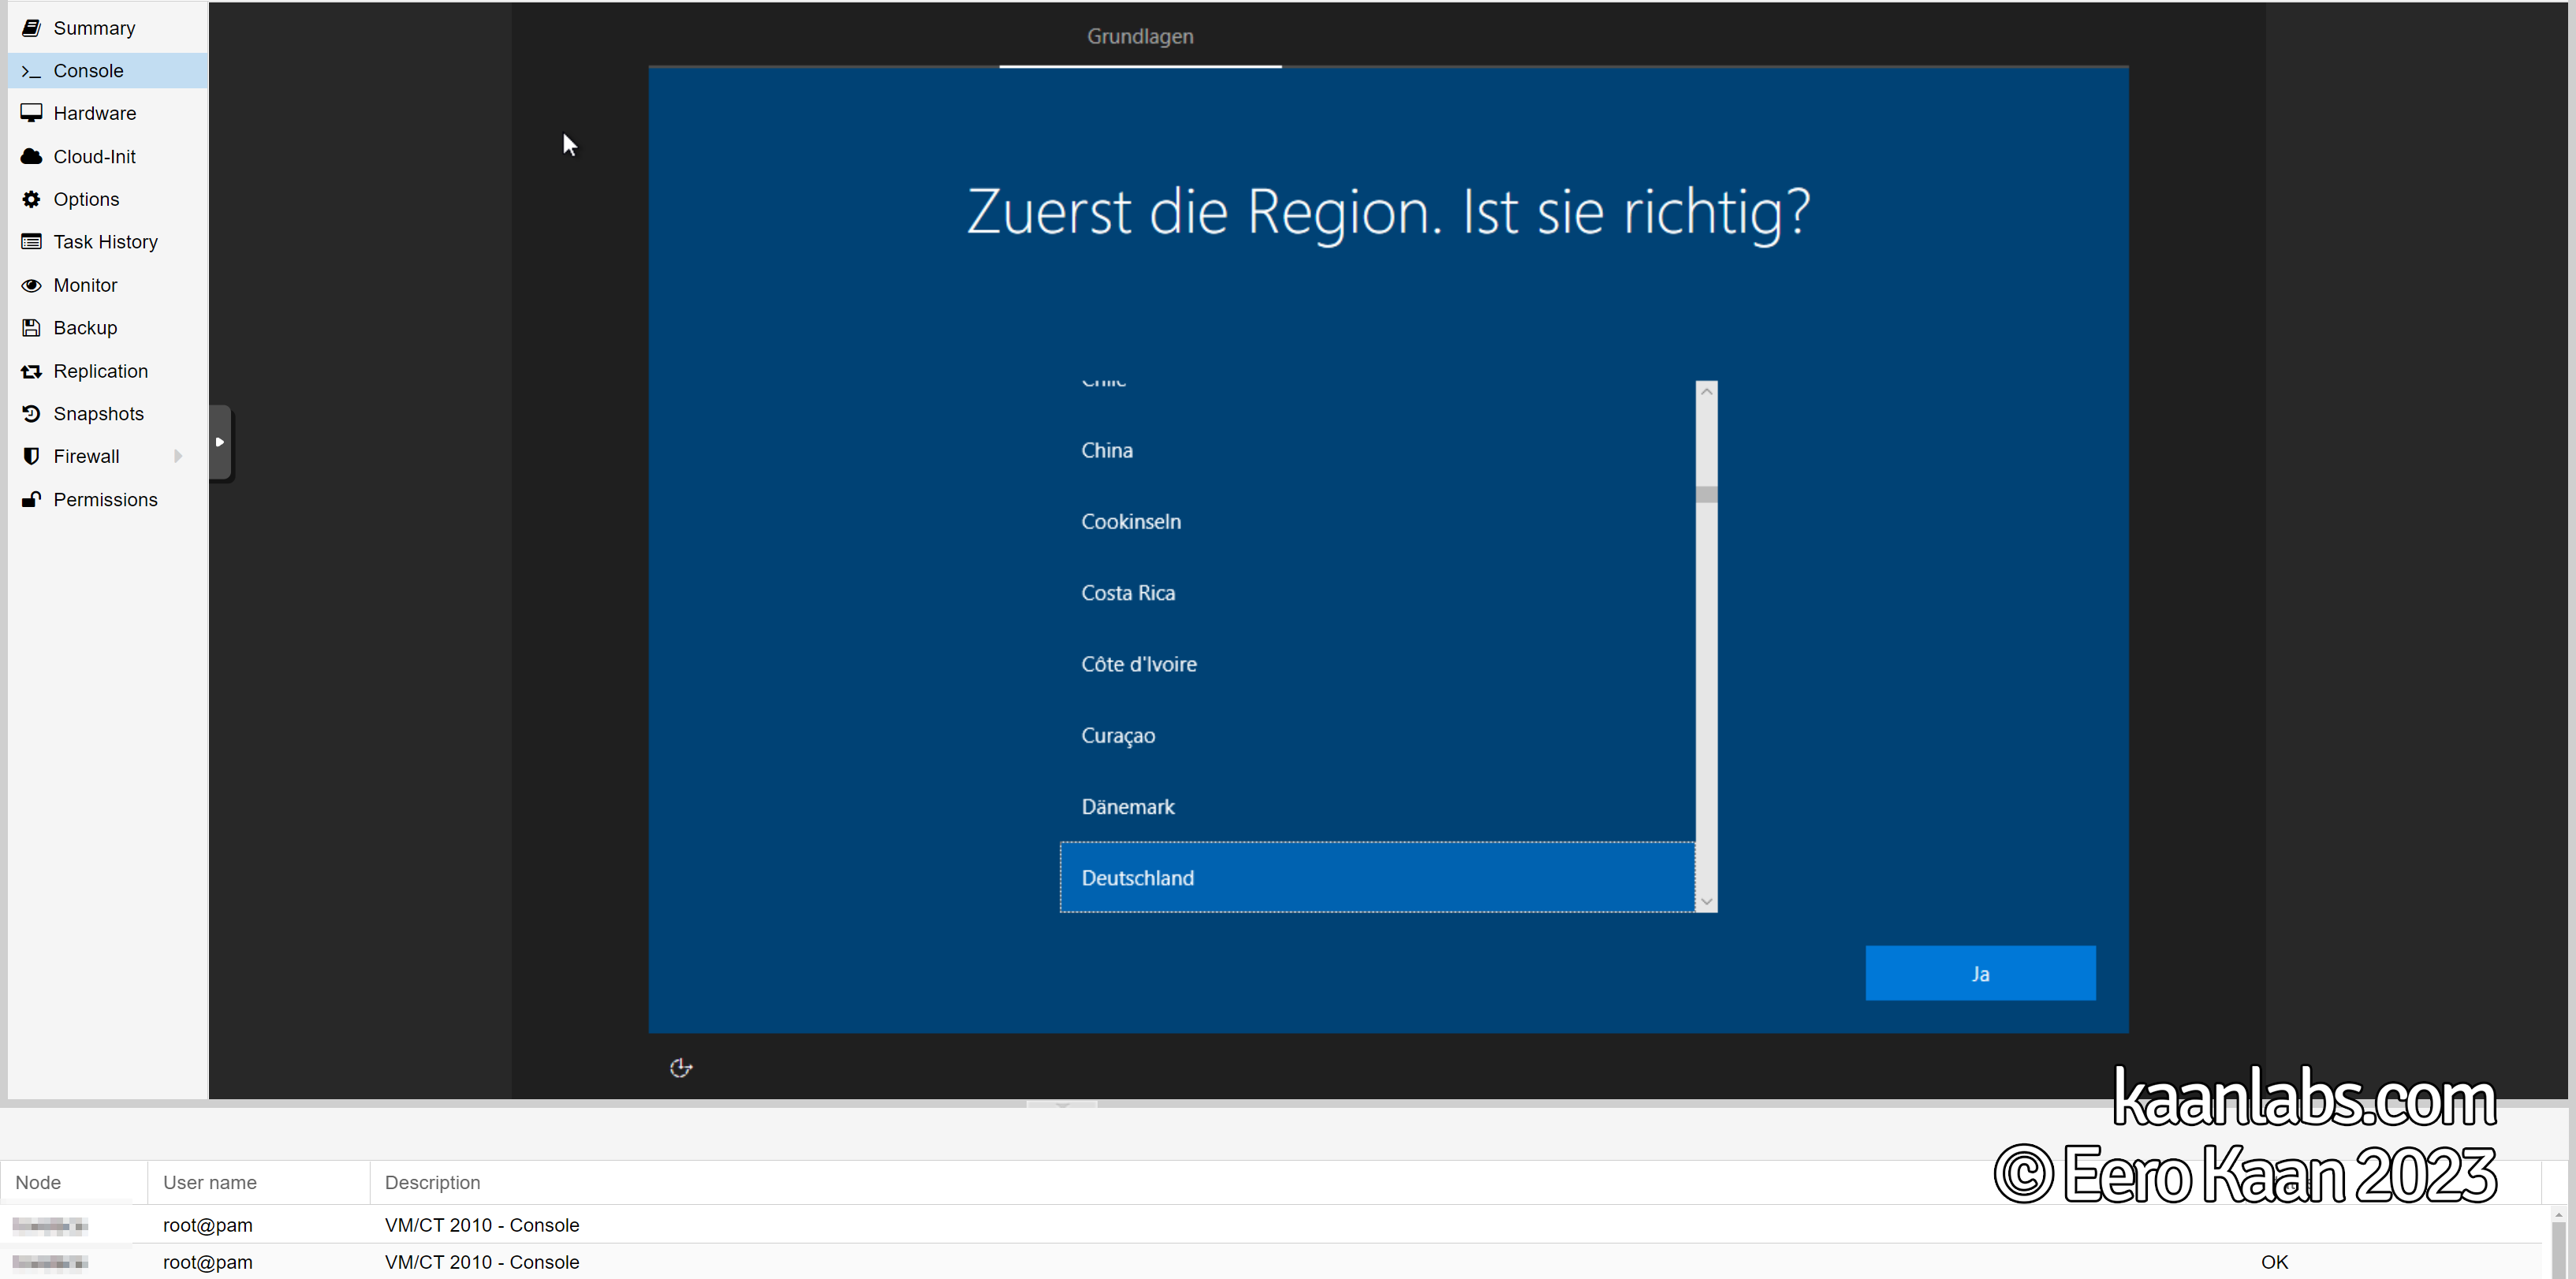
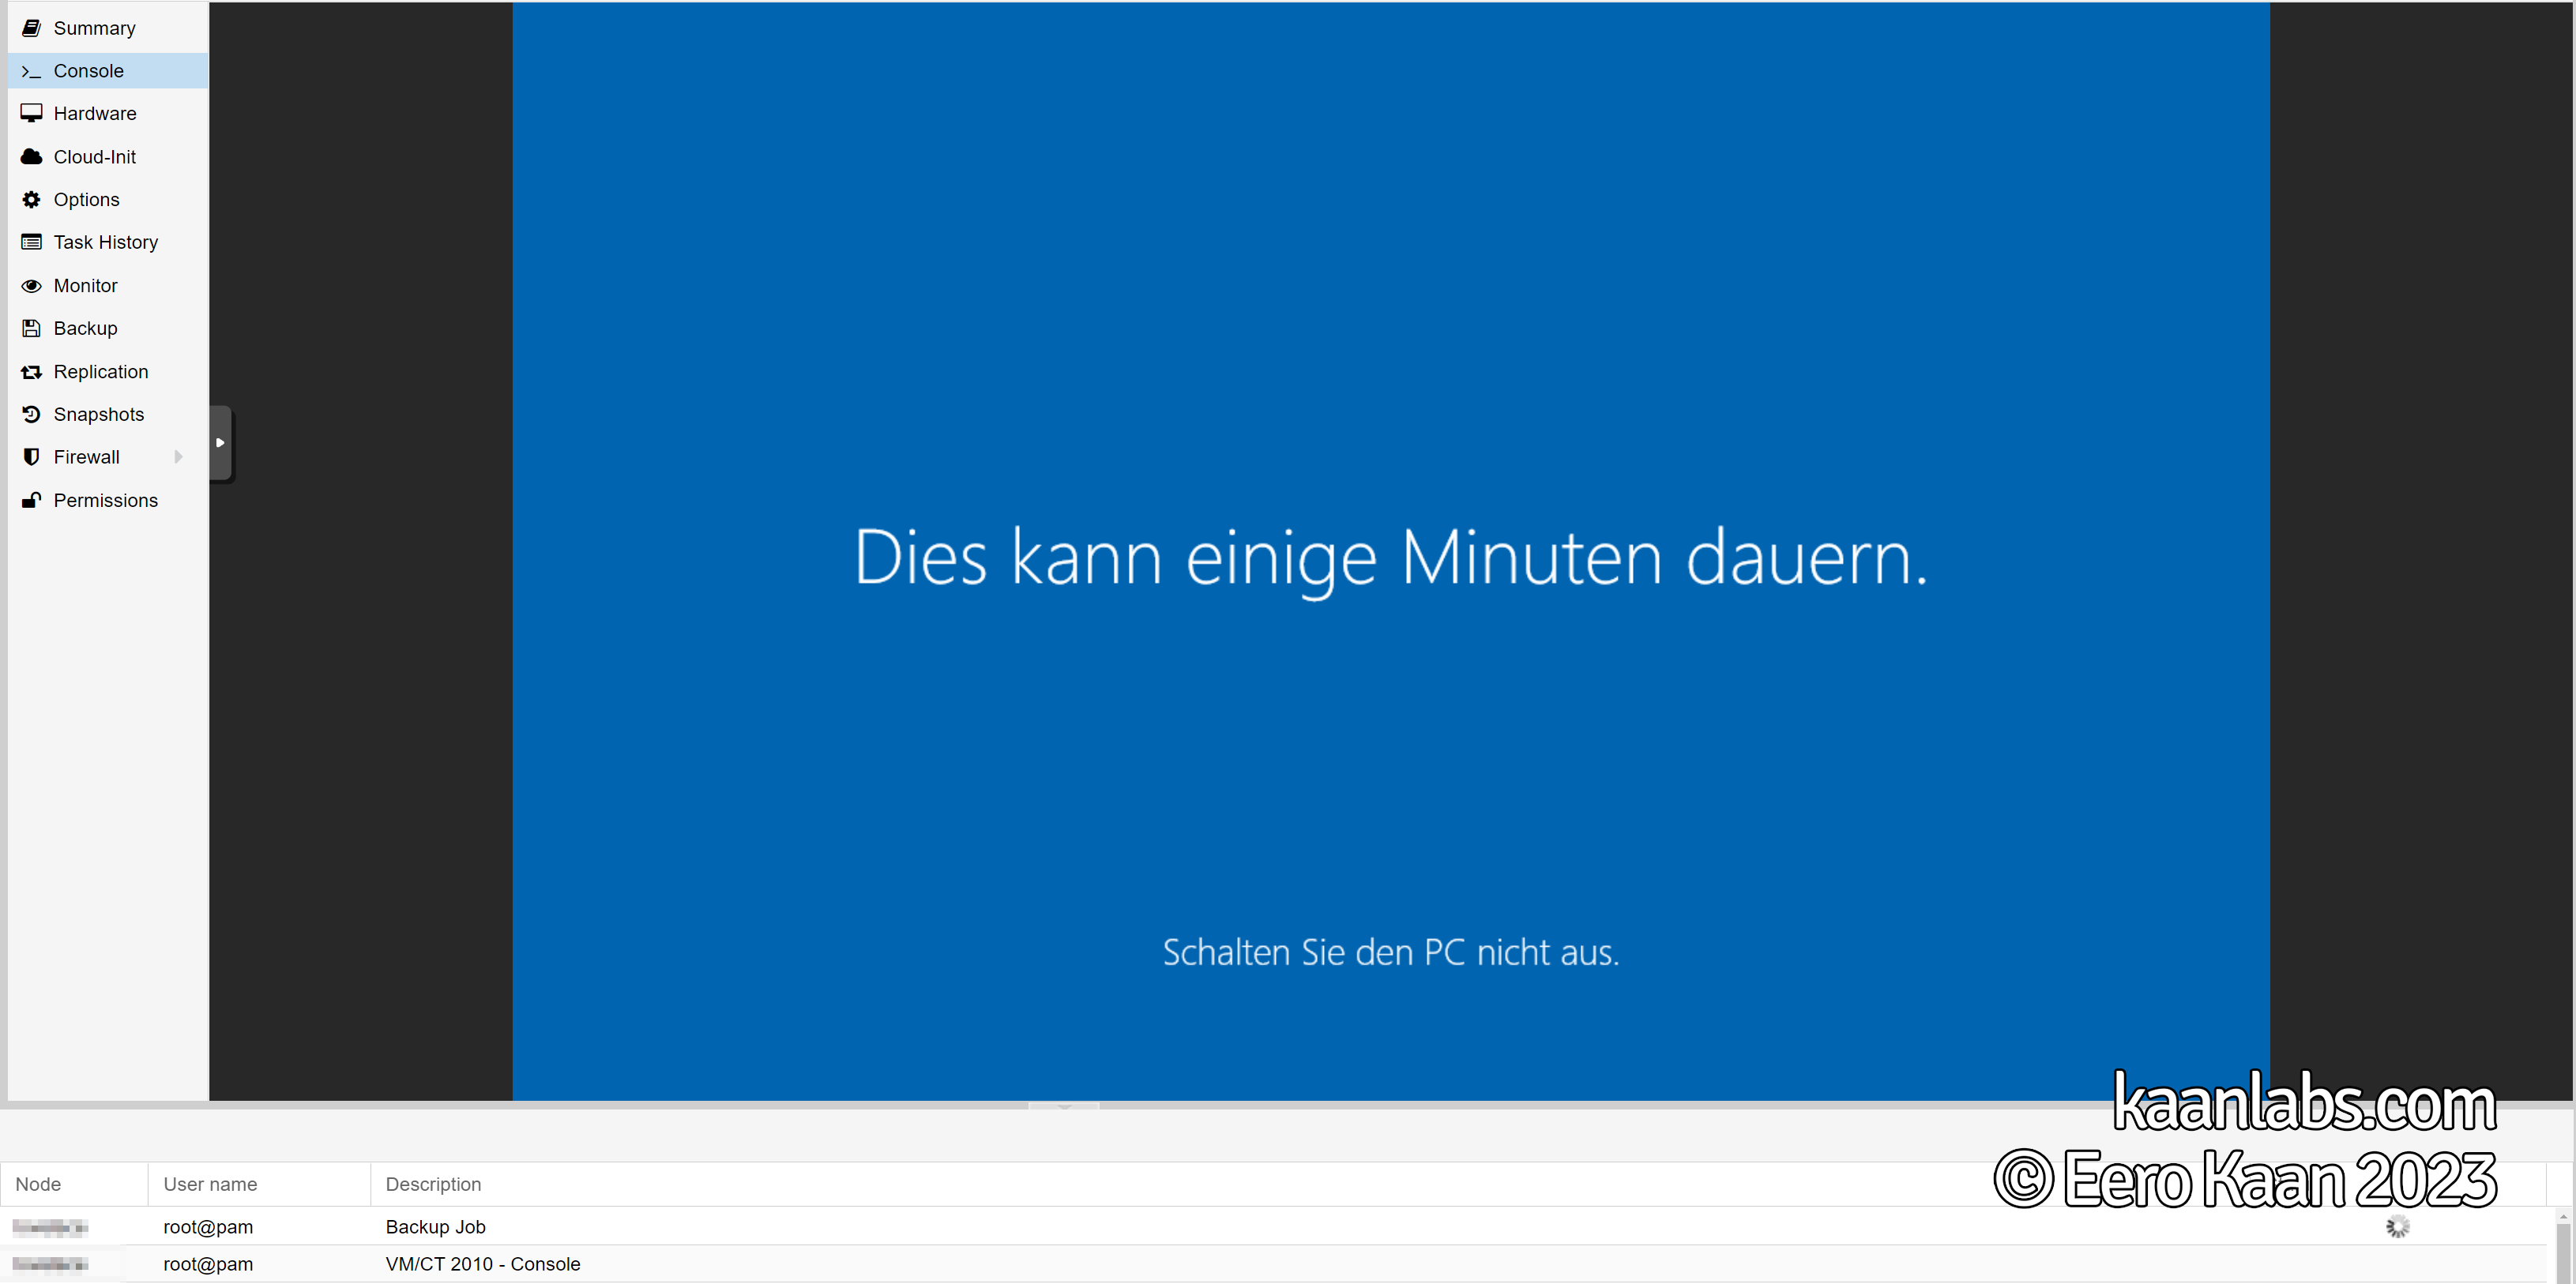
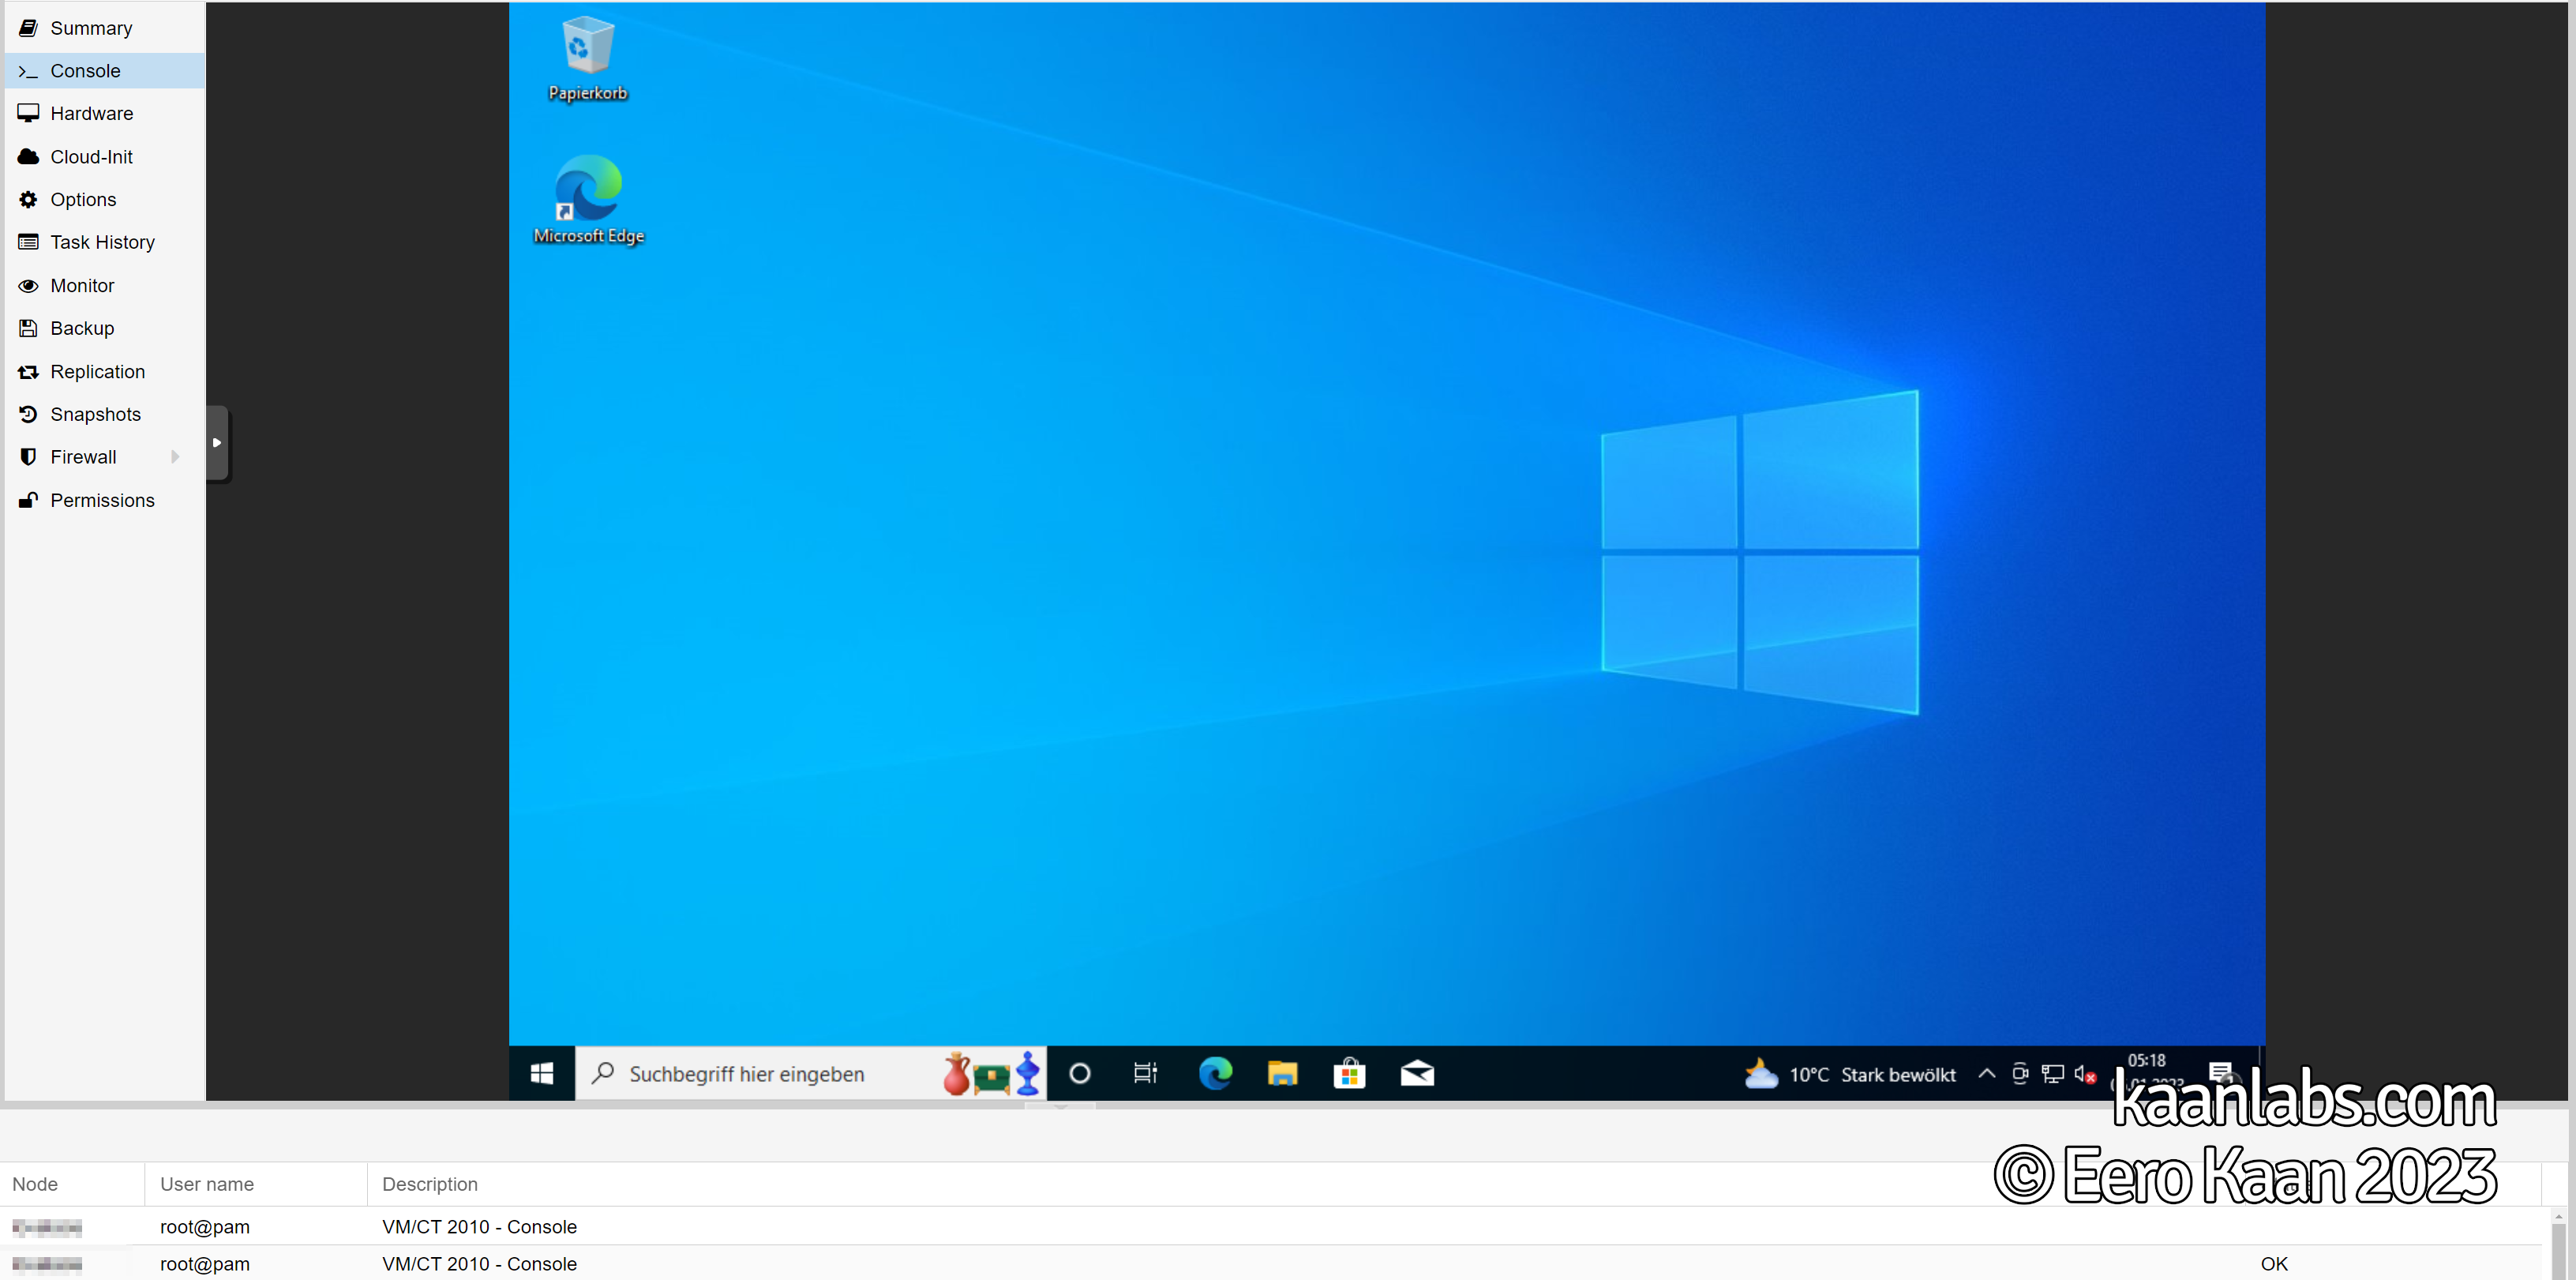
Here we are; Windows 10 is installed now. You can set up first little customizations (e.g. Install Google Chrome, remove bloat via Sycnex/Windows10Debloater, set up screensaver timeouts, etc.) if you want to.
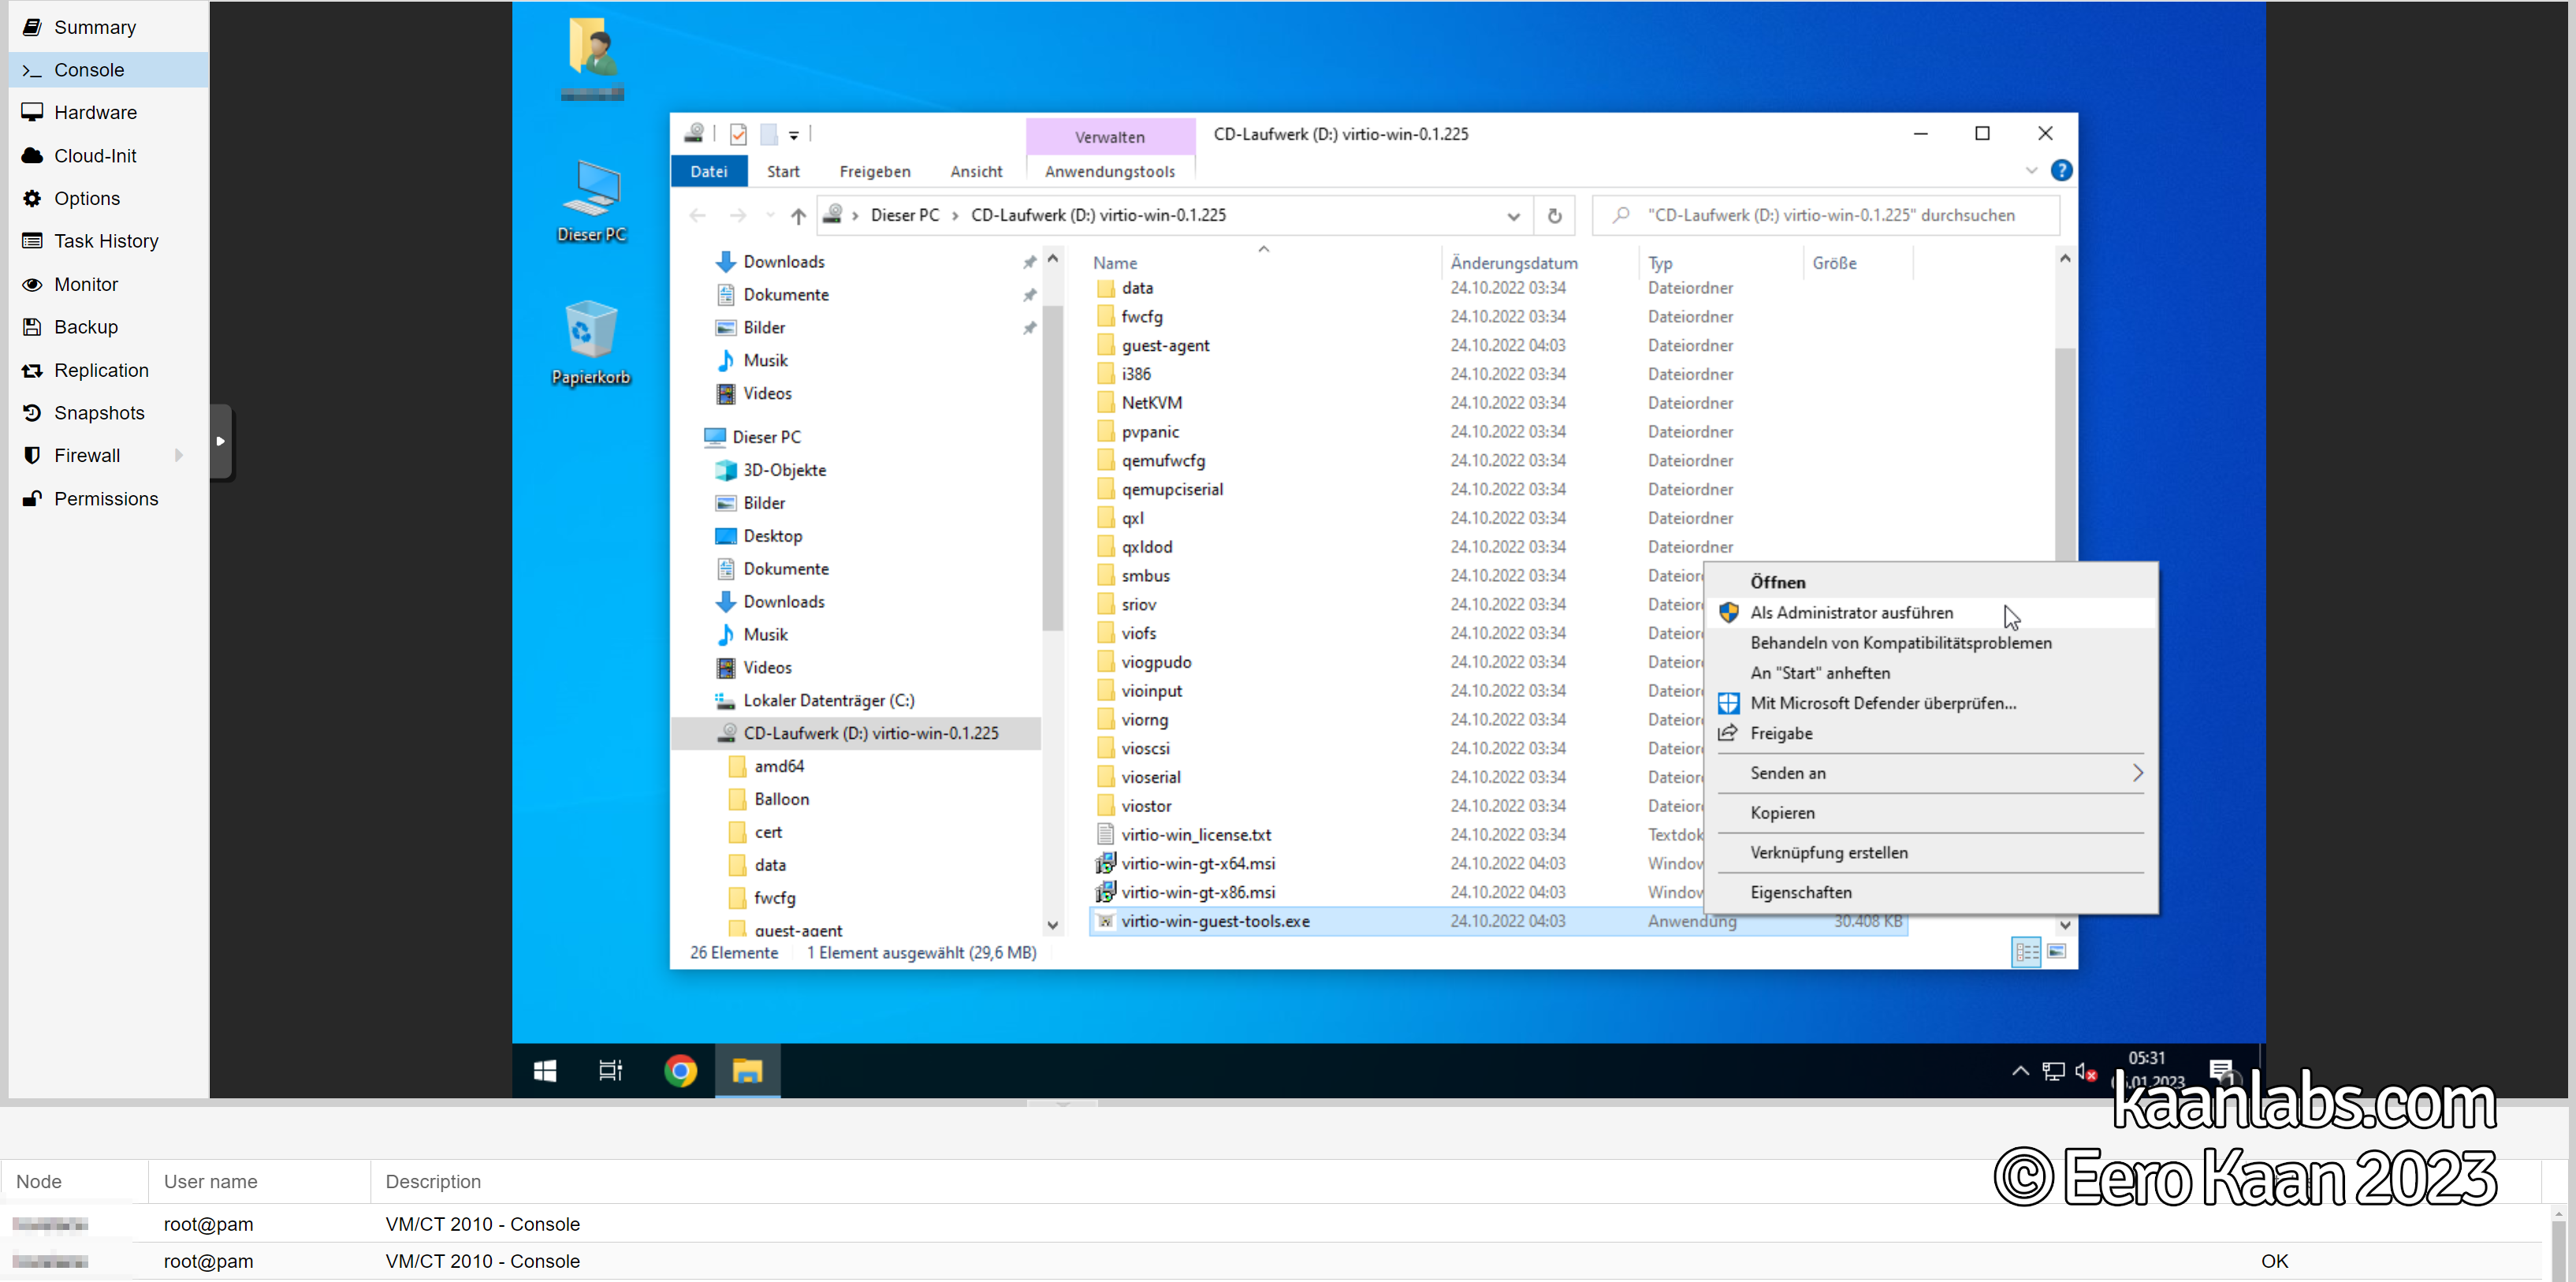
The next official step anyways is to install the remaining VirtIO drivers via the VirtIO ISO. So please load up the ISO again in Proxmox and change into the respecive directory in Windows. Execute virtio-win-guest-tools.exe as administrator and follow the given installation instructions.
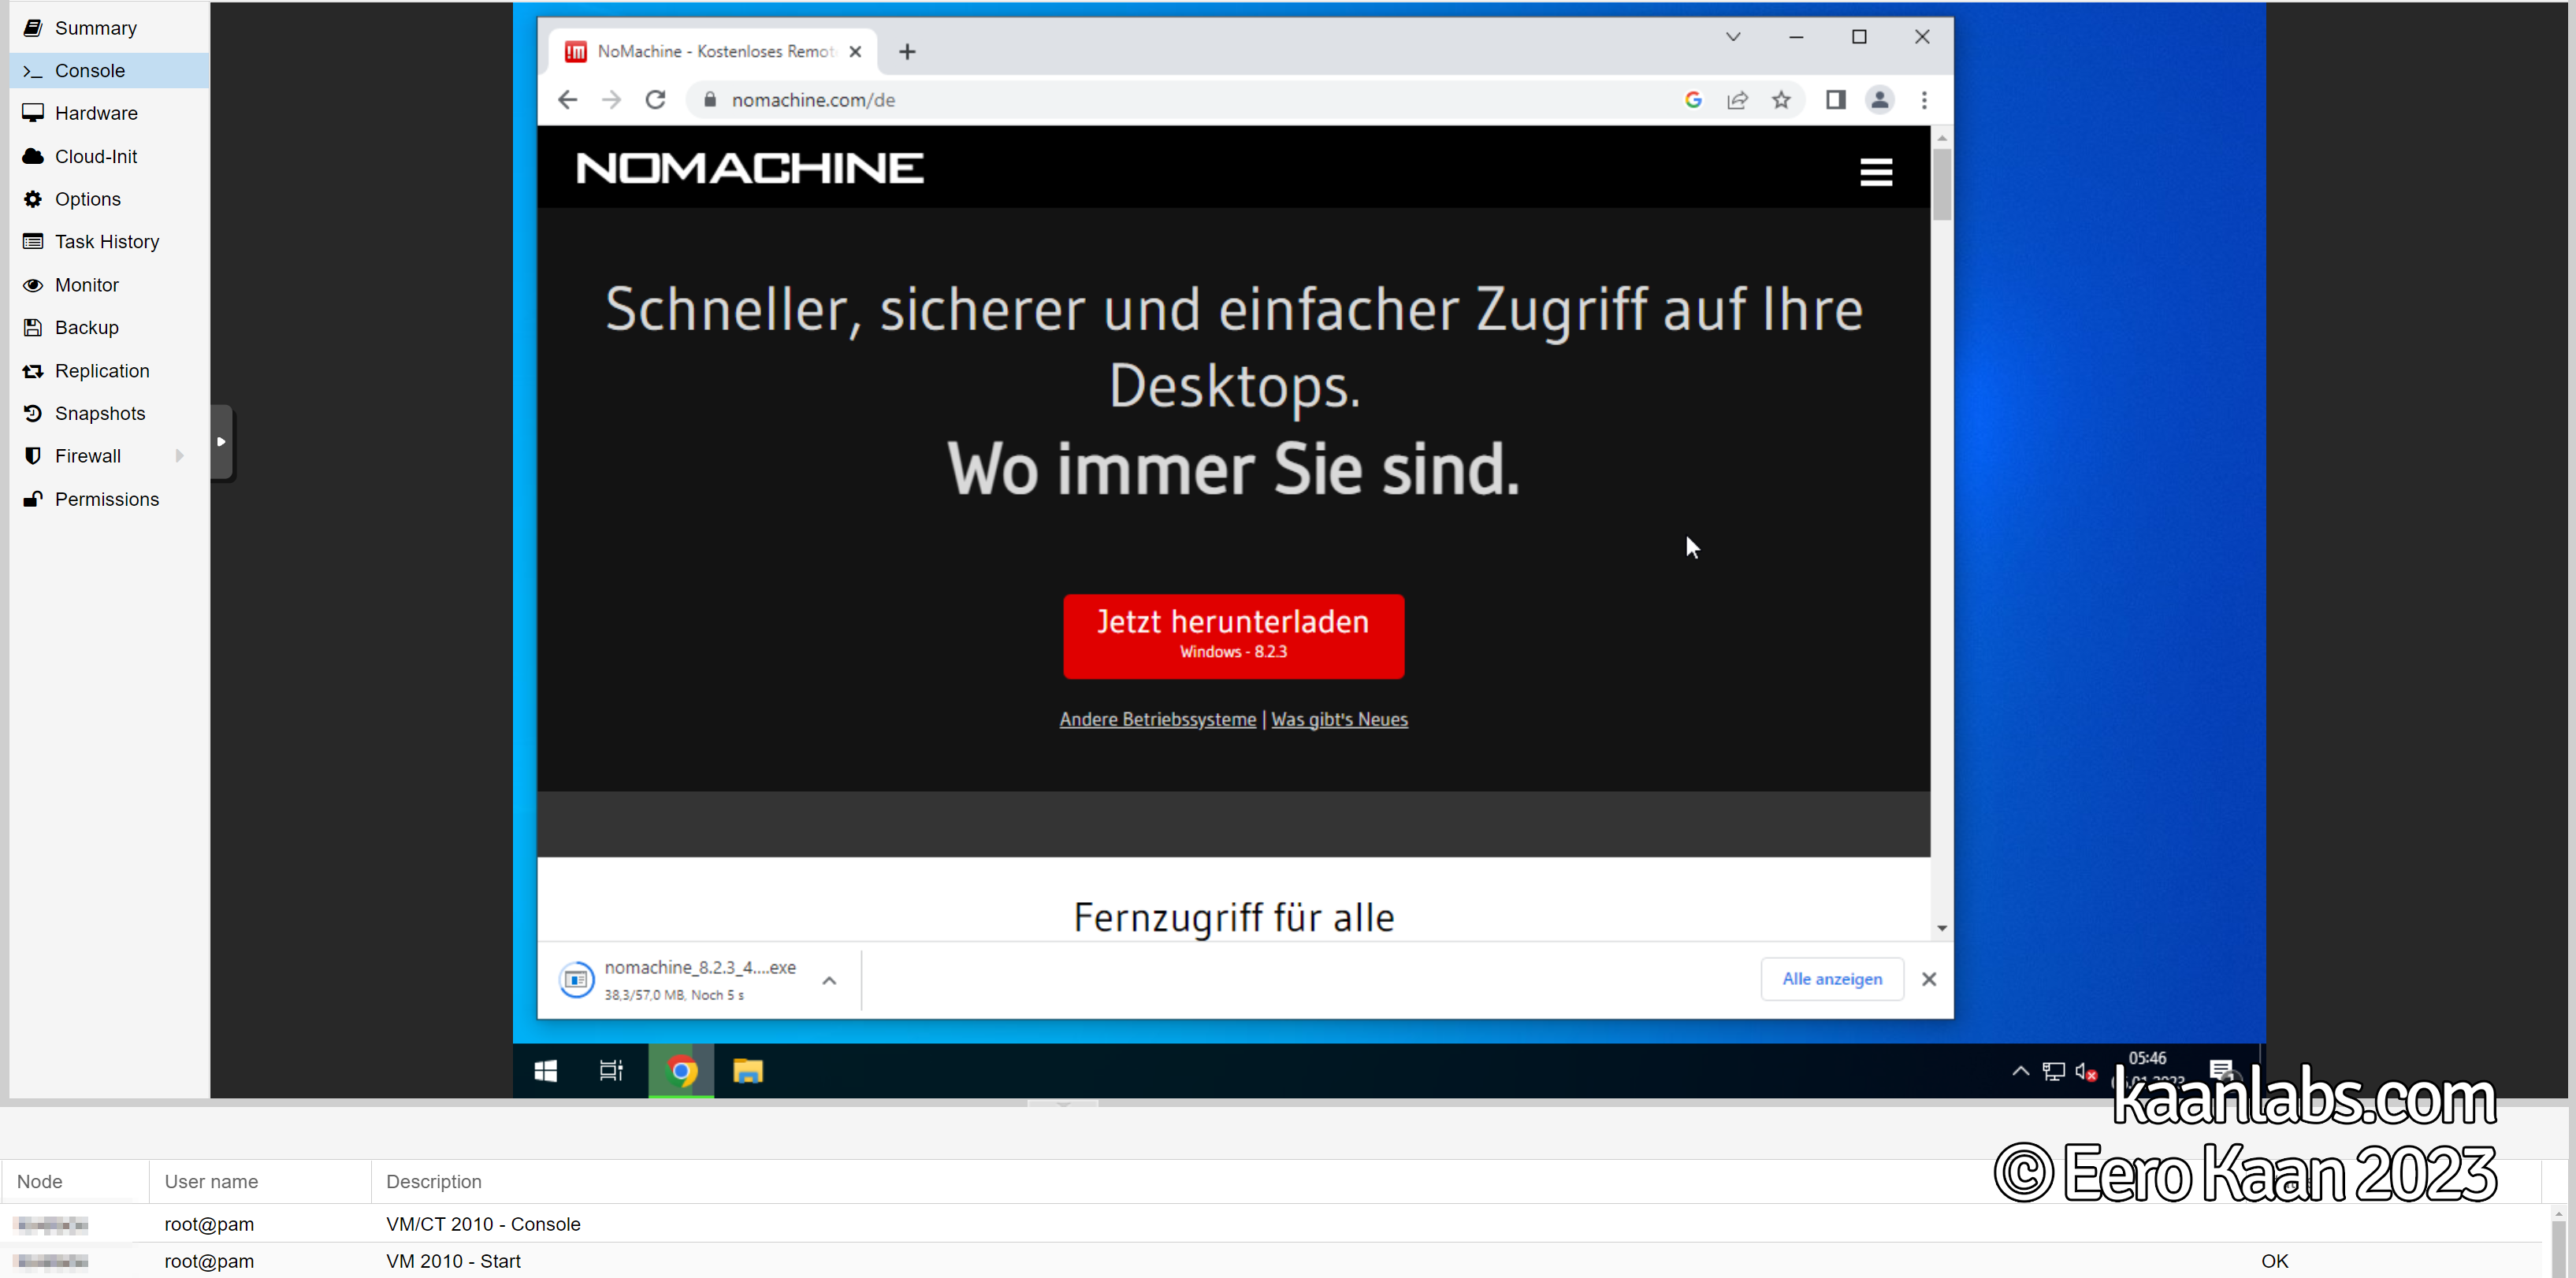
I like to use a tool called NoMachine to remote into VMs as the utilized NX protocol is way more performant and feature rich, without being bloated as VNC would be for example. You can even create virtual monitors, if no physical display is attached to the VMs graphics card. This is the next best thing to Parsec or Teradici in my opinion.
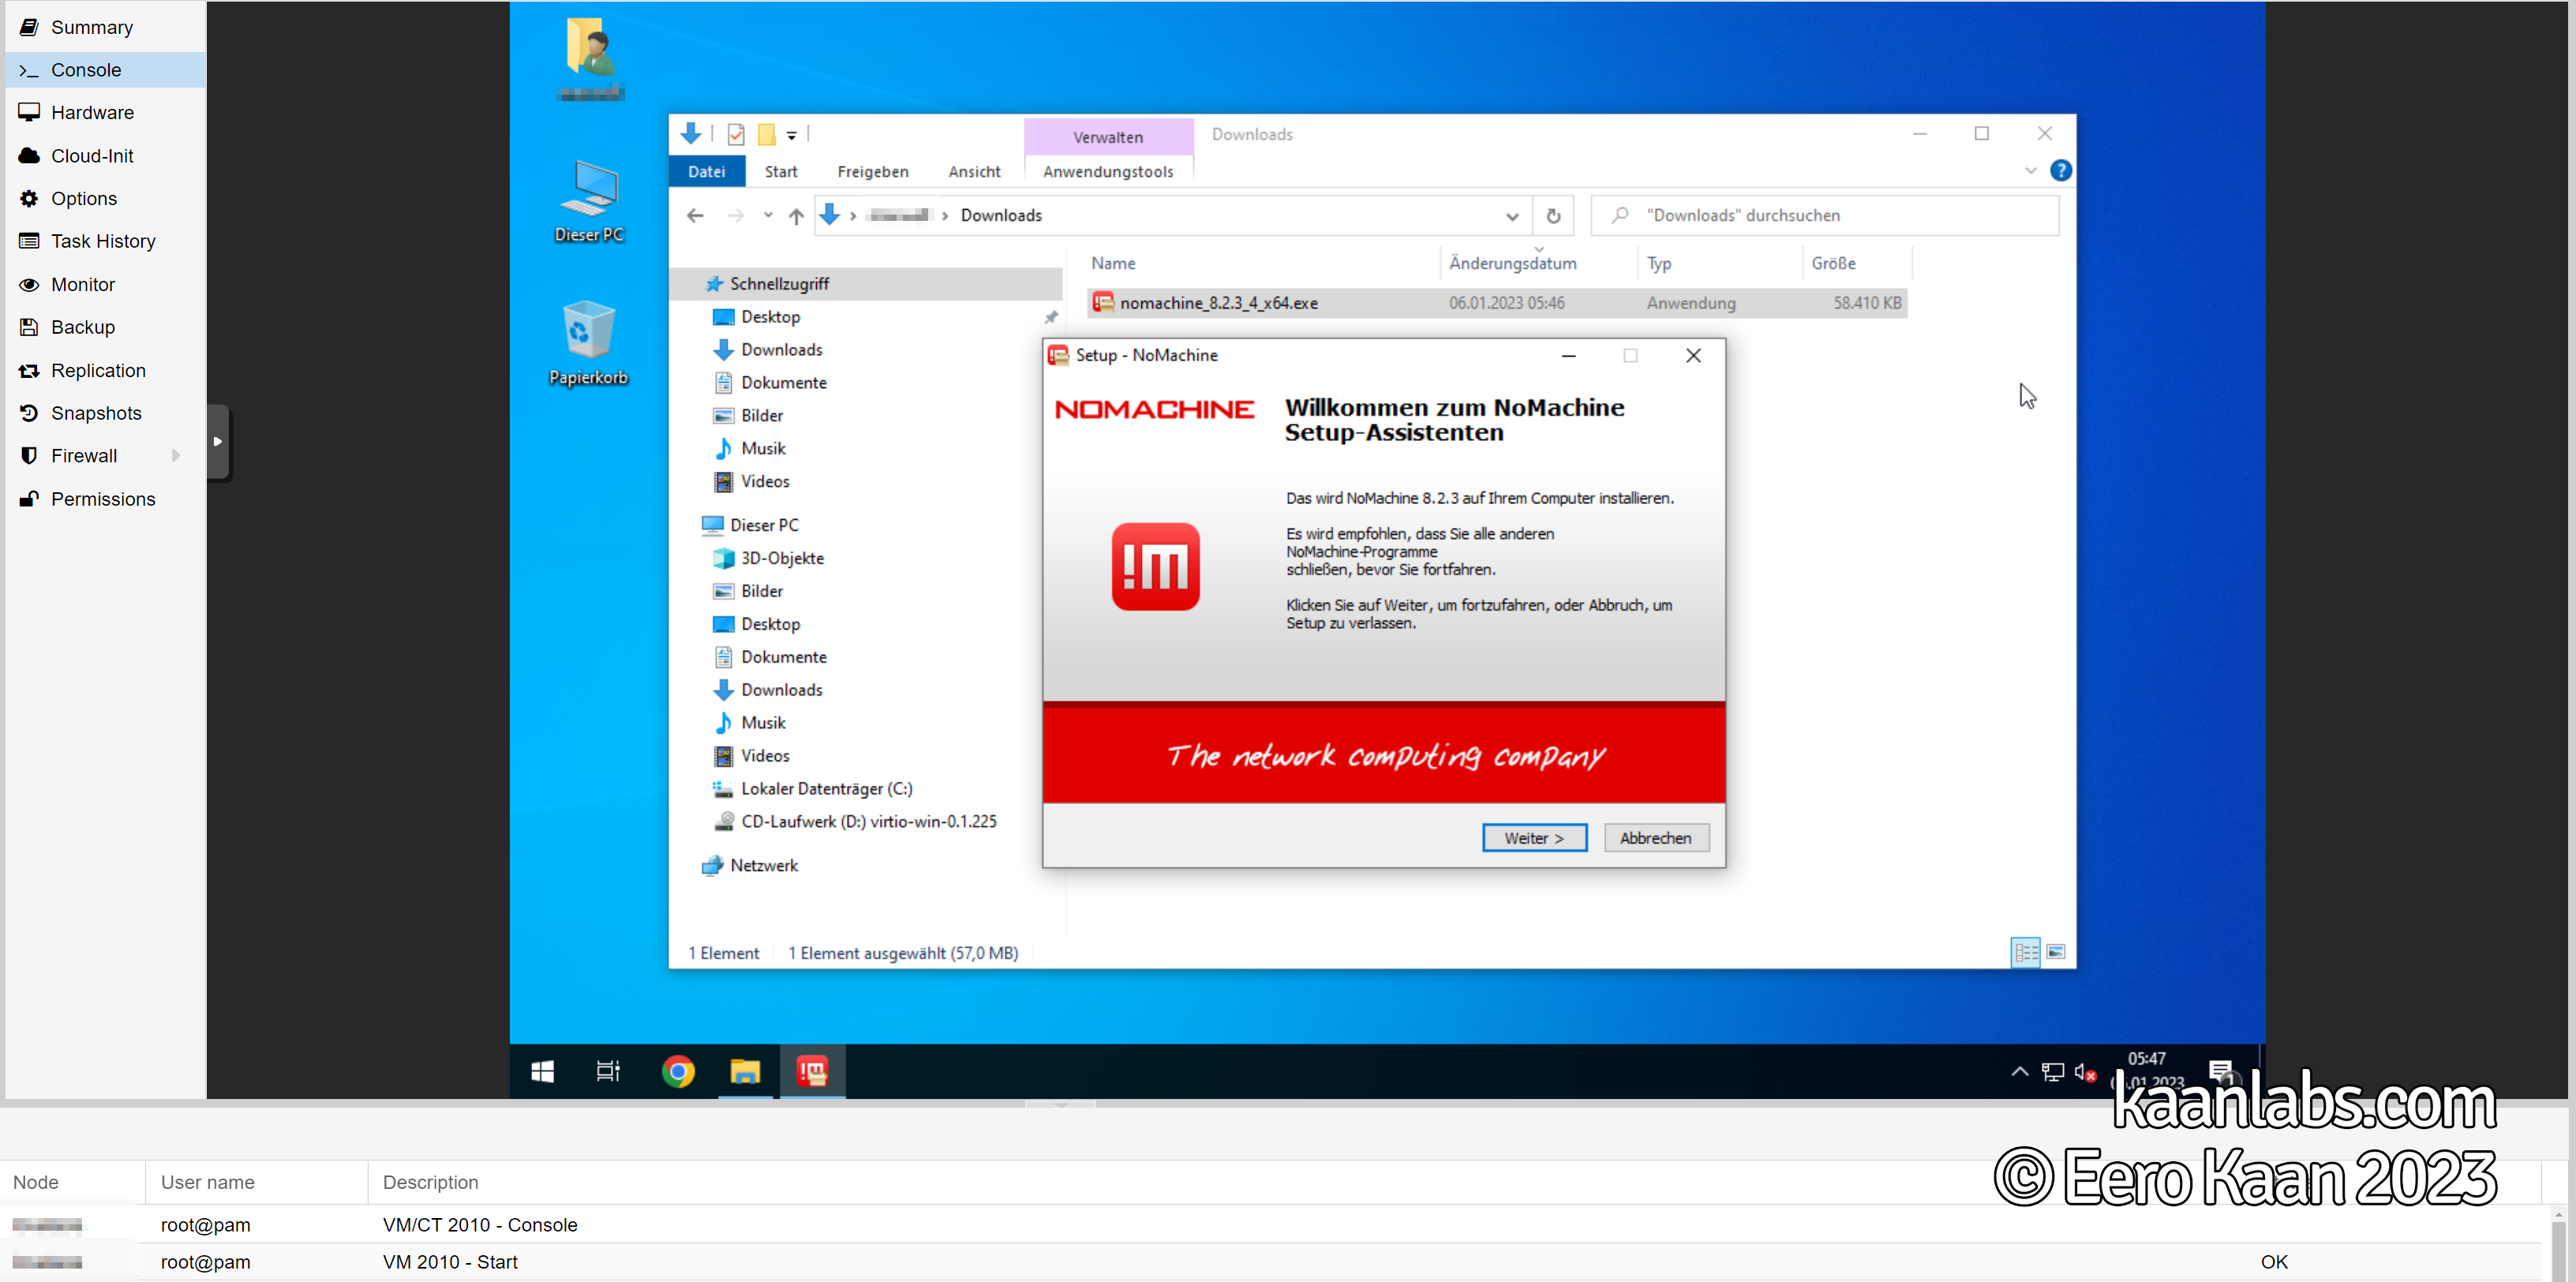
After a quick download and install, NoMachine is set up on this VM.
Next up, install both the Intel and Nvidia drivers after one another. So proceed to shutdown the VM first. In Proxmox, set the Default graphics under the Hardware tab to none and passthrough an Intel GVT-G mediated device GPU as a PCIe device.
Set the Q35 machine type to the highest version available (e.g. 7.1 / pc-q35-7.1), as the VirtIO drivers are all installed by now.
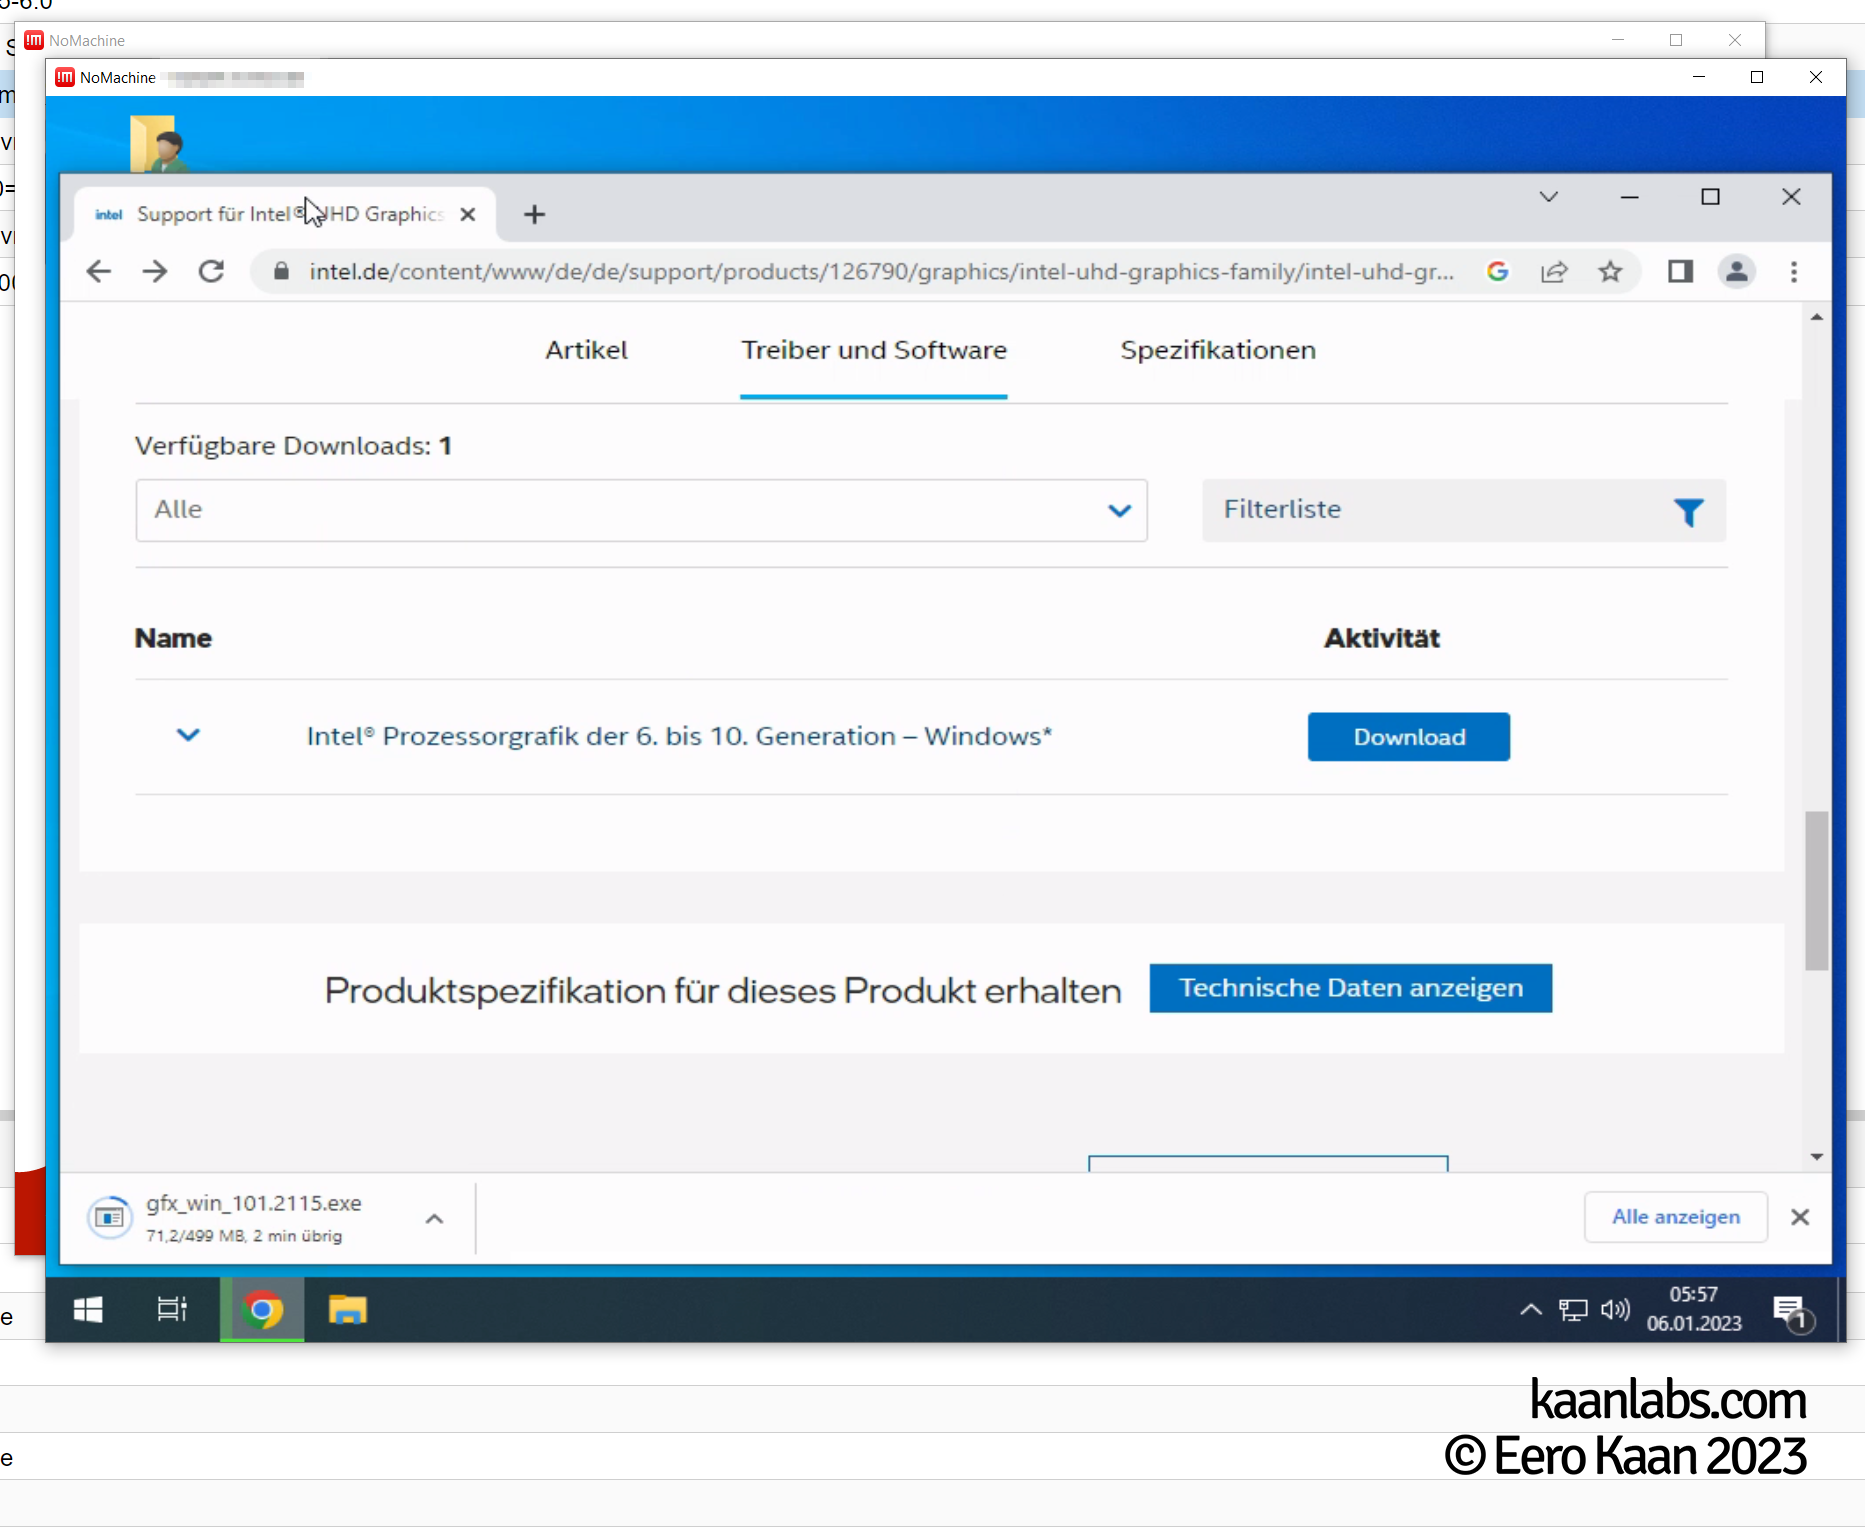
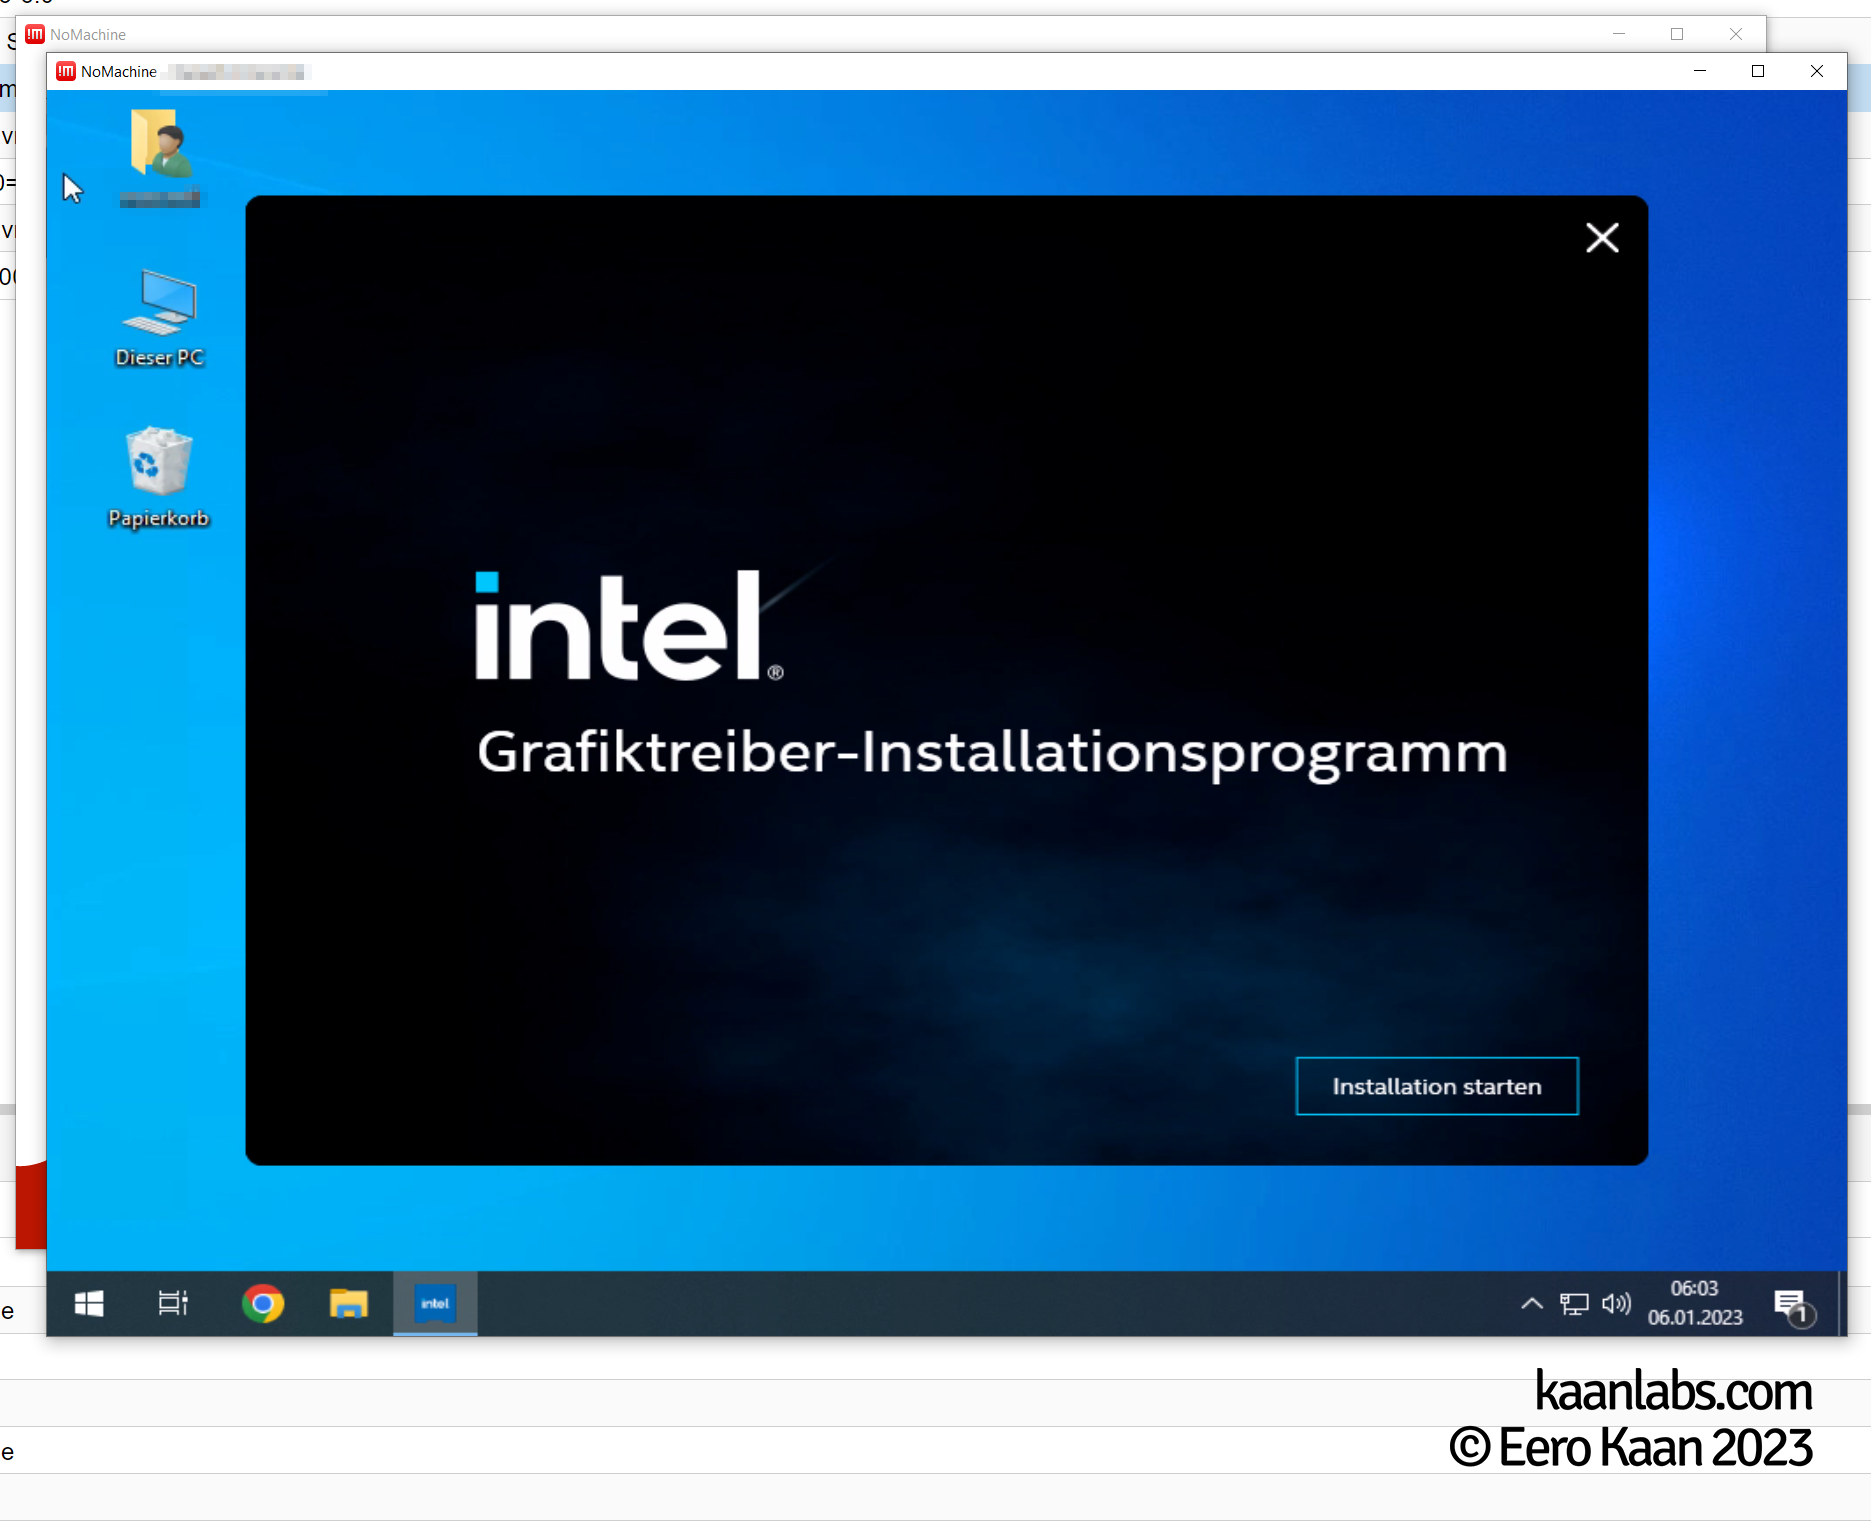
Step 3.2.2: Intel GPU Drivers
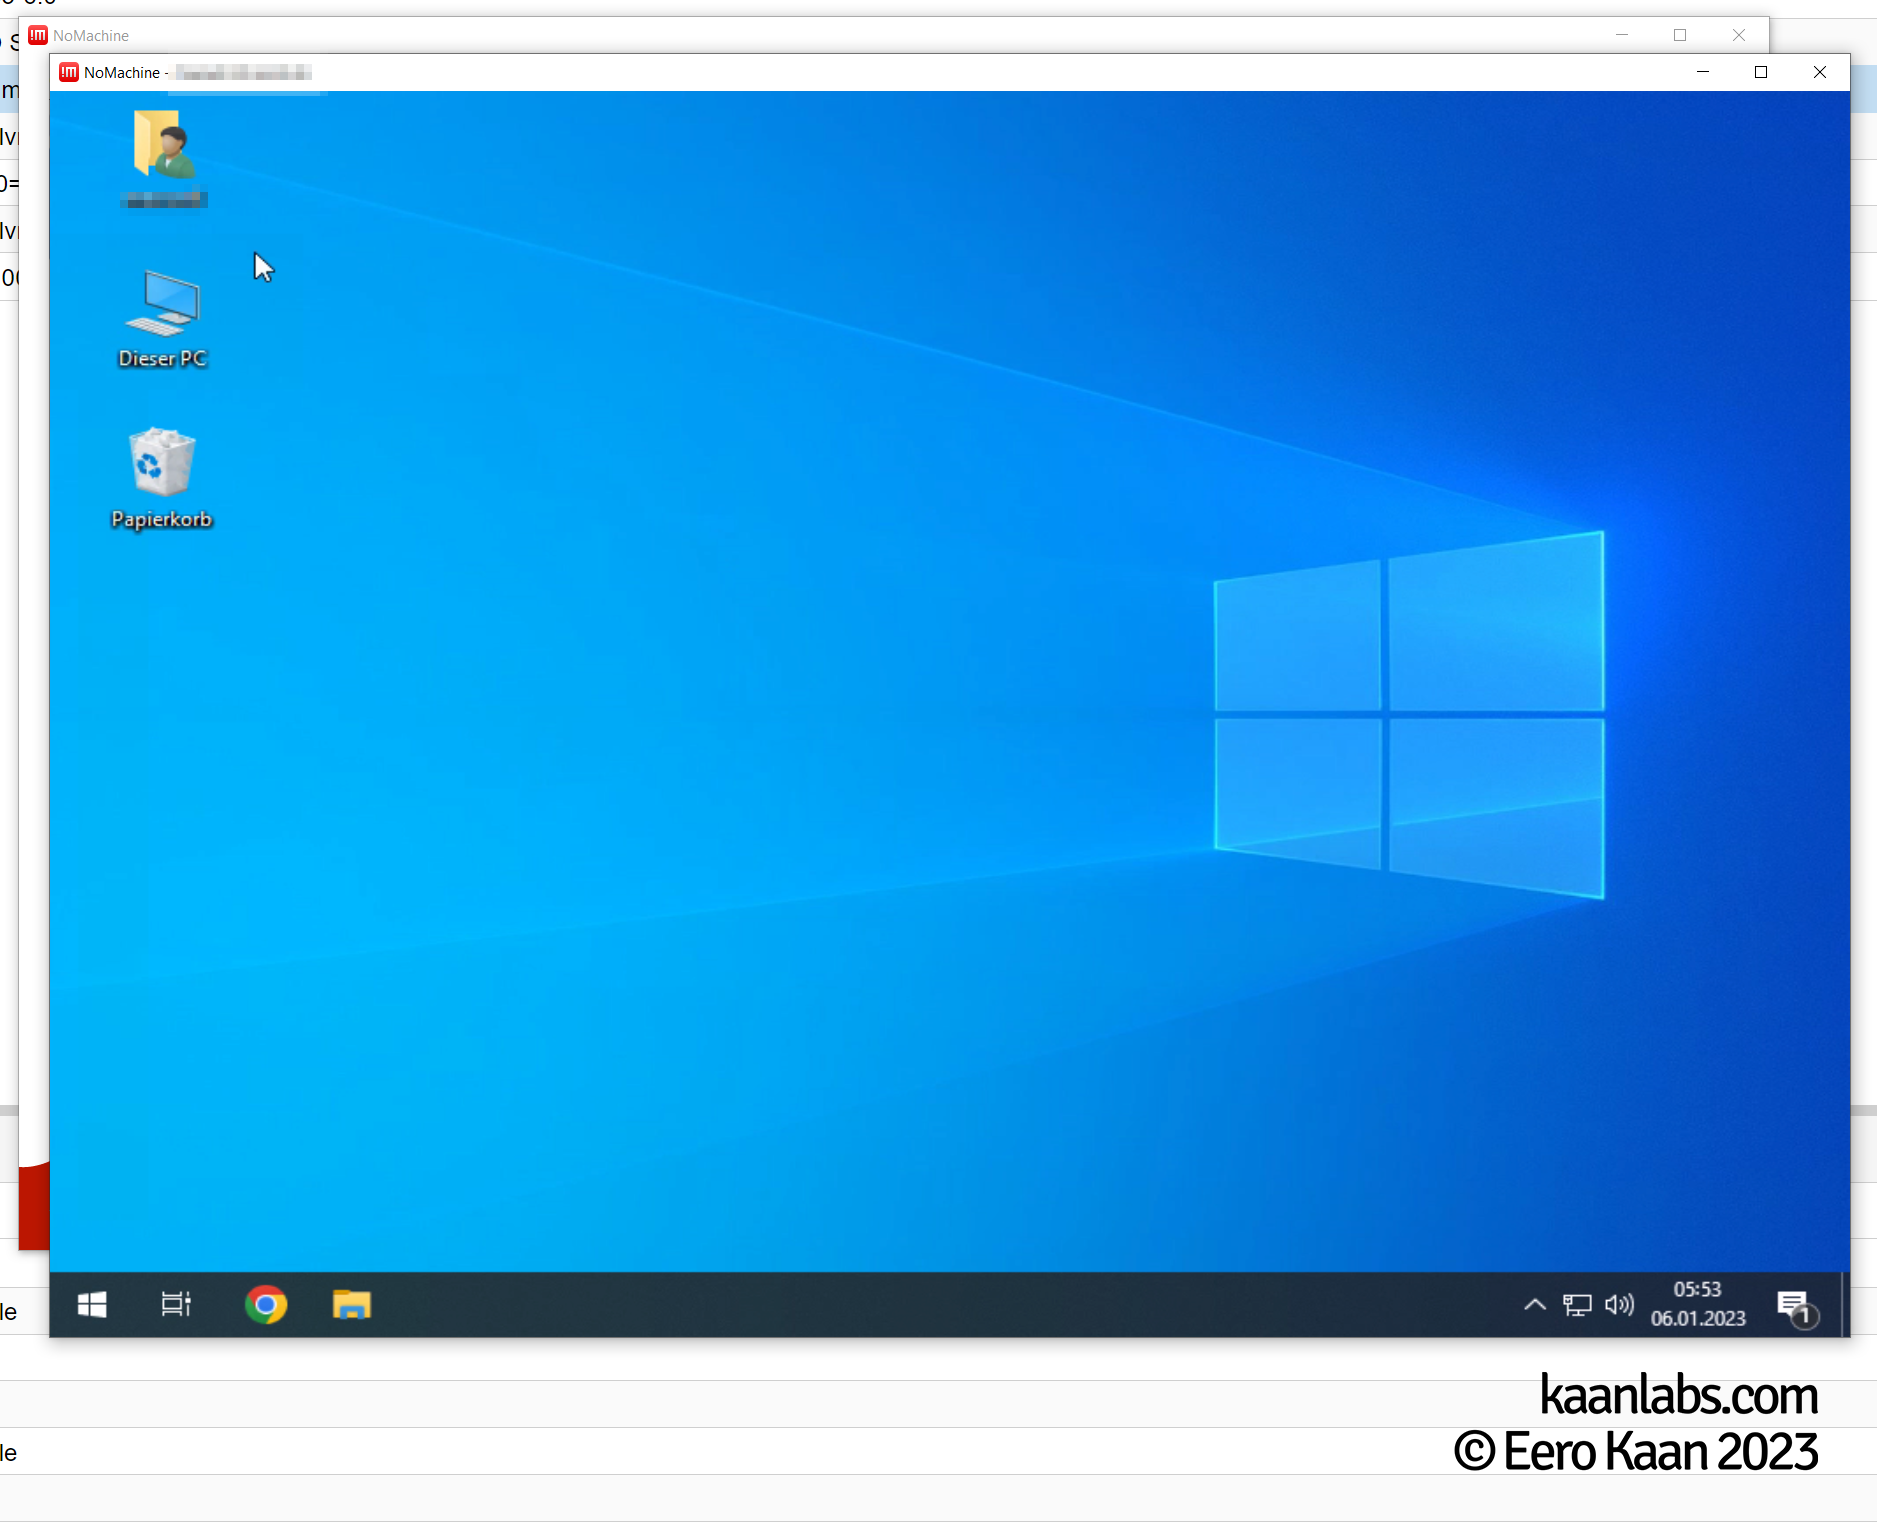
Now with the Intel GVT-G GPU supplied, you can start the VM again and begin to download and install appropriate drivers for the device. Instead of using the display console of Proxmox however, you have to use NoMachine, as the framebuffer now runs over the iGPU (and thus is unavalable to the web-based console).
Shutdown your VM after the Intel driver is installed and passthrough the Nvidia graphics card in Proxmox. Start-up the VM afterwards.
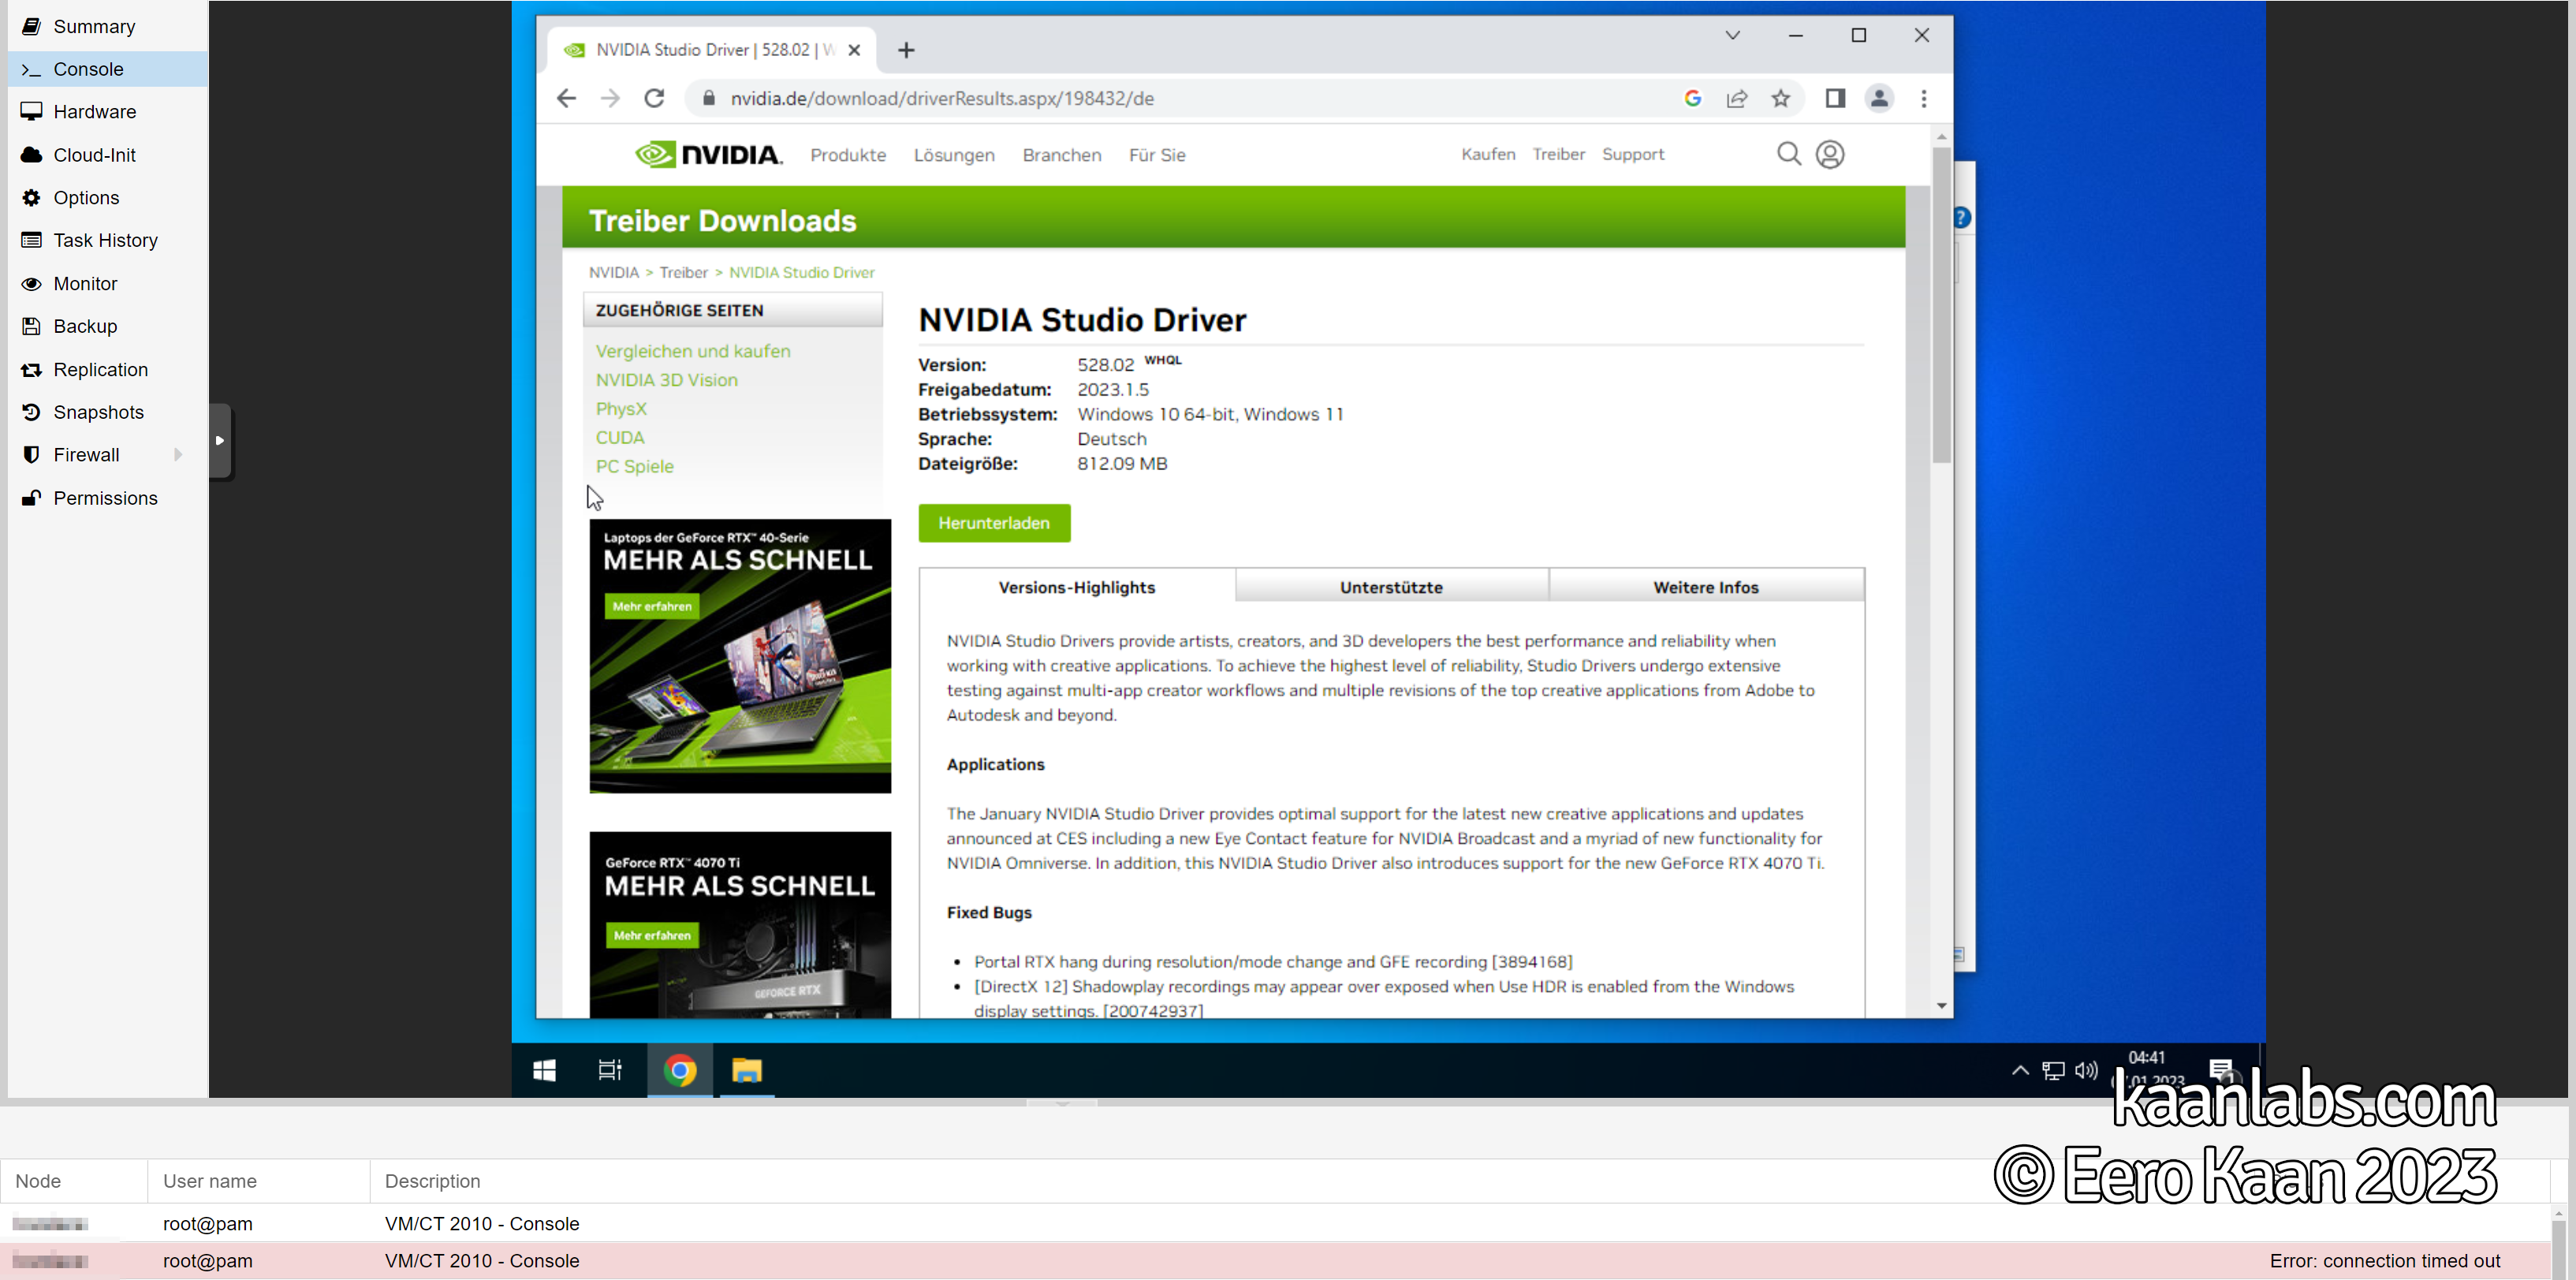
Step 3.2.3: Nvidia GPU Drivers
The same procedure is valid here for the Nvidia GPU; Remote in via NoMachine, download the latest Nvidia drivers (I recommend the Studio Driver one), install them and restart your system.
Restart for a final time and that’s it! The Intel and Nvidia GPUs are now ready for use.
After the installation of your OS and drivers finished, please keep in mind to always set the Intel GPU as “Primary” in Proxmox, when the Nvidia GPU is absent. Likewise, please set the Nvidia GPU as “Primary” when it is passed-through in any given VM and unset the “Primary” attribute of the Intel GPU then.
And here you are! You now have both Linux and Windows VMs running Intels GVT-G and traditional Nvidia PCIe passthrough at the same time.