Introduction
I recently acquired a 3D printer that utilizes a proprietary control software managed through a USB connection.
However, instead of connecting my computer to the printer every time I wish to initiate a print job, I thought of connecting a Raspberry Pi to the printer and using remote desktop software to manage the printer this way. The only issue is that the control software is only avaliable for Windows and macOS systems running 64-bit x86 architectures.
This is where this tutorial comes in. With the assistance of translation layers, running Windows 64-bit x86 applications on a Raspberry Pi 4 becomes feasible. So let’s get started!
Step 1: Install Raspberry Pi OS 64-bit
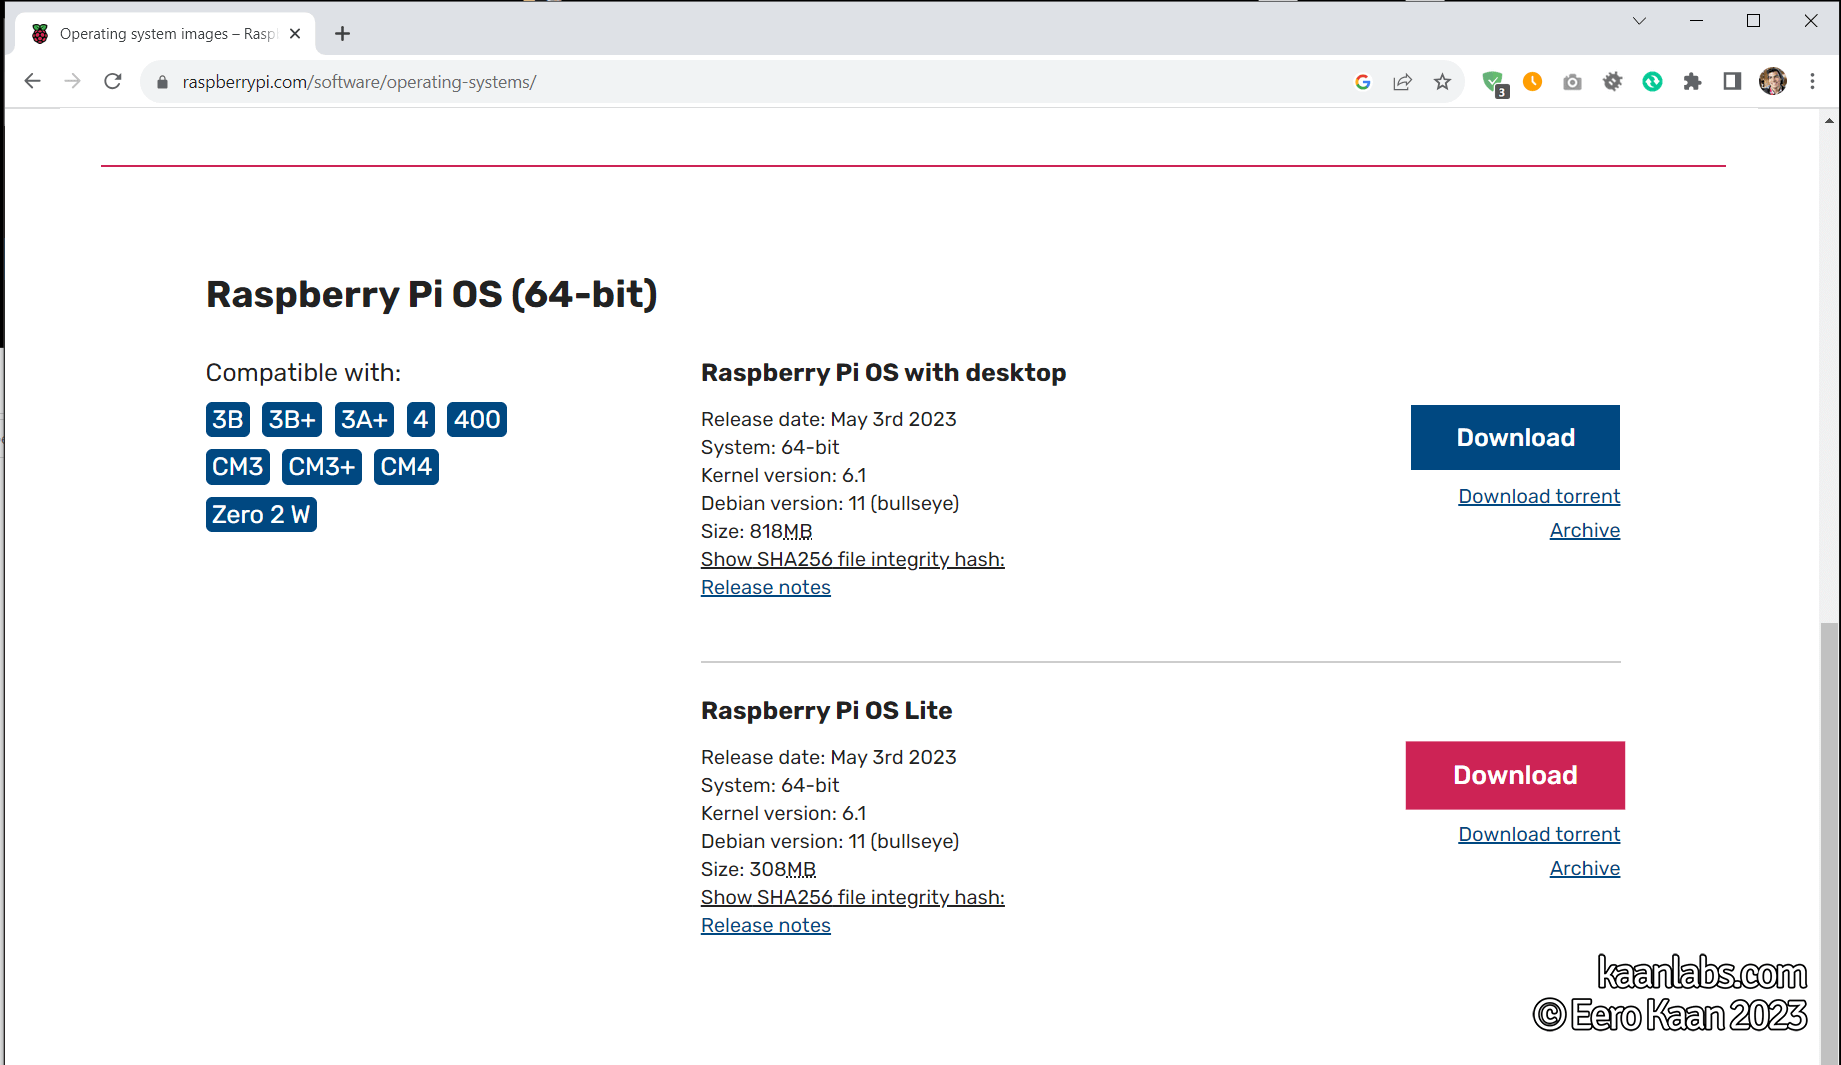
Before setting up any software, please make sure to install the correct operating system first, as this will serve as the basis for any further steps. For this, please use the latest version of Raspberry Pi OS 64-bit.
Please note to actually use a Raspberry Pi 4 for this, as other Raspberrys don’t bring enough horsepower to operate a desktop GUI alongside with the actual x86/ARM translation – a finding I had while testing other systems for this tutorial. Also, the Box86 documentation refers to a necessary kernel memory split, while addressing compatibility with Wine, when using any other Raspberry Pi.
TL;DR: Please use a Raspberry Pi 4.
Proceed to download and install Raspberry Pi OS 64-bit as you normally would do.
Since I want to use my Raspberry Pi as a remote desktop, I chose to install the desktop version and continued by setting up my networking to use a static IP address, setting my VRAM to use 256 MB memory with no screen blanking at 1280×720 headless resolution and finally installing my remote desktop application of choice – NoMachine.
All of these steps are only needed if you also want to utilize remote desktop software. Since this is not the main focus of this tutorial, I only briefly mentioned them here for completeness’ sake.
Step 2: Increase your swap memory
Depending on whether you have the 2 GB, 4 GB or 8 GB Raspberry Pi 4 model, it is a good idea to increase your available swap memory, as this will prevent kernel pidkills in further steps.
Since I have the RPi 4 2 GB model, I will increase my swap to 4 GB:
sudo -i
dphys-swapfile swapoff
nano /etc/dphys-swapfile
CONF_SWAPSIZE=4096
CONF_MAXSWAP=4096dphys-swapfile setup
dphys-swapfile swaponStep 3: Install Box86/Box64
Box86 helps us to translate the 32-bit ARM instructions (armhf) to 32-bit x86 instructions, while Box64 translates 64-bit ARM instructions (arm64) to 64-bit AMD64 instructions in a similar fashion.
Since we are going to compile Box86 and Box64, please make sure to have the necessary packages installed:
apt-get install build-essential cmake gitStep 3.1: Install Box86
Before Box86 can be compiled and installed, we first have to add armhf multiarch, so that we can even run Box86 (which is based on armhf) on a aarch64 system like ours. After that, we install a armhf cross-compiler toolchain for gcc.
Finally, Box86 is able to be complied and installed.
dpkg --add-architecture armhf
apt-get update
apt-get install libc6:armhf gcc-arm-linux-gnueabihf

cd /usr/local/src
git clone https://github.com/ptitSeb/box86
git checkout tags/v0.3.2
cd box86

mkdir build
cd build

cmake .. -DRPI4ARM64=1 -DCMAKE_BUILD_TYPE=RelWithDebInfo
make -j4

make install
systemctl restart systemd-binfmt
Step 3.2: Install Box64
The process for installing Box64 is quite similar:
cd /usr/local/src
git clone https://github.com/ptitSeb/box64
git checkout tags/v0.2.4
cd box64

mkdir build
cd build

cmake .. -D RPI4ARM64=1 -D CMAKE_BUILD_TYPE=RelWithDebInfo
make -j4

make install
systemctl restart systemd-binfmt
Step 4: Setting up Wine
Wine is a compatibility layer that allows you to run Windows applications under Linux, using translation that converts Windows API calls into equivalent calls that Linux can understand. So Wine is no emulator indeed, but rather a translator for API calls.
Step 4.1: Installing Wine
Since installing Wine is a tedious procedure with this Box86/Box64 structure, the official Box64 documentation provides a script that automates the process of integrating 32- and 64-bit capable Wine with Box86/Box64. Please note, that the script used in this tutorial is a modified version of the original script, since it wasn’t working properly with the Raspberry Pi’s console.
If you are currently using your terminal as the root user, please exit and use your normal users account.
Proceed to install Wine using the adjusted script:
mkdir ~/install-wine
cd ~/install-wine

nano install-wine.sh
# Configuration
VAR_BRANCH="devel"
VAR_VERSION="7.1"
VAR_ID="debian"
VAR_DIST="bullseye"
VAR_TAG="-1"
# Clean up any old wine instances
wineserver -k
rm -rf ~/.cache/wine
rm -rf ~/.local/share/applications/wine
# Backup any old wine installs
rm -rf ~/wine-old 2>/dev/null; mv ~/wine ~/wine-old 2>/dev/null
rm -rf ~/.wine-old 2>/dev/null; mv ~/.wine ~/.wine-old 2>/dev/null
sudo mv /usr/local/bin/wine /usr/local/bin/wine-old 2>/dev/null
sudo mv /usr/local/bin/wine64 /usr/local/bin/wine-old 2>/dev/null
sudo mv /usr/local/bin/wineboot /usr/local/bin/wineboot-old 2>/dev/null
sudo mv /usr/local/bin/winecfg /usr/local/bin/winecfg-old 2>/dev/null
sudo mv /usr/local/bin/wineserver /usr/local/bin/wineserver-old 2>/dev/null
# Wine download links from WineHQ
LNKA="https://dl.winehq.org/wine-builds/${VAR_ID}/dists/${VAR_DIST}/main/binary-amd64/"
DEB_A1="wine-${VAR_BRANCH}-amd64_${VAR_VERSION}~${VAR_DIST}${VAR_TAG}_amd64.deb"
DEB_A2="wine-${VAR_BRANCH}_${VAR_VERSION}~${VAR_DIST}${VAR_TAG}_amd64.deb"
LNKB="https://dl.winehq.org/wine-builds/${VAR_ID}/dists/${VAR_DIST}/main/binary-i386/"
DEB_B1="wine-${VAR_BRANCH}-i386_${VAR_VERSION}~${VAR_DIST}${VAR_TAG}_i386.deb"
DEB_B2="wine-${VAR_BRANCH}_${VAR_VERSION}~${VAR_DIST}${VAR_TAG}_i386.deb"
# Install amd64-wine (64-bit) alongside i386-wine (32-bit)
echo -e "Downloading Wine..."
wget ${LNKA}${DEB_A1}
wget ${LNKA}${DEB_A2}
wget ${LNKB}${DEB_B1}
echo -e "Extracting Wine..."
dpkg-deb -x ${DEB_A1} wine-installer
dpkg-deb -x ${DEB_A2} wine-installer
dpkg-deb -x ${DEB_B1} wine-installer
echo -e "Installing Wine..."
mv wine-installer/opt/wine* ~/wine
# Download dependencies: These packages are needed for running box86/wine-i386 on a 64-bit RPiOS via multiarch
sudo dpkg --add-architecture armhf && sudo apt-get update # enable multi-arch
sudo apt-get install -y libasound2:armhf libc6:armhf libglib2.0-0:armhf libgphoto2-6:armhf libgphoto2-port12:armhf \
libgstreamer-plugins-base1.0-0:armhf libgstreamer1.0-0:armhf libldap-2.4-2:armhf libopenal1:armhf libpcap0.8:armhf \
libpulse0:armhf libsane1:armhf libudev1:armhf libusb-1.0-0:armhf libvkd3d1:armhf libx11-6:armhf libxext6:armhf \
libasound2-plugins:armhf ocl-icd-libopencl1:armhf libncurses6:armhf libncurses5:armhf libcap2-bin:armhf libcups2:armhf \
libdbus-1-3:armhf libfontconfig1:armhf libfreetype6:armhf libglu1-mesa:armhf libglu1:armhf libgnutls30:armhf \
libgssapi-krb5-2:armhf libkrb5-3:armhf libodbc1:armhf libosmesa6:armhf libsdl2-2.0-0:armhf libv4l-0:armhf \
libxcomposite1:armhf libxcursor1:armhf libxfixes3:armhf libxi6:armhf libxinerama1:armhf libxrandr2:armhf \
libxrender1:armhf libxxf86vm1 libc6:armhf libcap2-bin:armhf
# Download dependencies: These packages are needed for running box64/wine-amd64 on RPiOS (box64 only runs on 64-bit OS's)
sudo apt-get install -y libasound2:arm64 libc6:arm64 libglib2.0-0:arm64 libgphoto2-6:arm64 libgphoto2-port12:arm64 \
libgstreamer-plugins-base1.0-0:arm64 libgstreamer1.0-0:arm64 libldap-2.4-2:arm64 libopenal1:arm64 libpcap0.8:arm64 \
libpulse0:arm64 libsane1:arm64 libudev1:arm64 libunwind8:arm64 libusb-1.0-0:arm64 libvkd3d1:arm64 libx11-6:arm64 libxext6:arm64 \
ocl-icd-libopencl1:arm64 libasound2-plugins:arm64 libncurses6:arm64 libncurses5:arm64 libcups2:arm64 \
libdbus-1-3:arm64 libfontconfig1:arm64 libfreetype6:arm64 libglu1-mesa:arm64 libgnutls30:arm64 \
libgssapi-krb5-2:arm64 libjpeg62-turbo:arm64 libkrb5-3:arm64 libodbc1:arm64 libosmesa6:arm64 libsdl2-2.0-0:arm64 libv4l-0:arm64 \
libxcomposite1:arm64 libxcursor1:arm64 libxfixes3:arm64 libxi6:arm64 libxinerama1:arm64 libxrandr2:arm64 \
libxrender1:arm64 libxxf86vm1:arm64 libc6:arm64 libcap2-bin:arm64
# Download dependencies: These packages are needed for running wine-staging on RPiOS (Credit: chills340)
sudo apt-get install -y libstb0
cd ~/Downloads
wget -r -l1 -np -nd -A "libfaudio0_*~bpo10+1_i386.deb" http://ftp.us.debian.org/debian/pool/main/f/faudio/
dpkg-deb -xv libfaudio0_*~bpo10+1_i386.deb libfaudio
sudo cp -TRv libfaudio/usr/ /usr/
rm libfaudio0_*~bpo10+1_i386.deb
rm -rf libfaudio
# Install symlinks
sudo ln -s ~/wine/bin/wine /usr/local/bin/wine
sudo ln -s ~/wine/bin/wine64 /usr/local/bin/wine64
sudo ln -s ~/wine/bin/wineboot /usr/local/bin/wineboot
sudo ln -s ~/wine/bin/winecfg /usr/local/bin/winecfg
sudo ln -s ~/wine/bin/wineserver /usr/local/bin/wineserver
sudo chmod +x /usr/local/bin/wine /usr/local/bin/wine64 /usr/local/bin/wineboot /usr/local/bin/winecfg /usr/local/bin/wineserverbash install-wine.shStep 4.2: Install Winetricks
Winetricks is a bash script designed to simplify the installation and configuration of essential Windows system software packages that might be required as dependencies for specific Windows applications.
While still using your normal users account, issue:
sudo apt-get install cabextract

cd ~/install-wine
wget https://raw.githubusercontent.com/Winetricks/winetricks/master/src/winetricks
chmod +x winetricks

sudo mv winetricks /usr/local/bin/
rm -rf ~/install-wine
Continue issuing
nano ~/.bashrcAppend this to the end of your ~/.bashrc file:
# Suppress Box86 info banner to prevent crashes
export BOX86_NOBANNER=1
Proceed by restarting your system
shutdown -r nowStep 4.3: Initialize the Wine environment
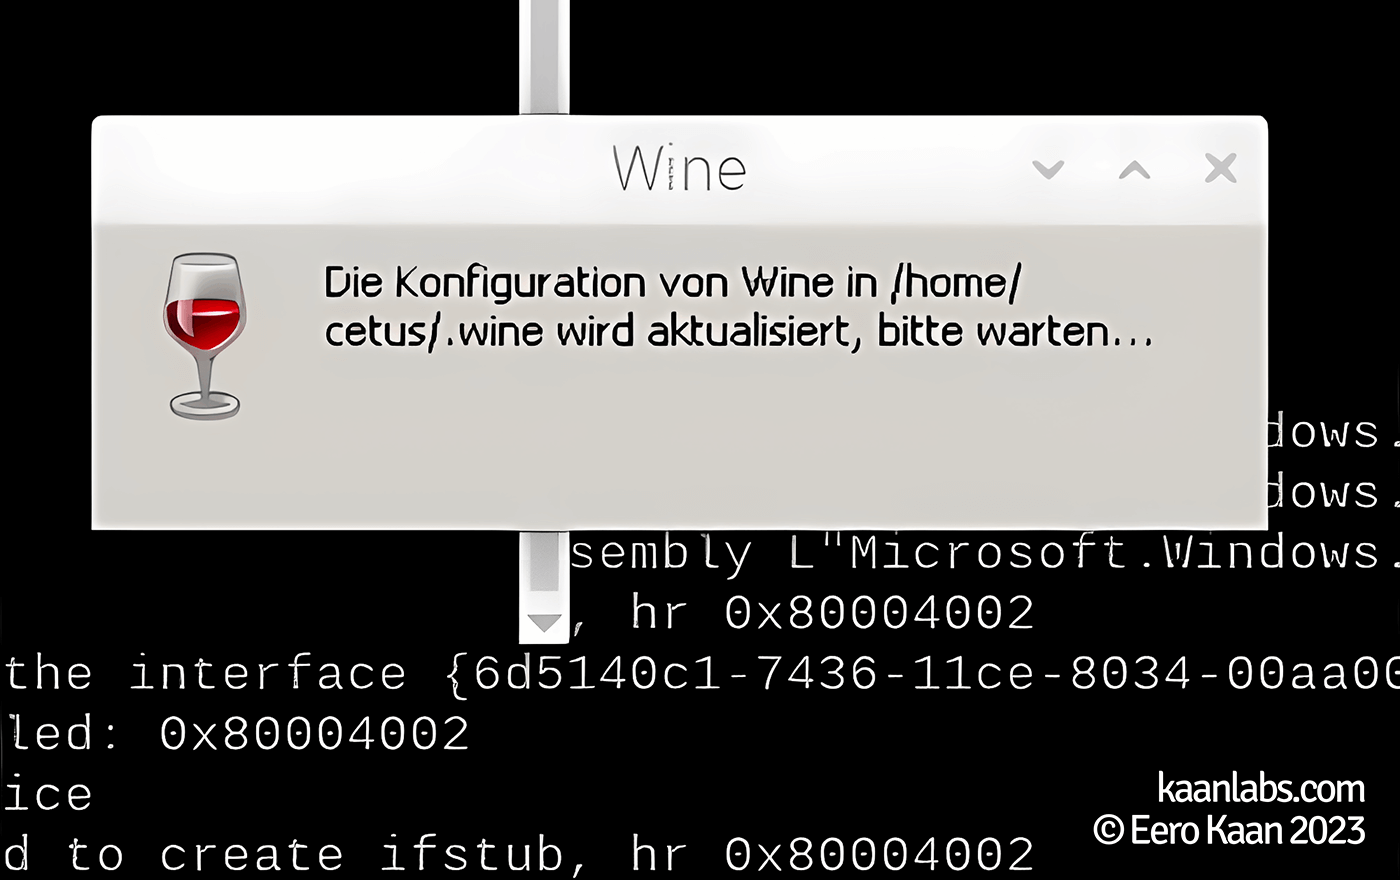
Now that Box86, Box64 and Wine are installed, you can continue by starting Wine for the first time. Still using your default users account, issue:
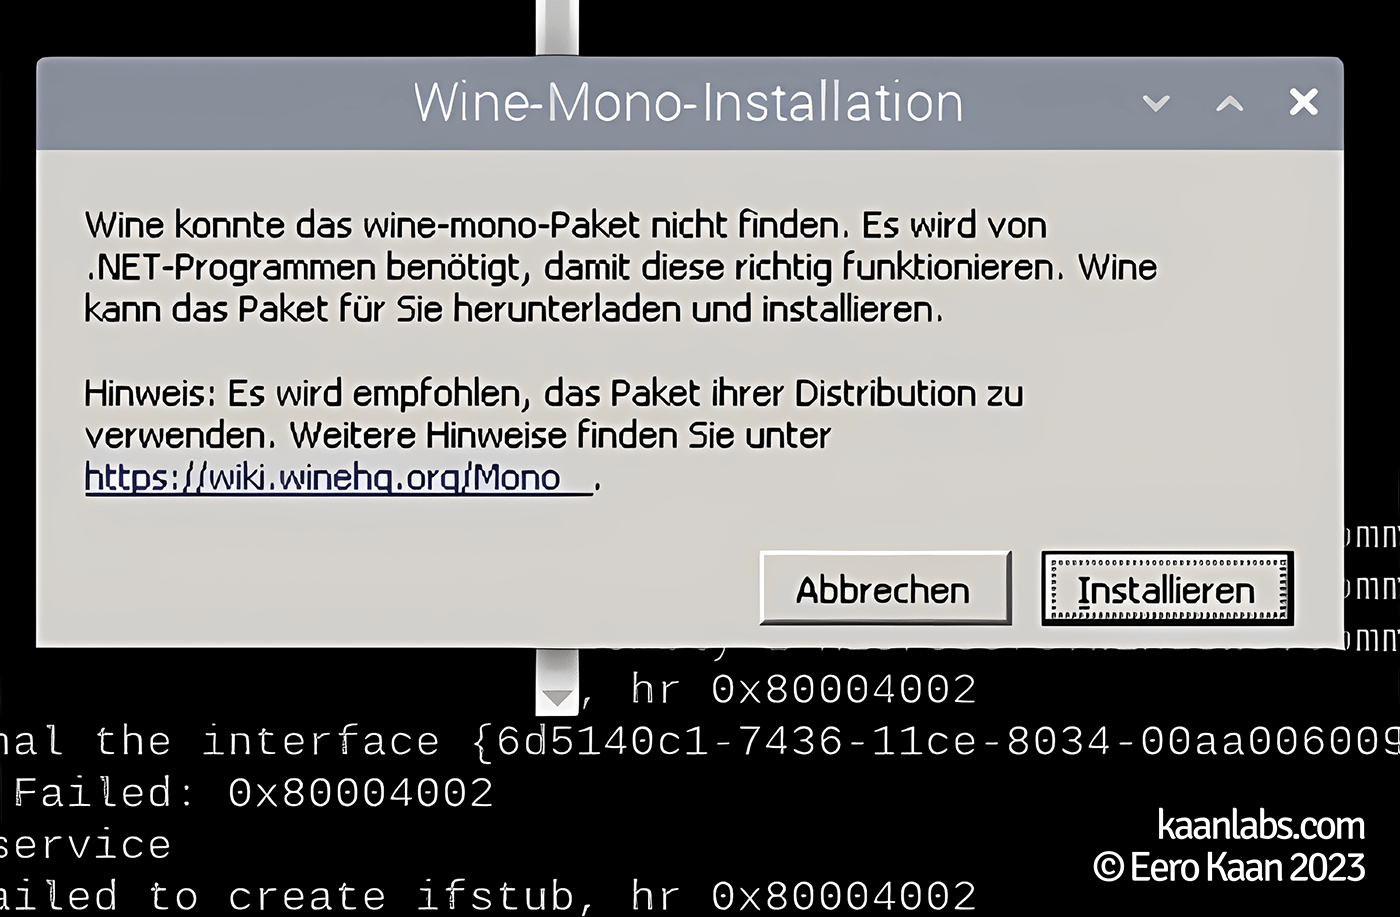
wine winebootYou have to be patient for Wine to initialize itself. Deny the installation of Wine Mono, since we are going to install “proper” .NET later on.
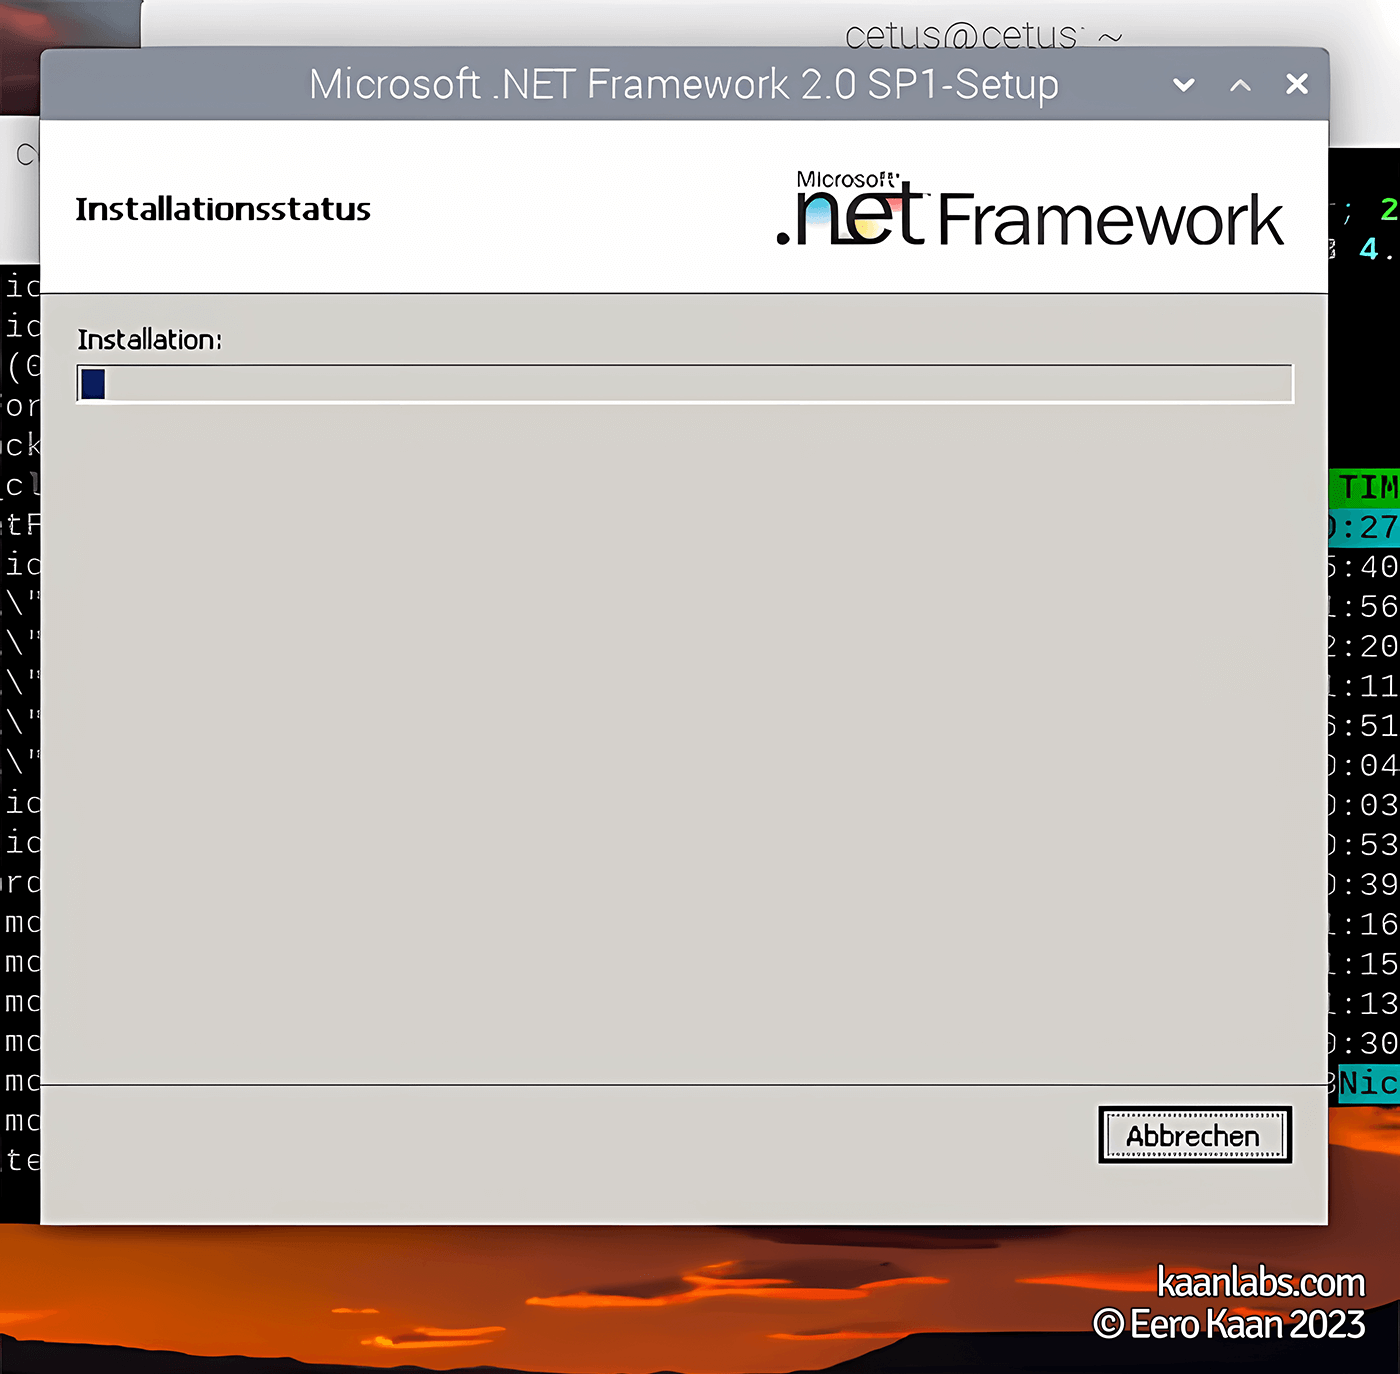
Now you can make use of Winetricks and proceed to install Windows core fonts, Visual C++ 2010 Redistributable and .NET 2.0 SP1:
winetricks corefonts vcrun2010 dotnet20sp1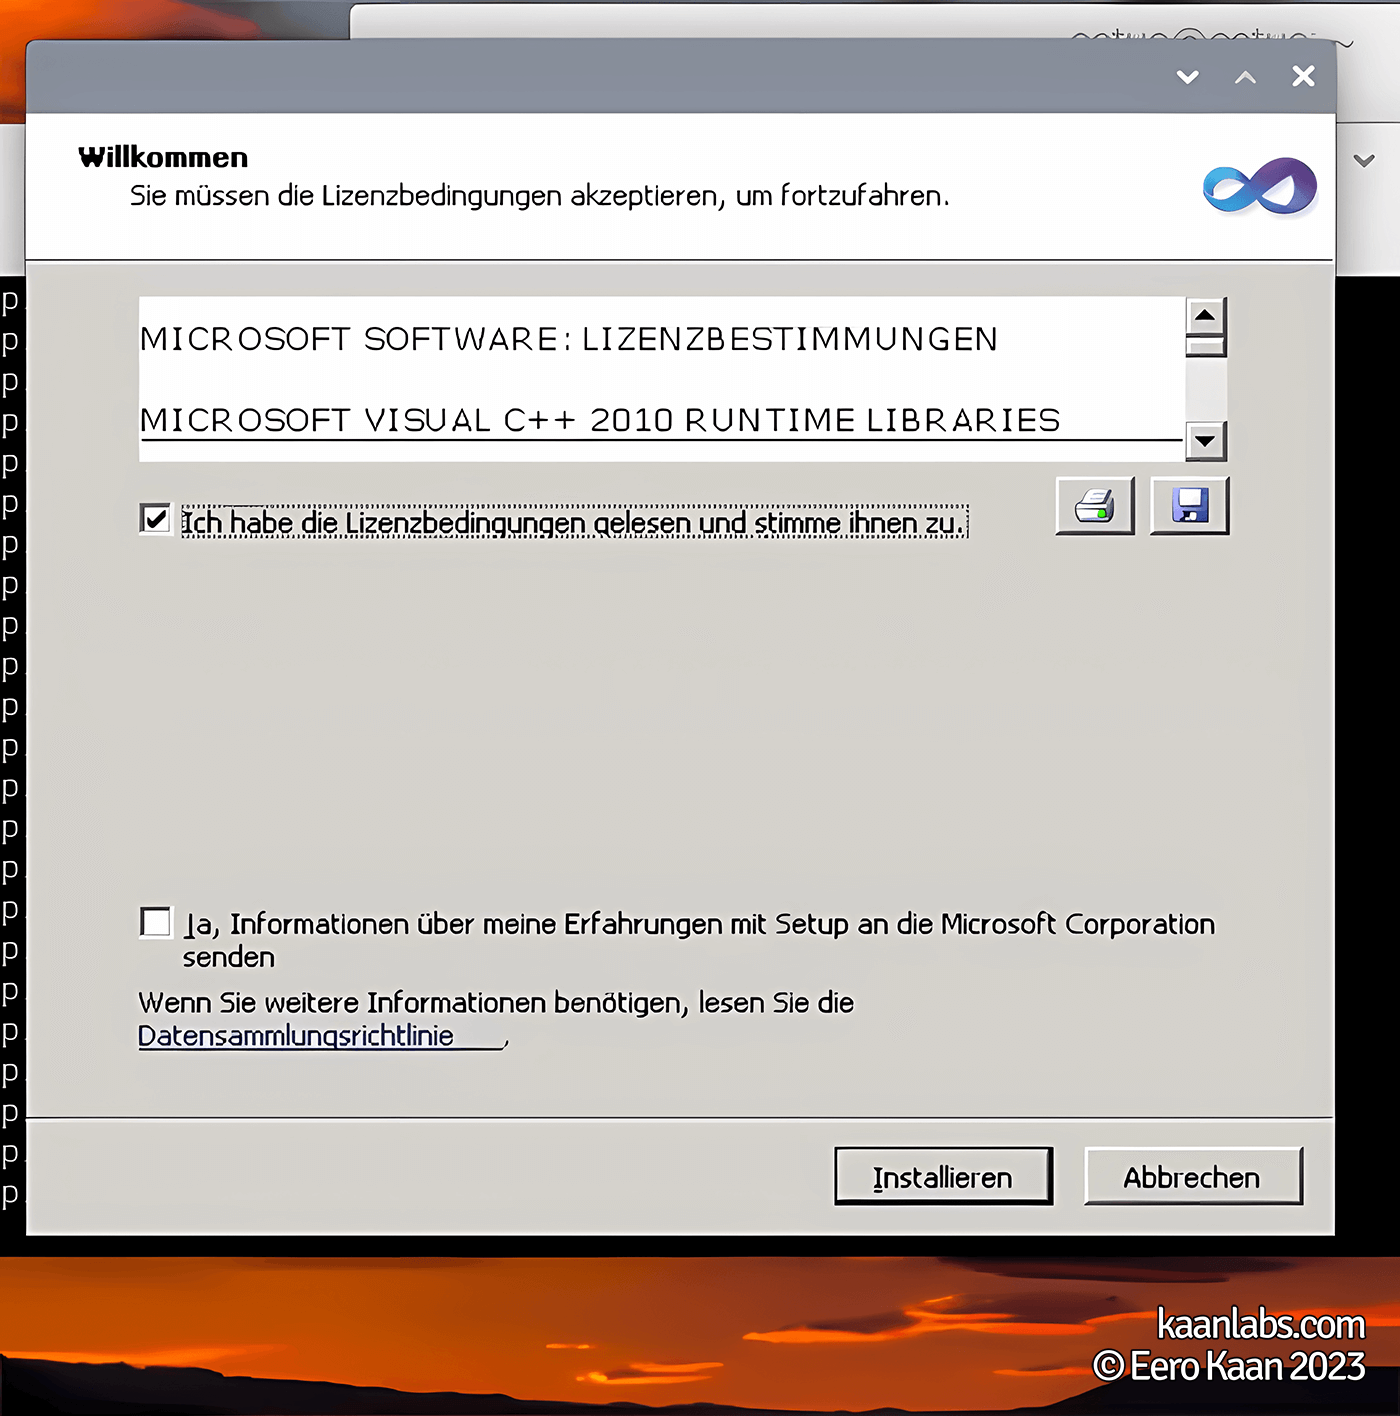
Step 5: Running your application
You can now issue the command
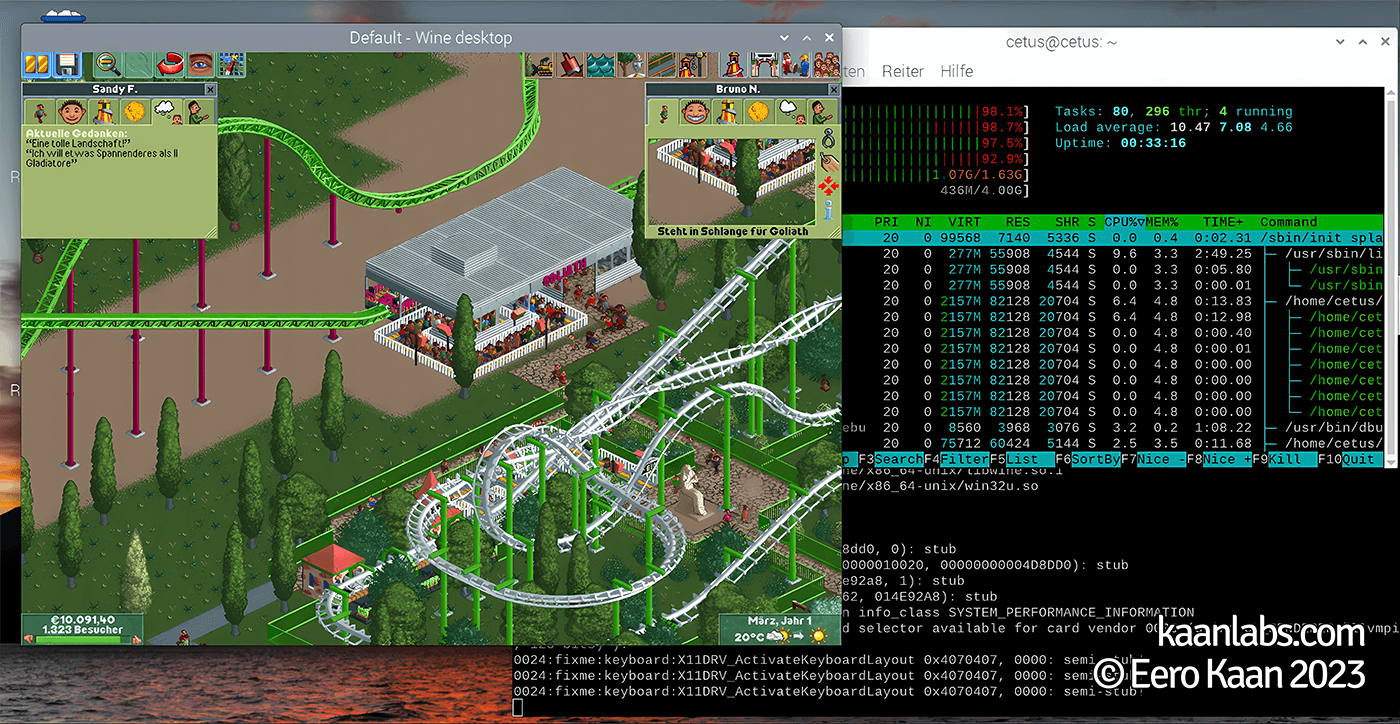
wine Wine is supporting both 32- and 64-bit executables now and will utilize Box86/Box64 in the background accordingly.
As a 32-bit test, here is native RollerCoaster Tycoon 2 running under my Raspberry Pi 4:
And finally the whole reason this tutorial came to be – here is my 64-bit 3D printer software up and running:
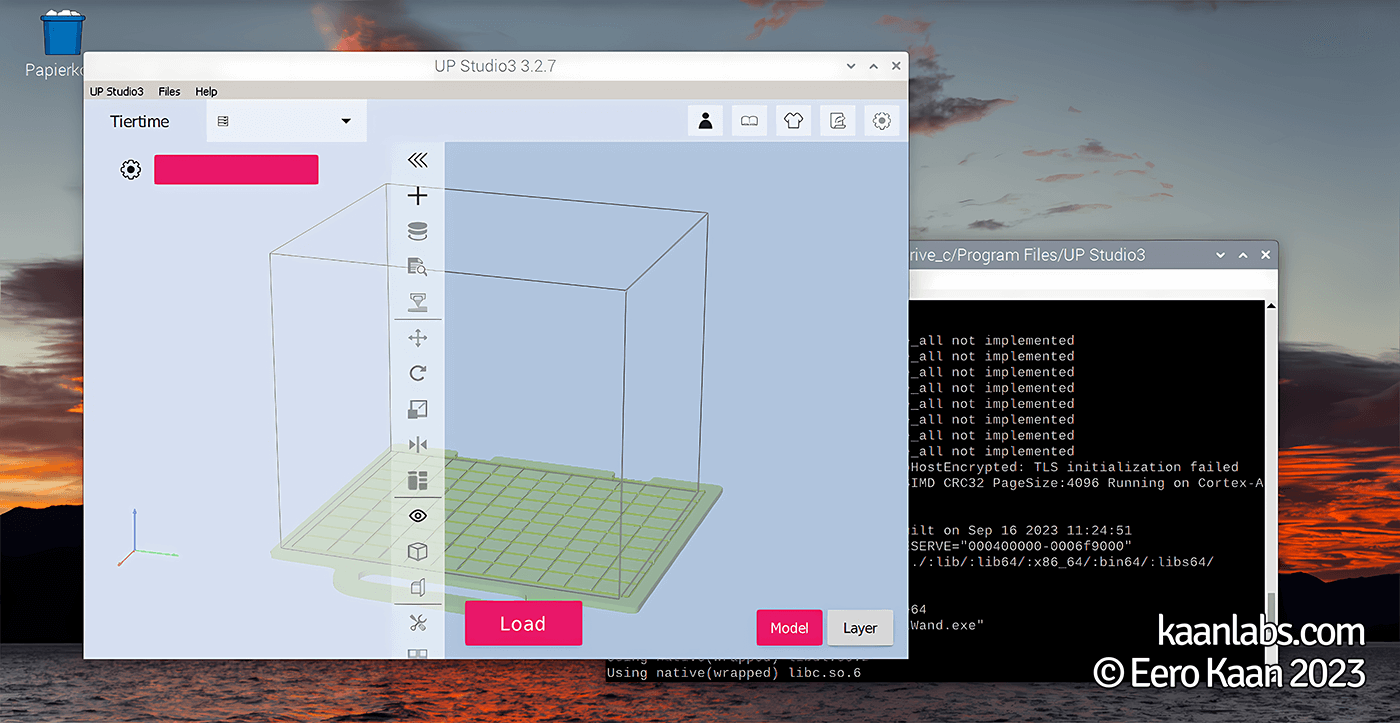
I hope that this tutorial has proven useful to you, allowing you to successfully run your own x86 32- and 64-bit Windows applications on your Raspberry Pi 4.