Introduction
The other day, the left button of my Logitech MX Vertical mouse was not reacting to clicks anymore, despite being only in use for about a year. Definitely not acceptable for a mouse in this price class; so a repair was pending now.
This tutorial will show you step by step on how to replace the microswitches inside the Logitech MX Vertical mouse.
Necessary tools and parts
Before we can start the repair process, be aware to have the following tools and parts on your hands:
- Screwdrivers
- Soldering iron (A desoldering pump is a nice to have)
- Replacement mouse skates (I bought mine on eBay)
- Replacement switches (I recommend using Omron D2F-01F-T ones)
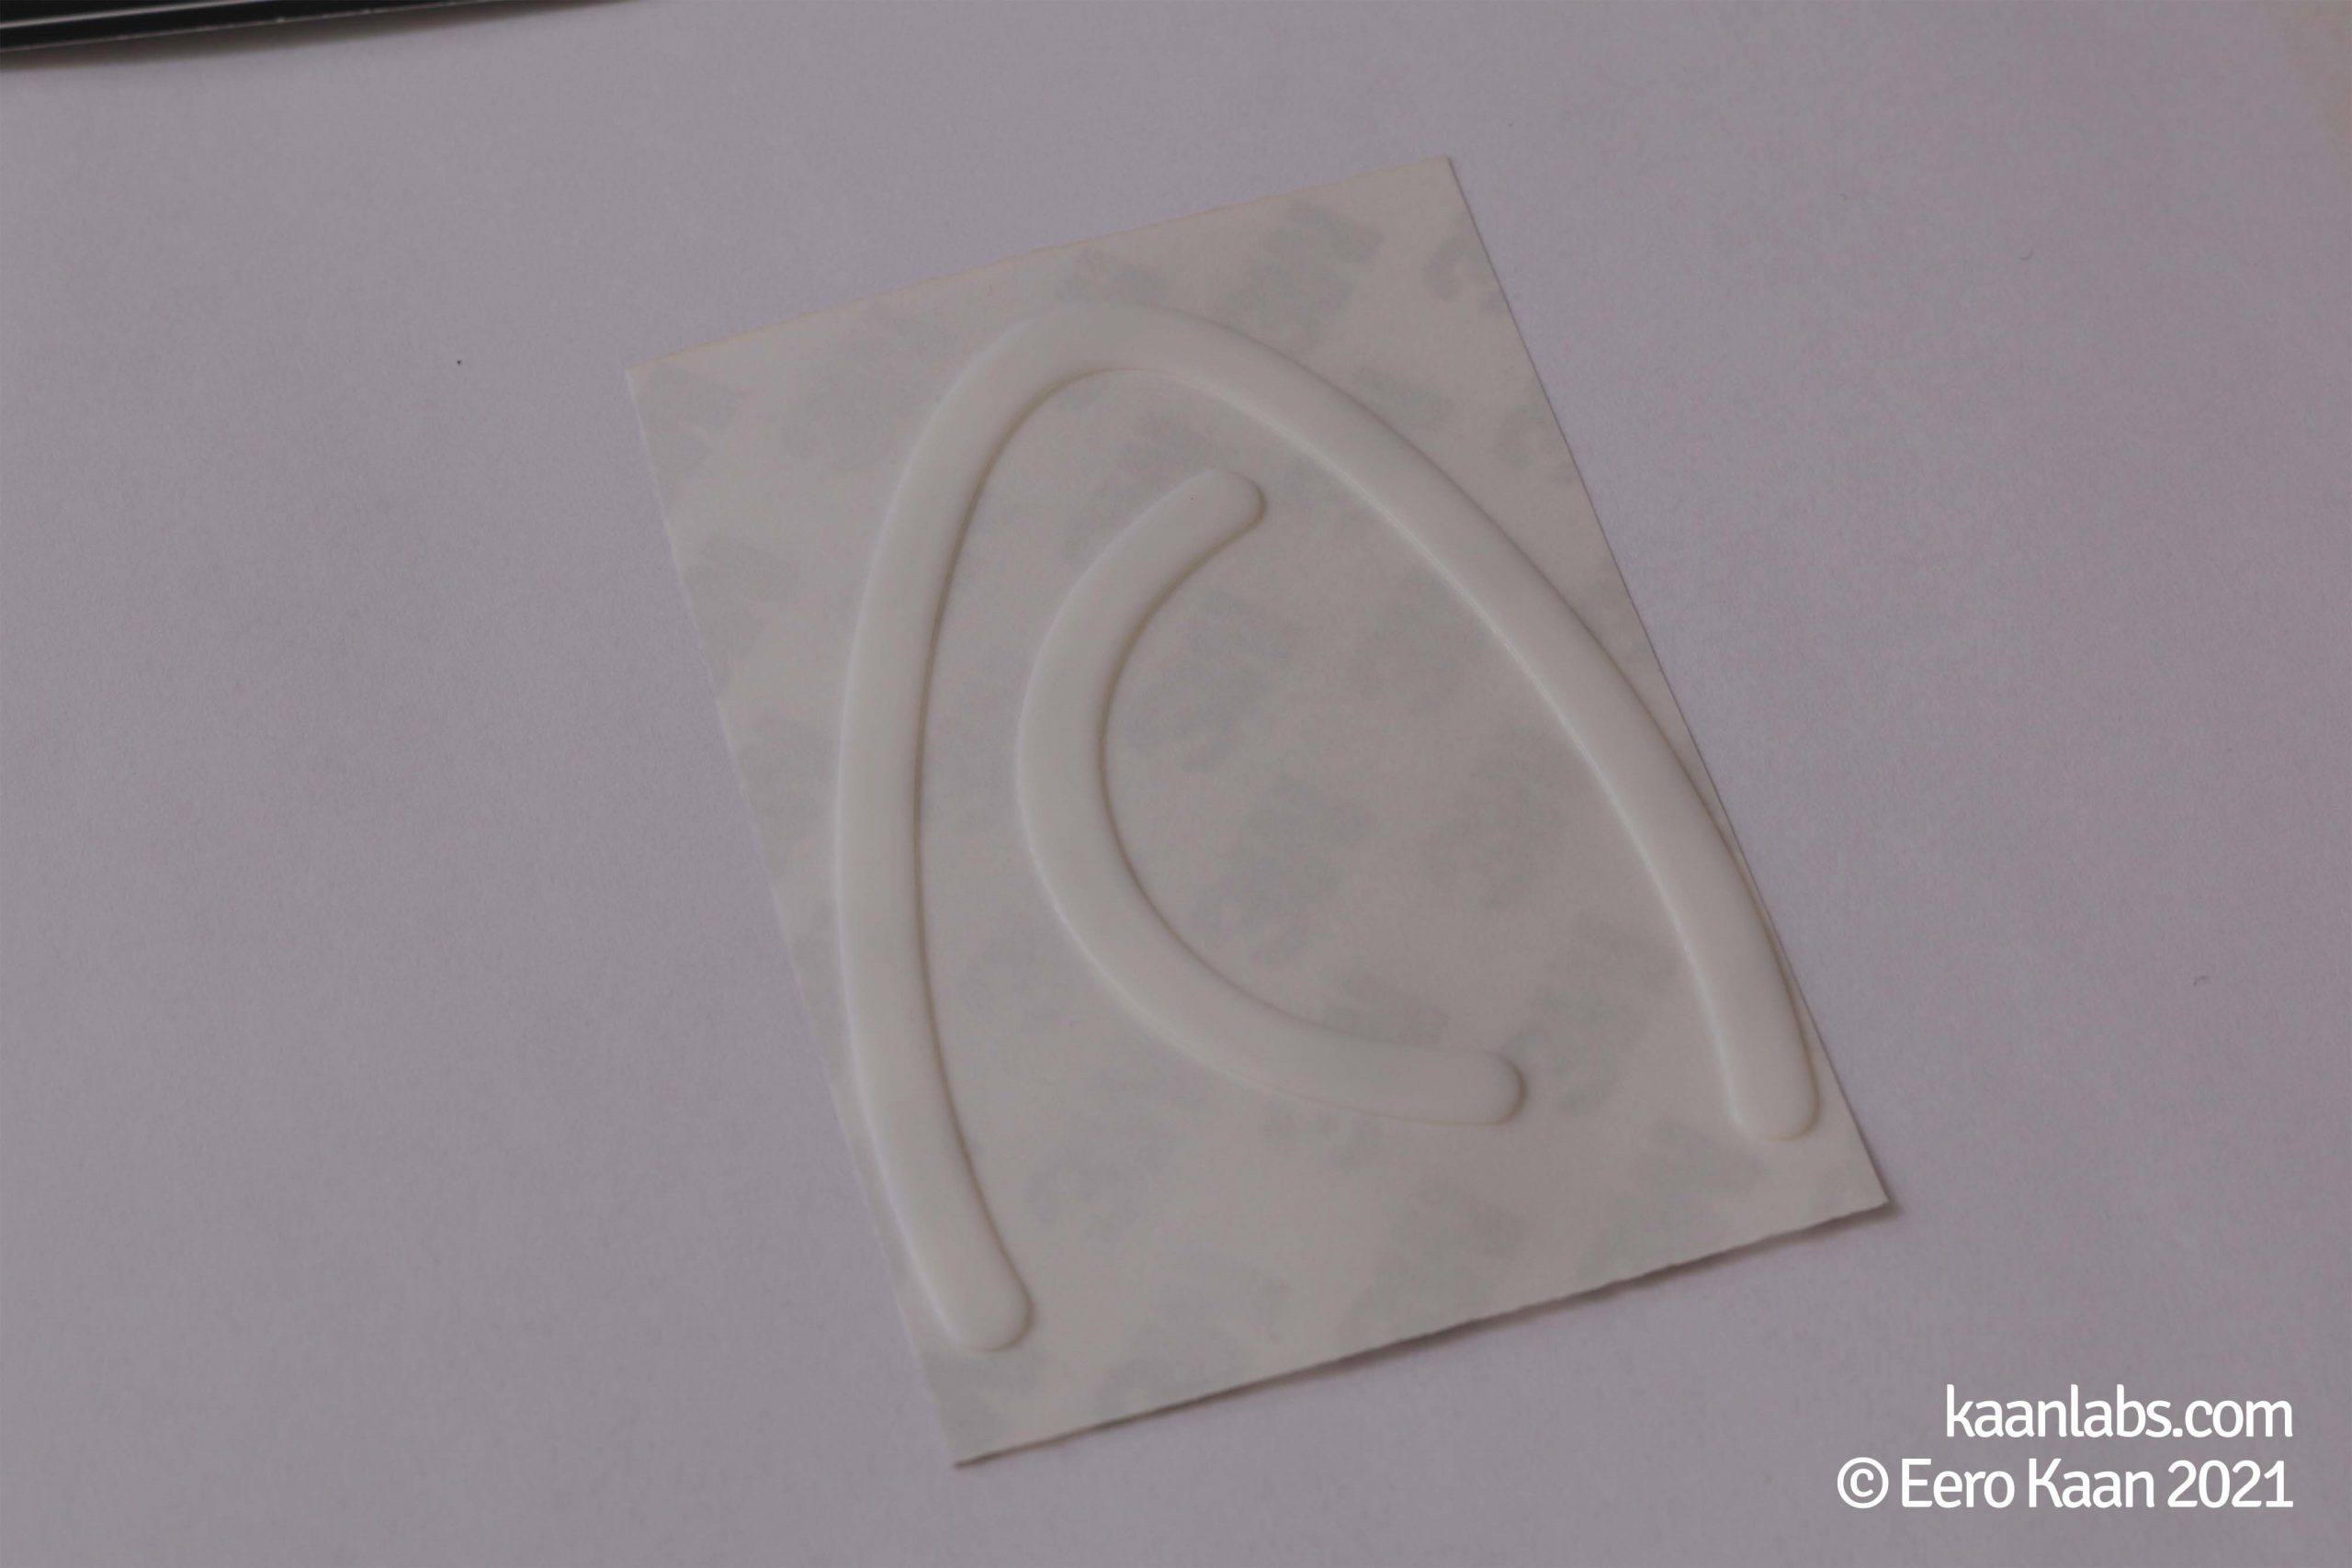
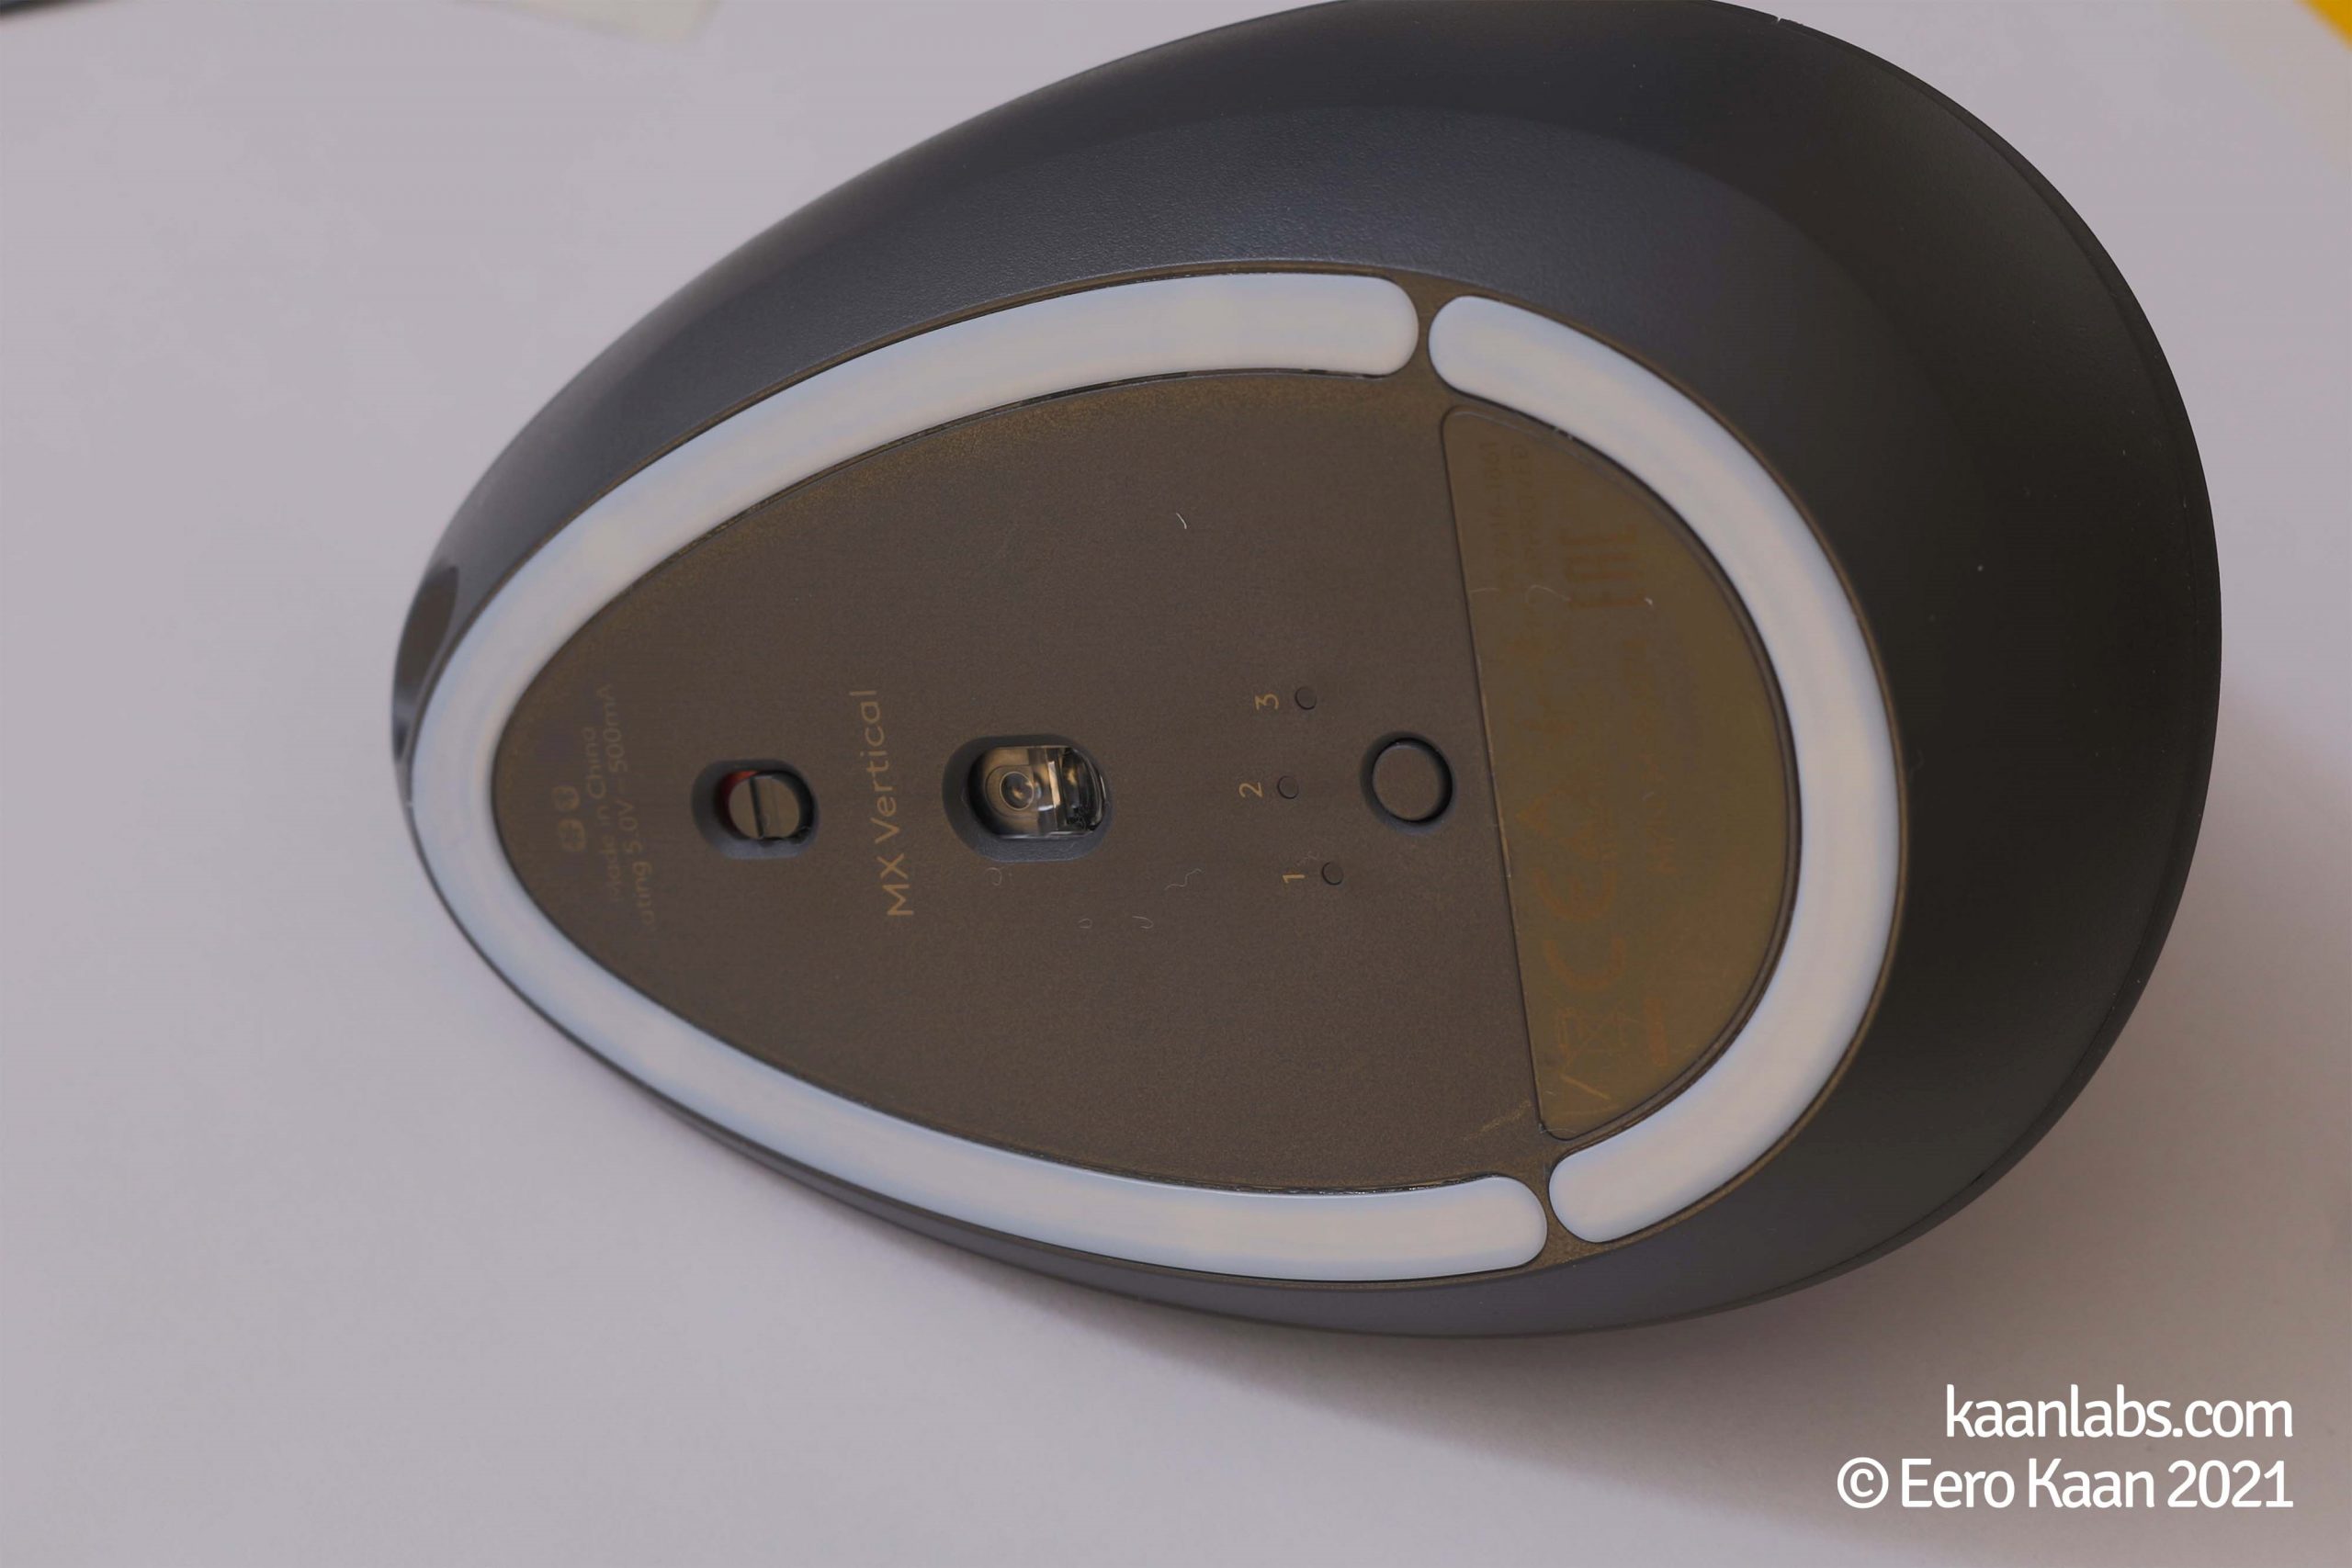
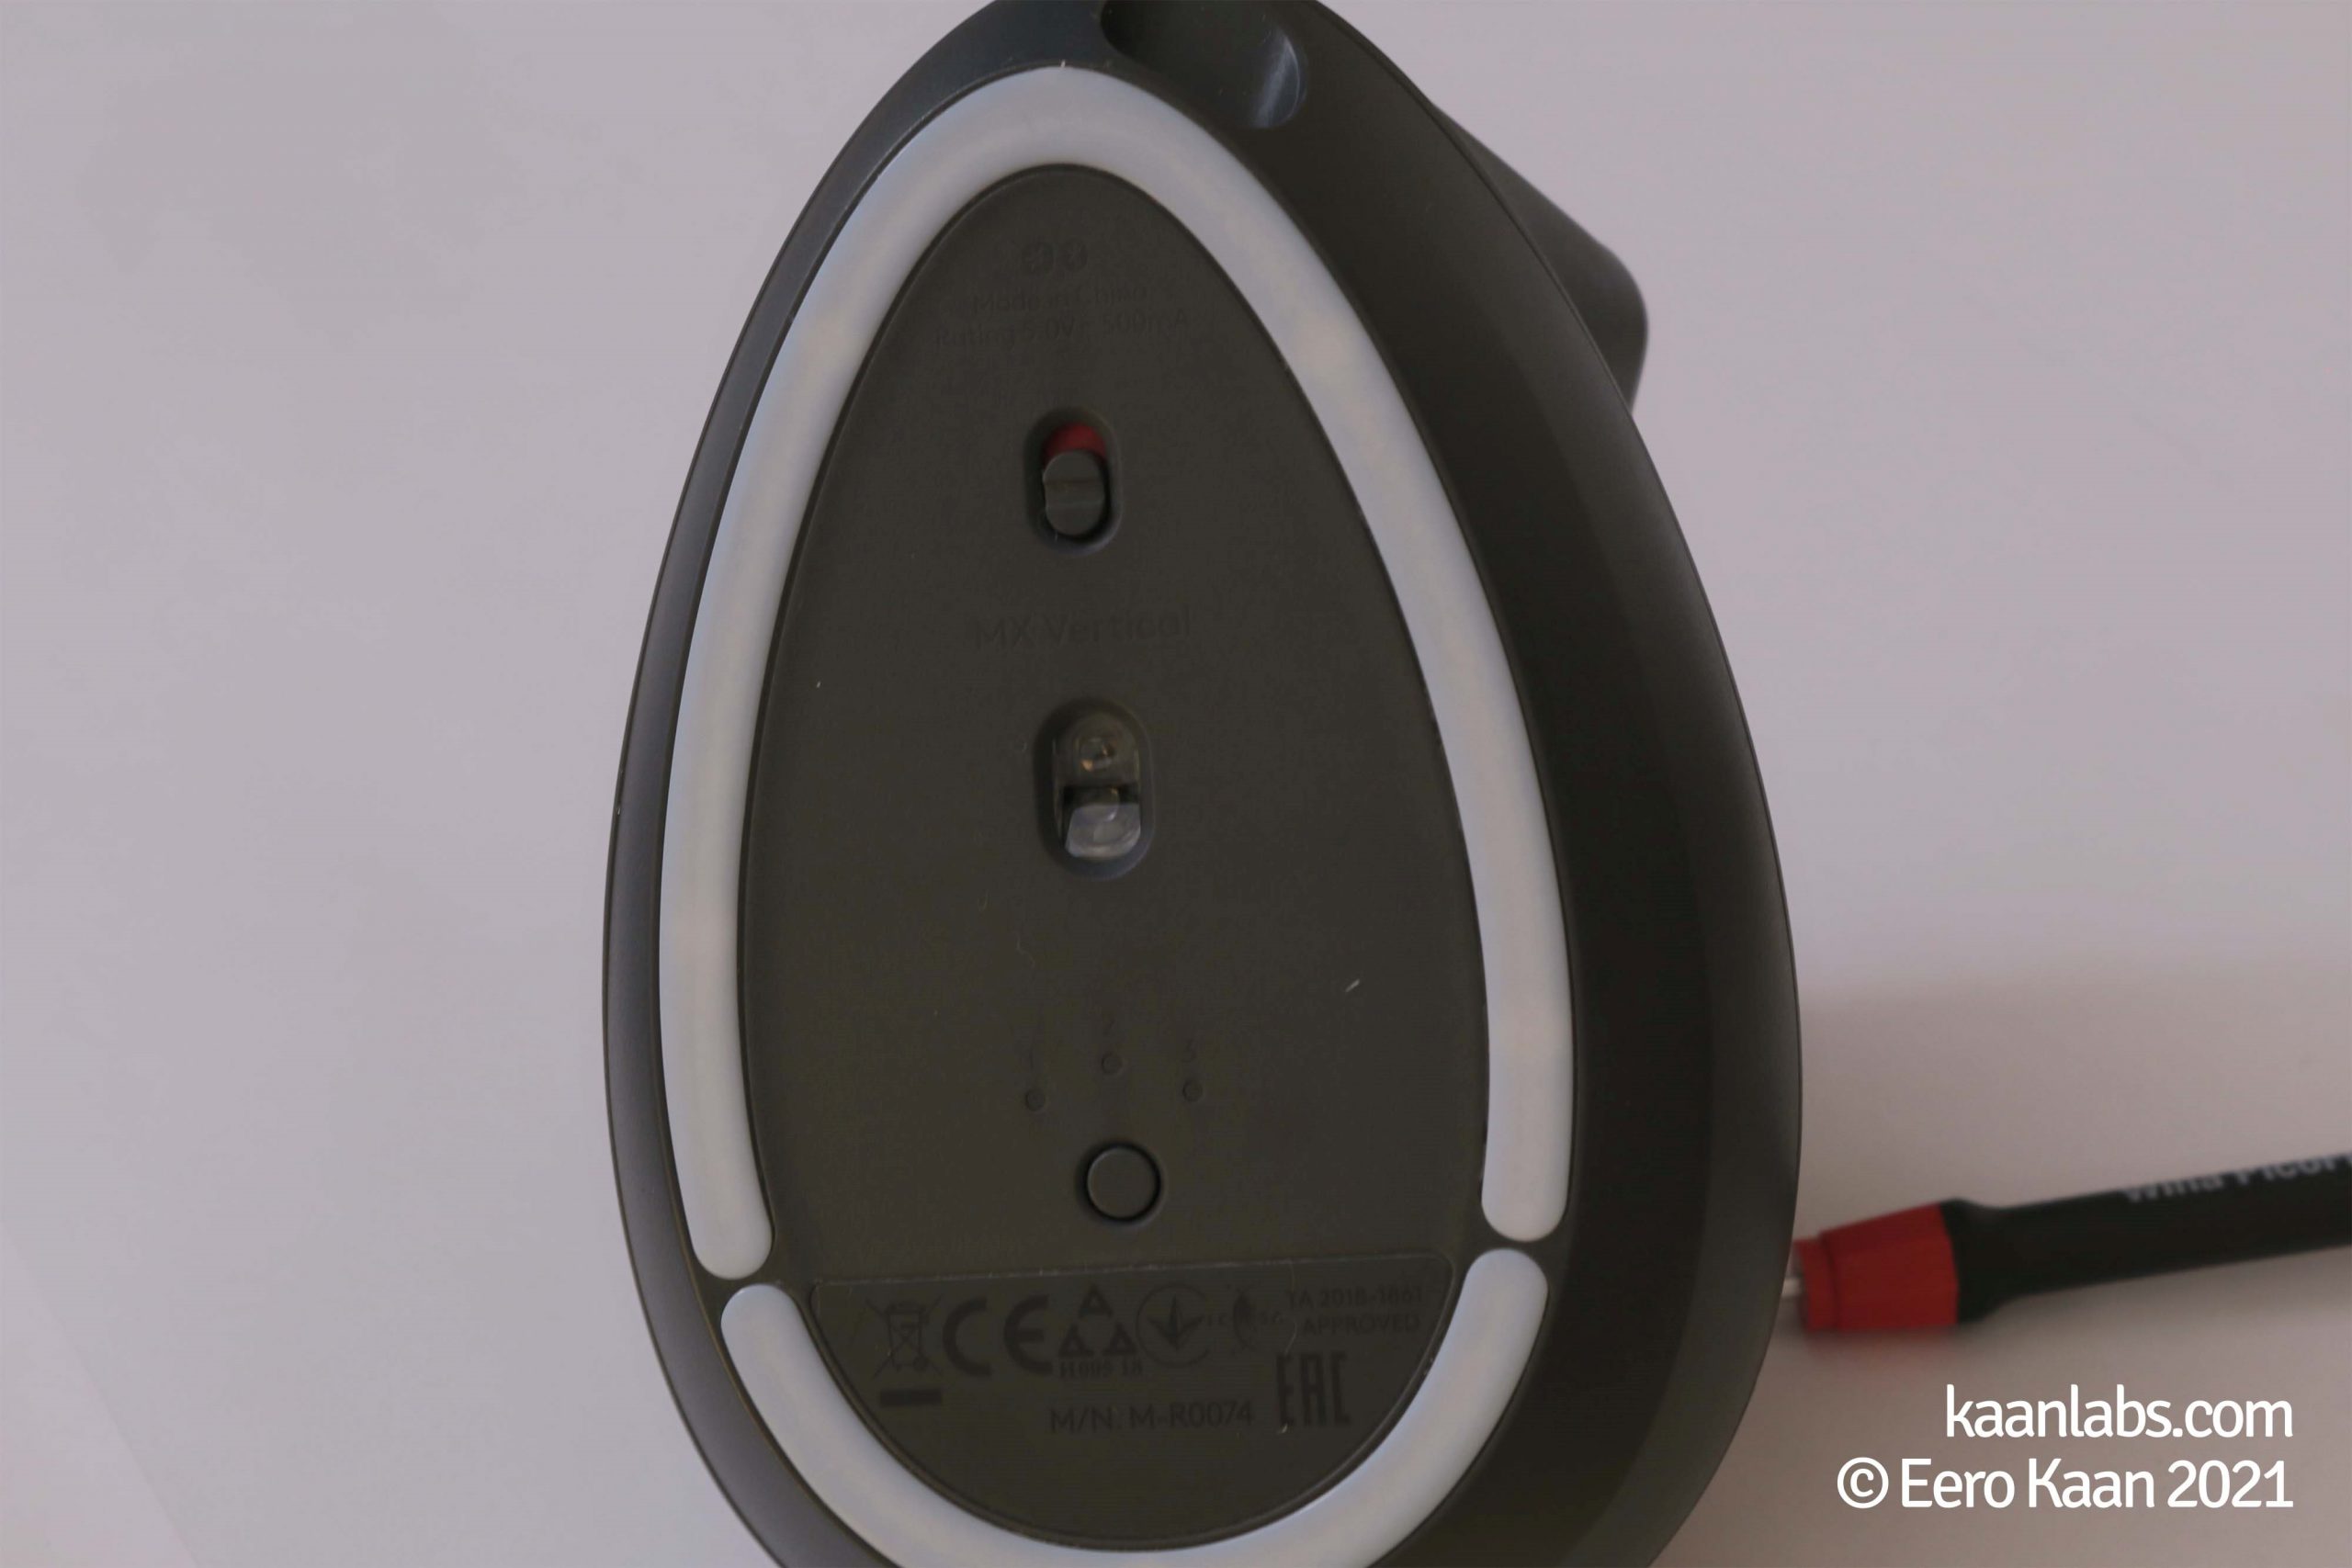
Step 1 – Remove mouse skates
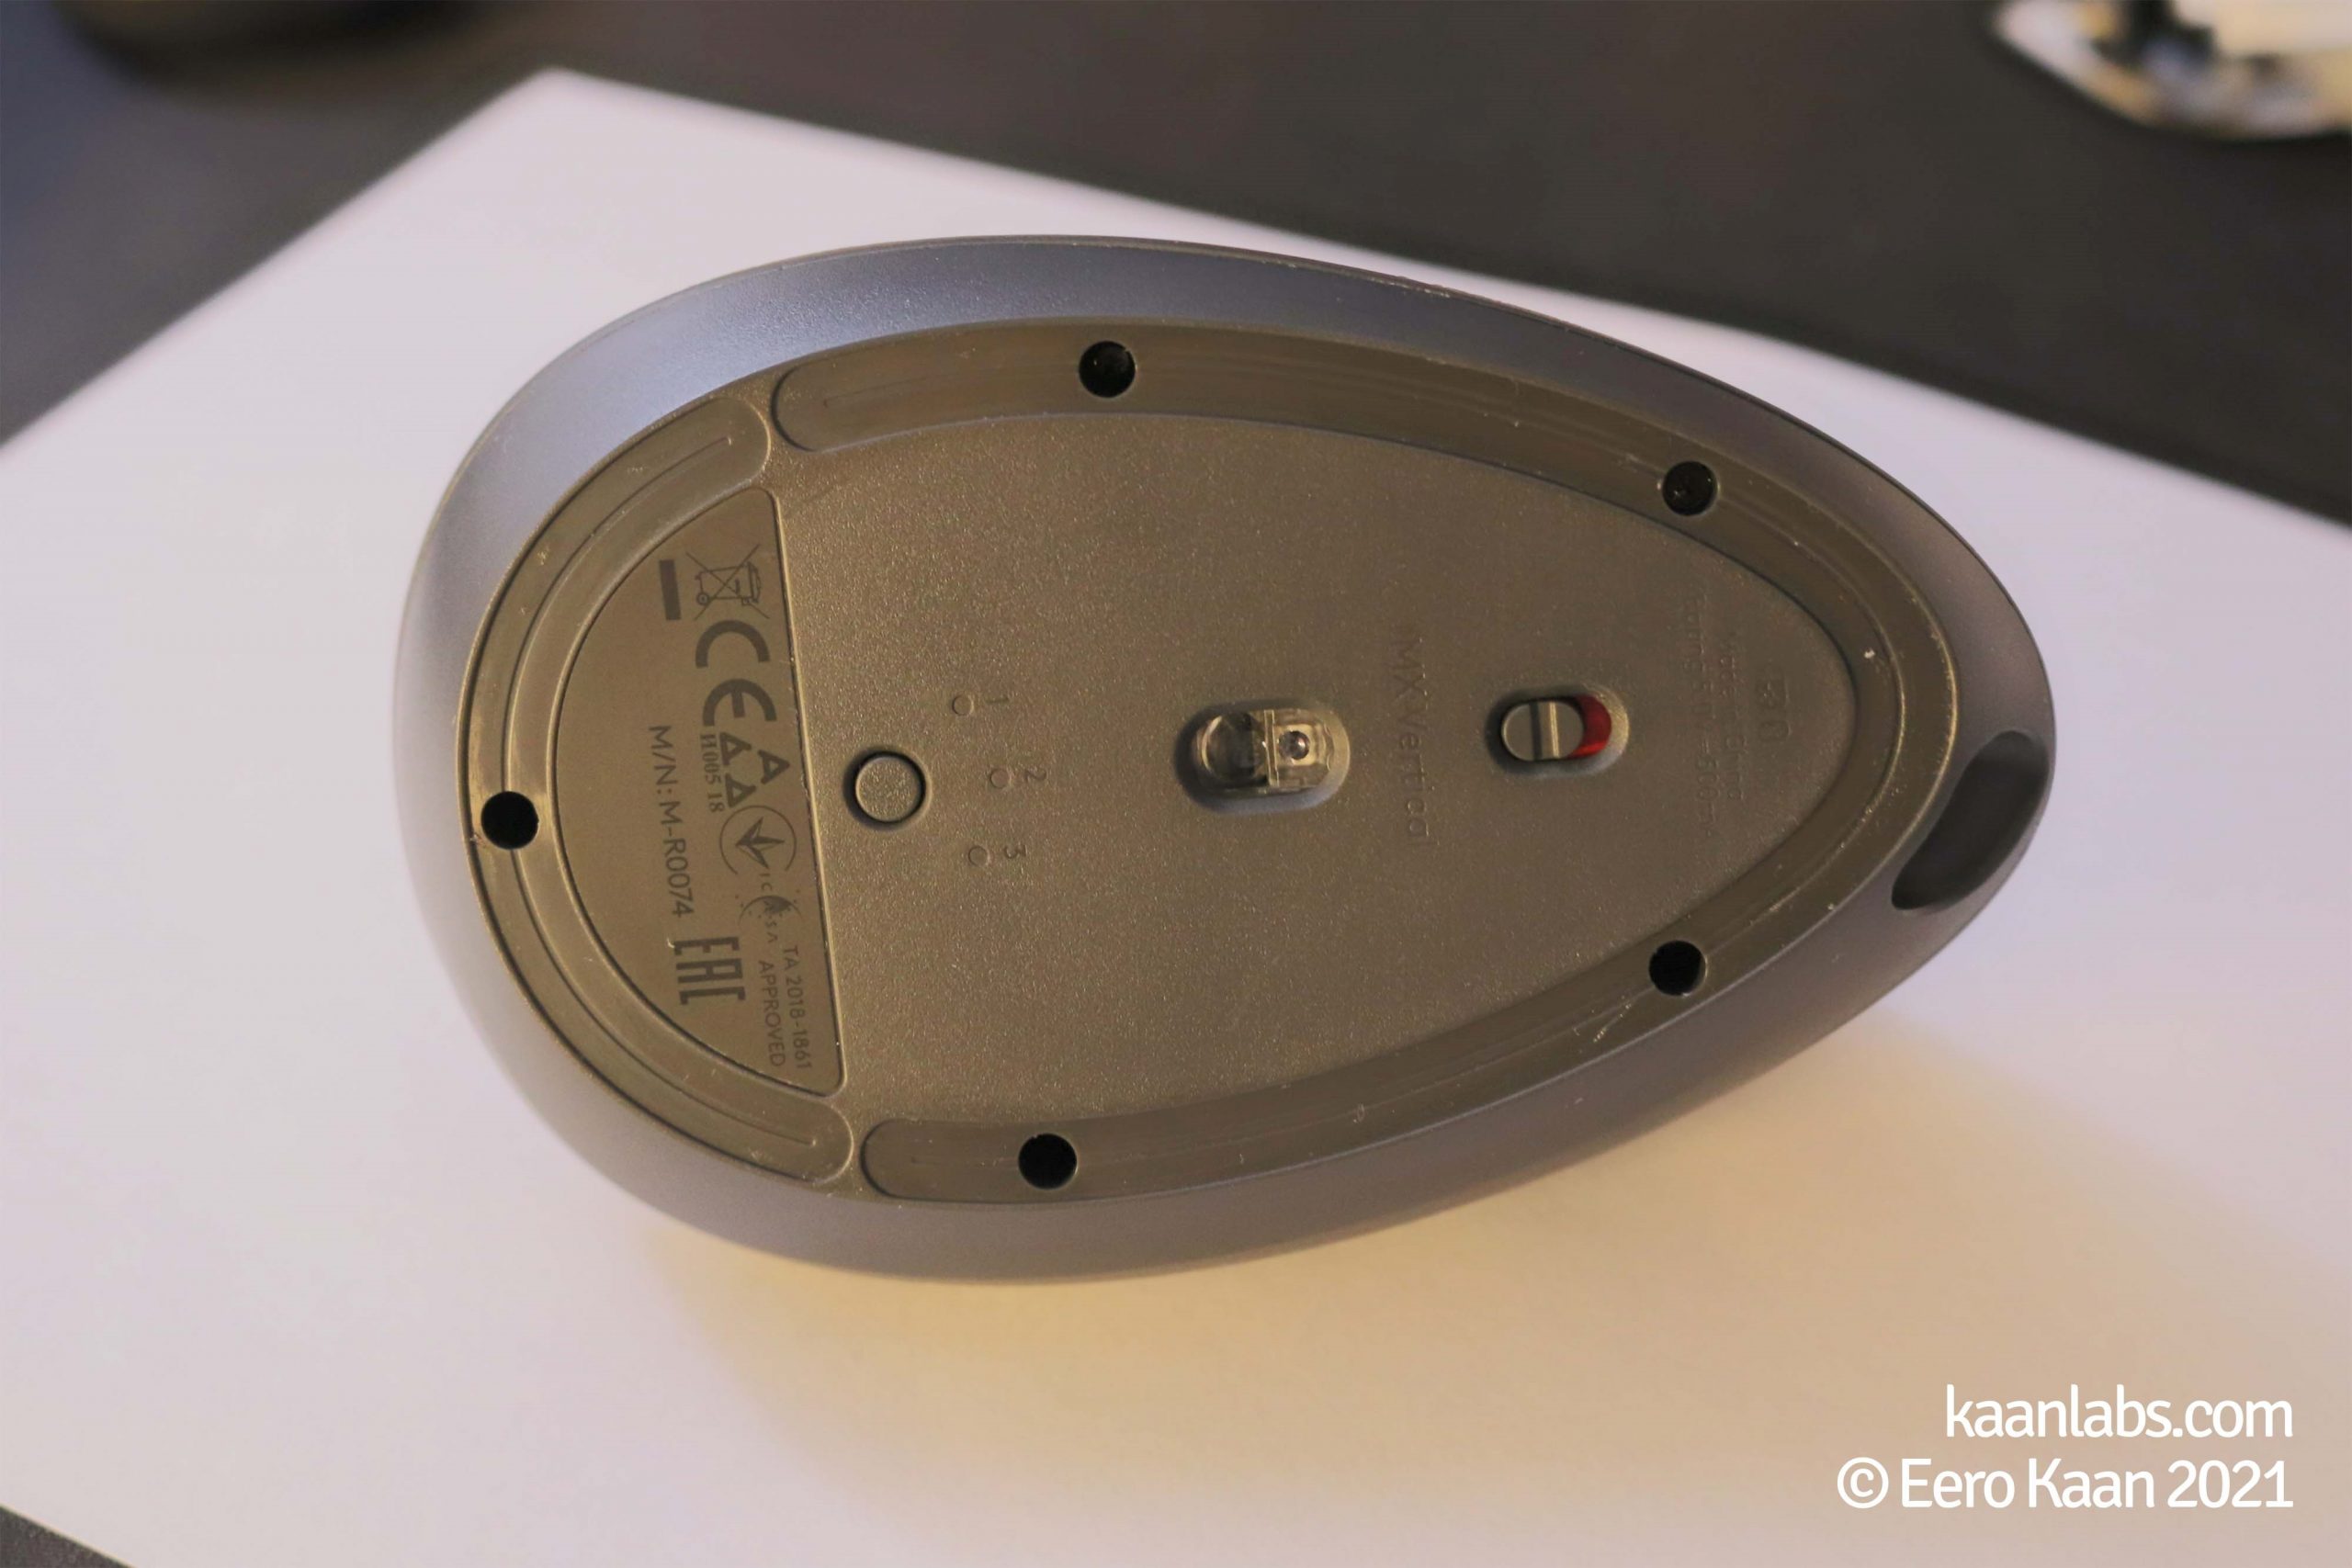
Make sure to switch your mouse off, before continuing to remove the mouse skates on the underside of the device. If you can manage to preserve the skates, that’s fine. Otherwise, we have extra mouse skates to replace them afterwards anyway.
After removing the skates, you are now able to access the five phillips screws on the underside. Continue screwing them out with a small size screwdriver.
Step 2 – Open the mouse itself

After removing the screws, open the two halves of the mouse…
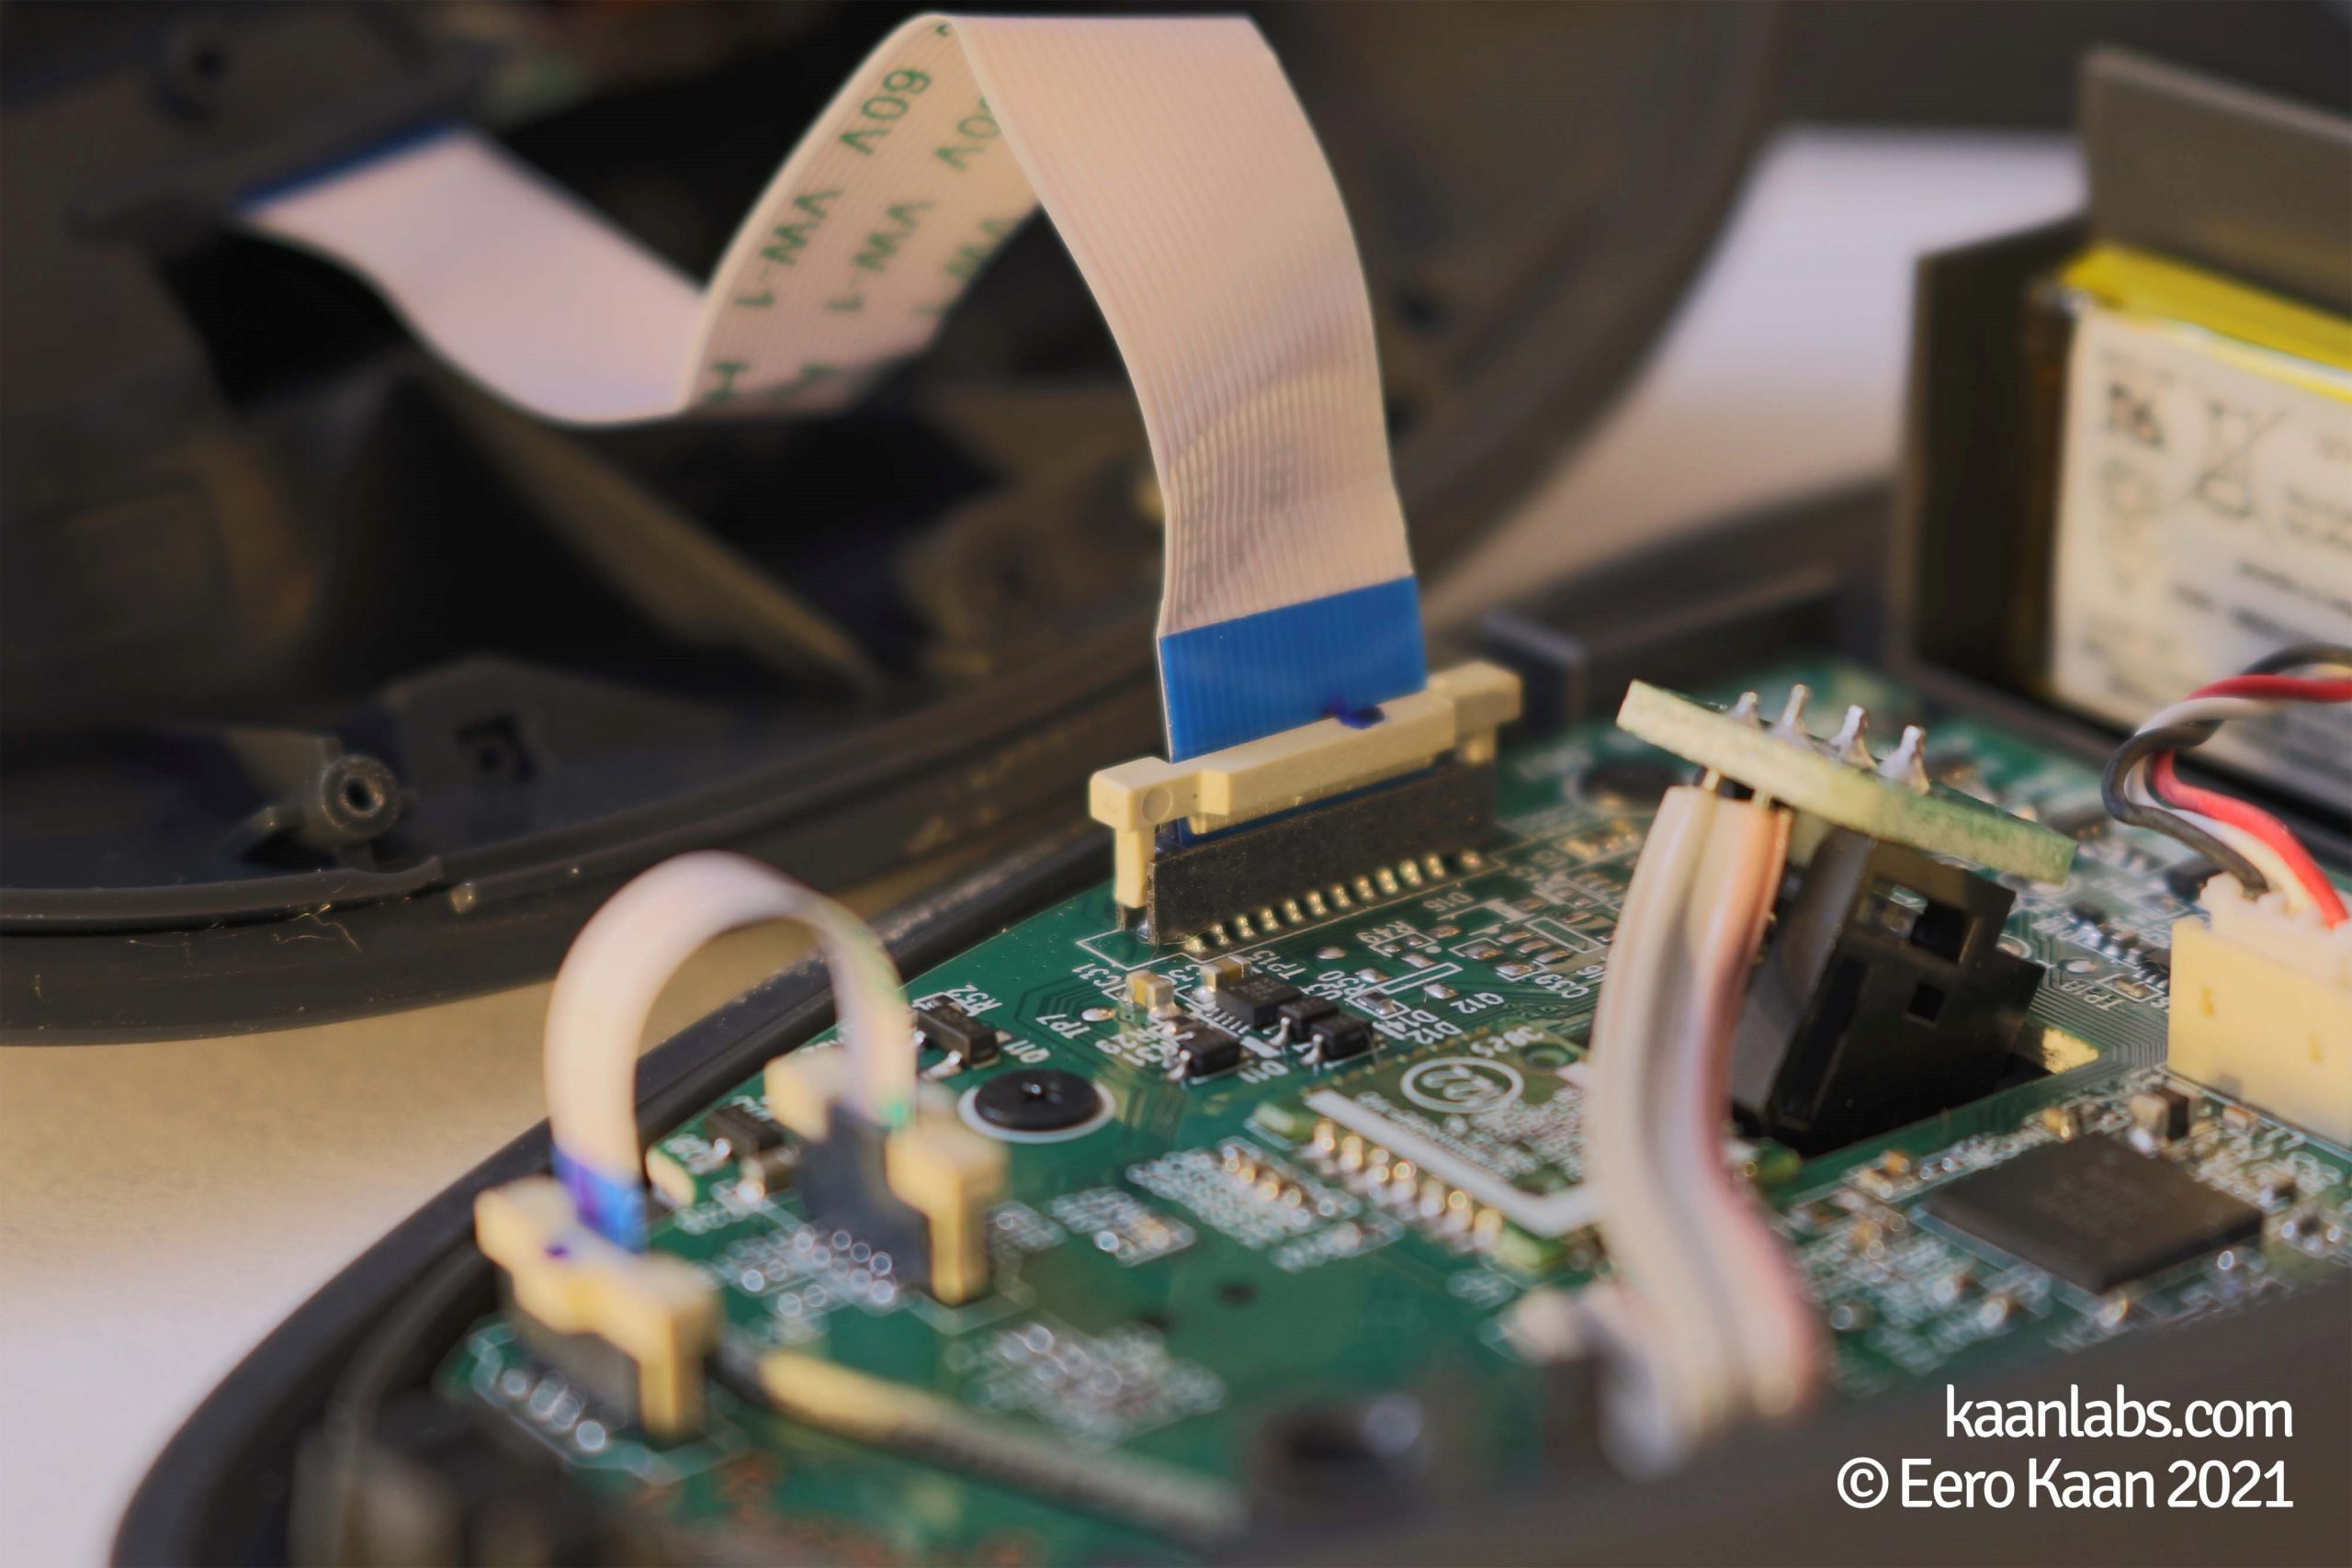
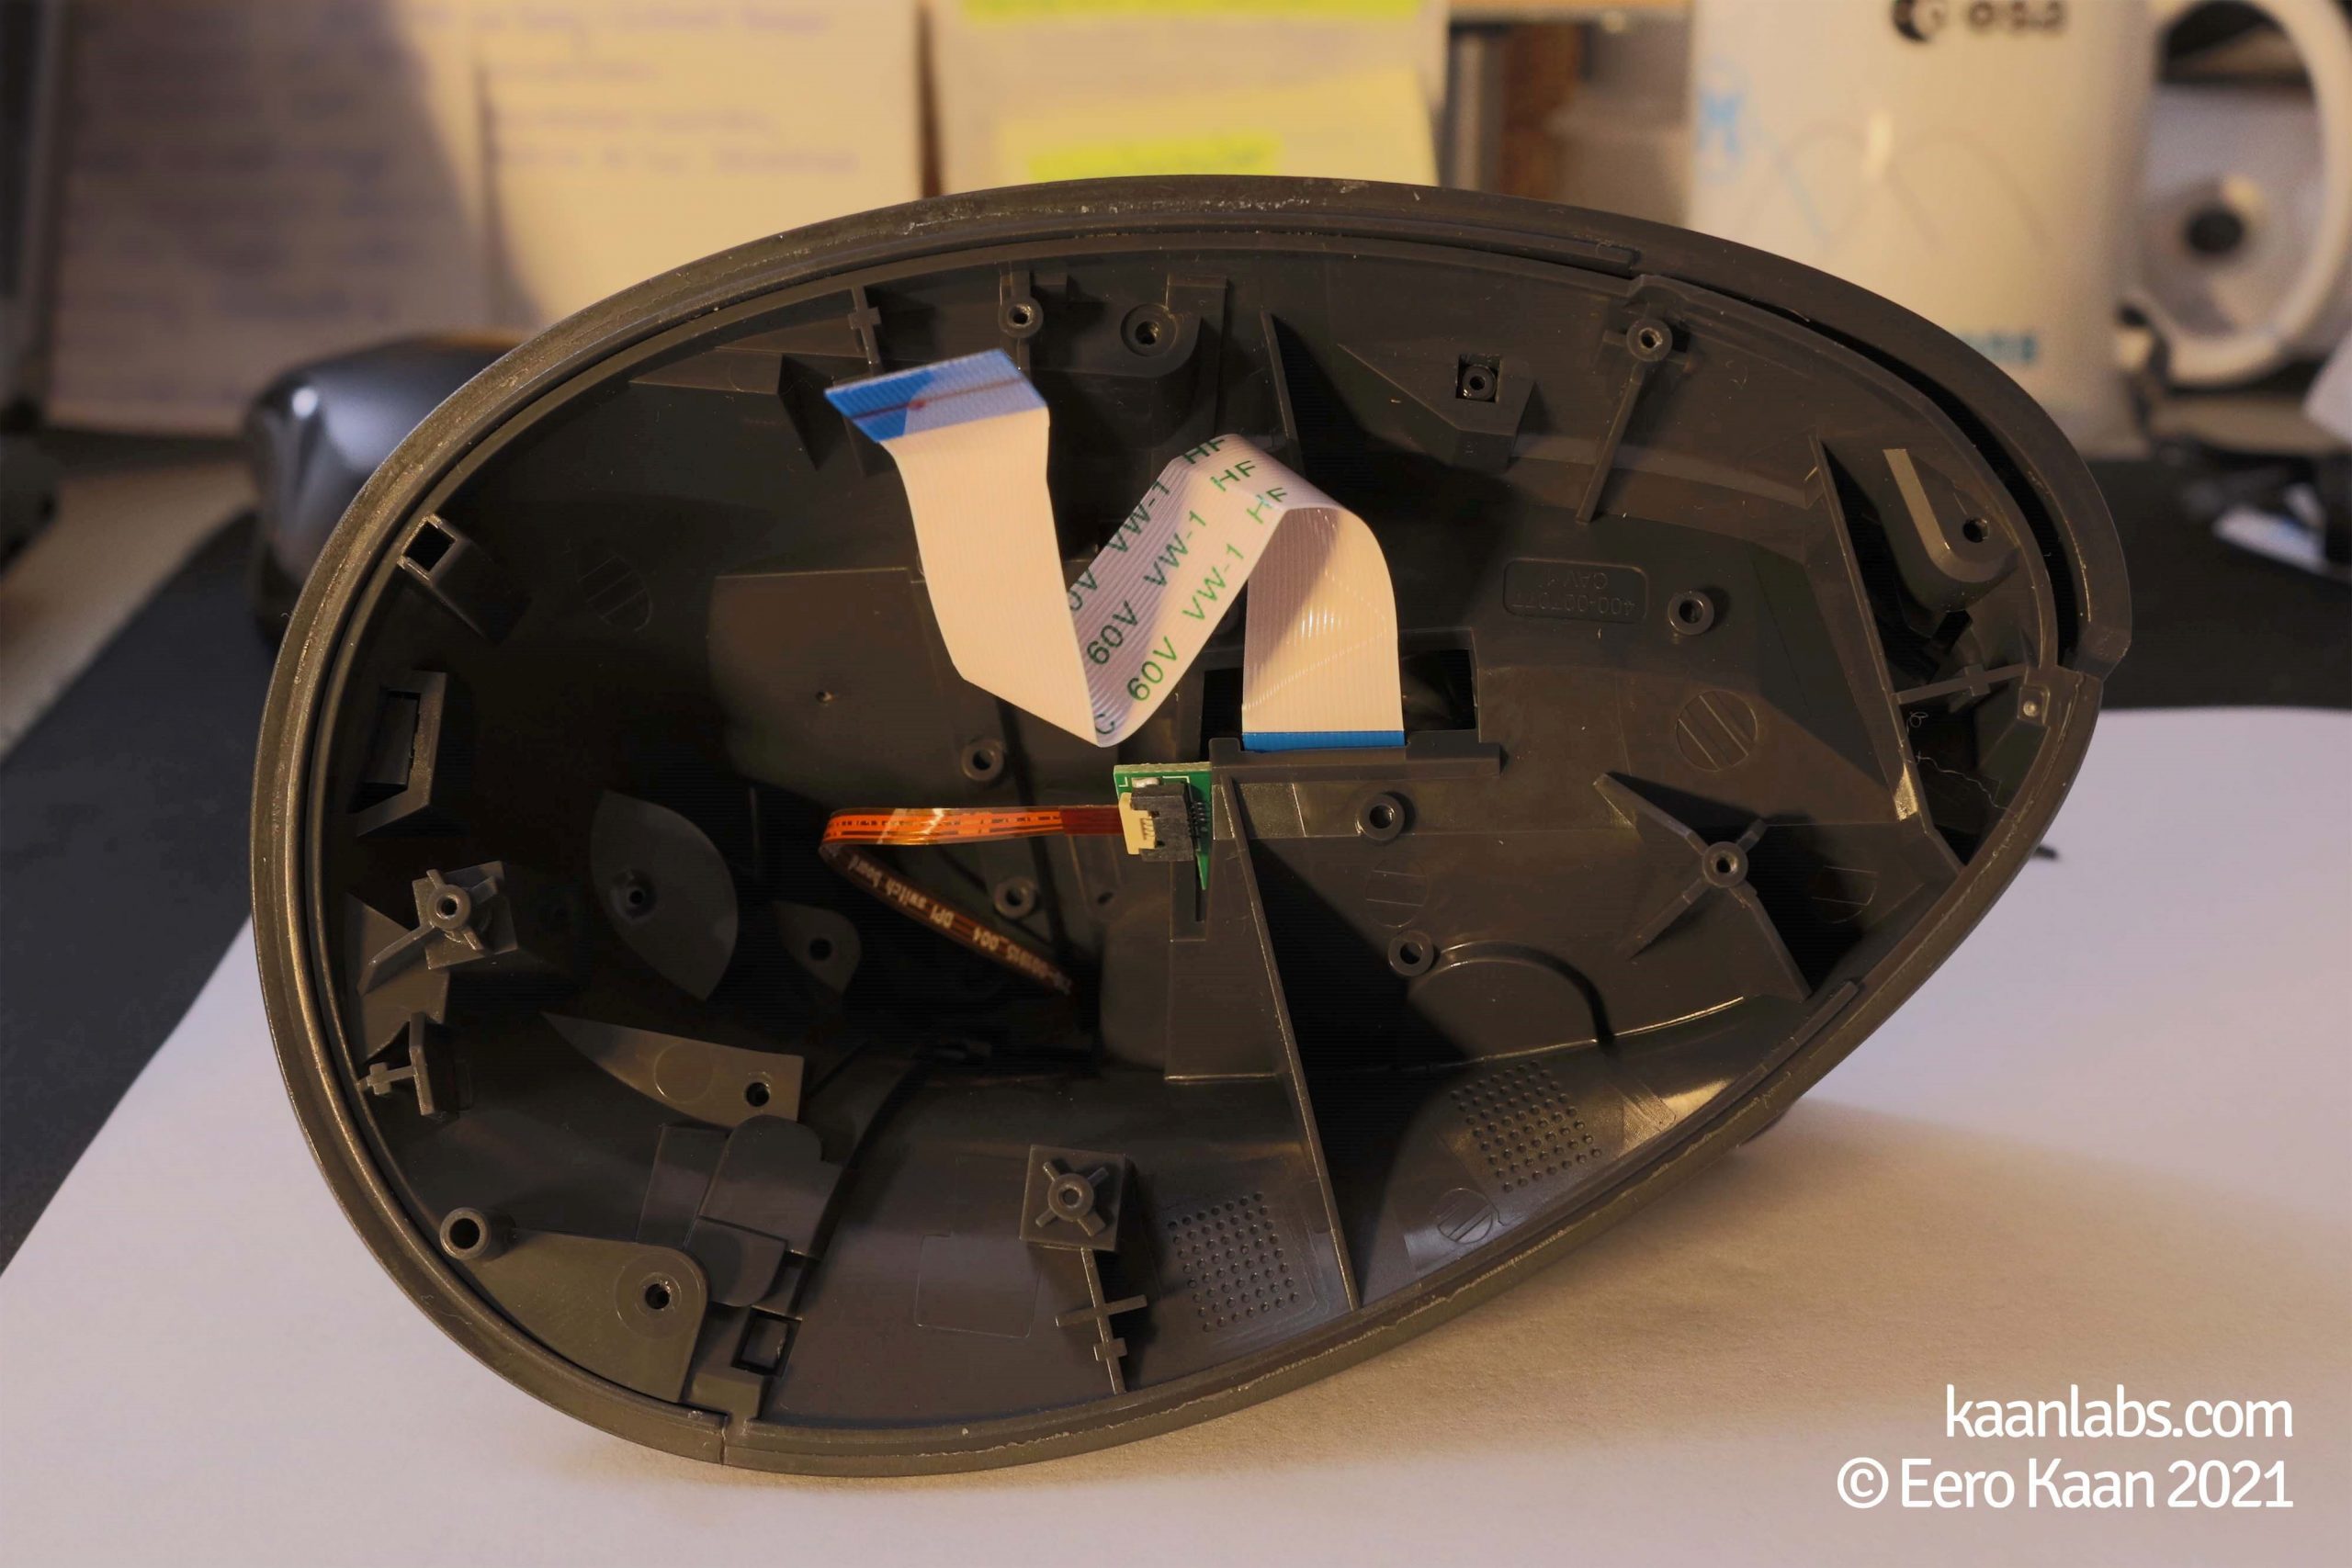
… and disconnect the ribbon cable on the base halve’s PCB.
Step 3 – Remove internal screws
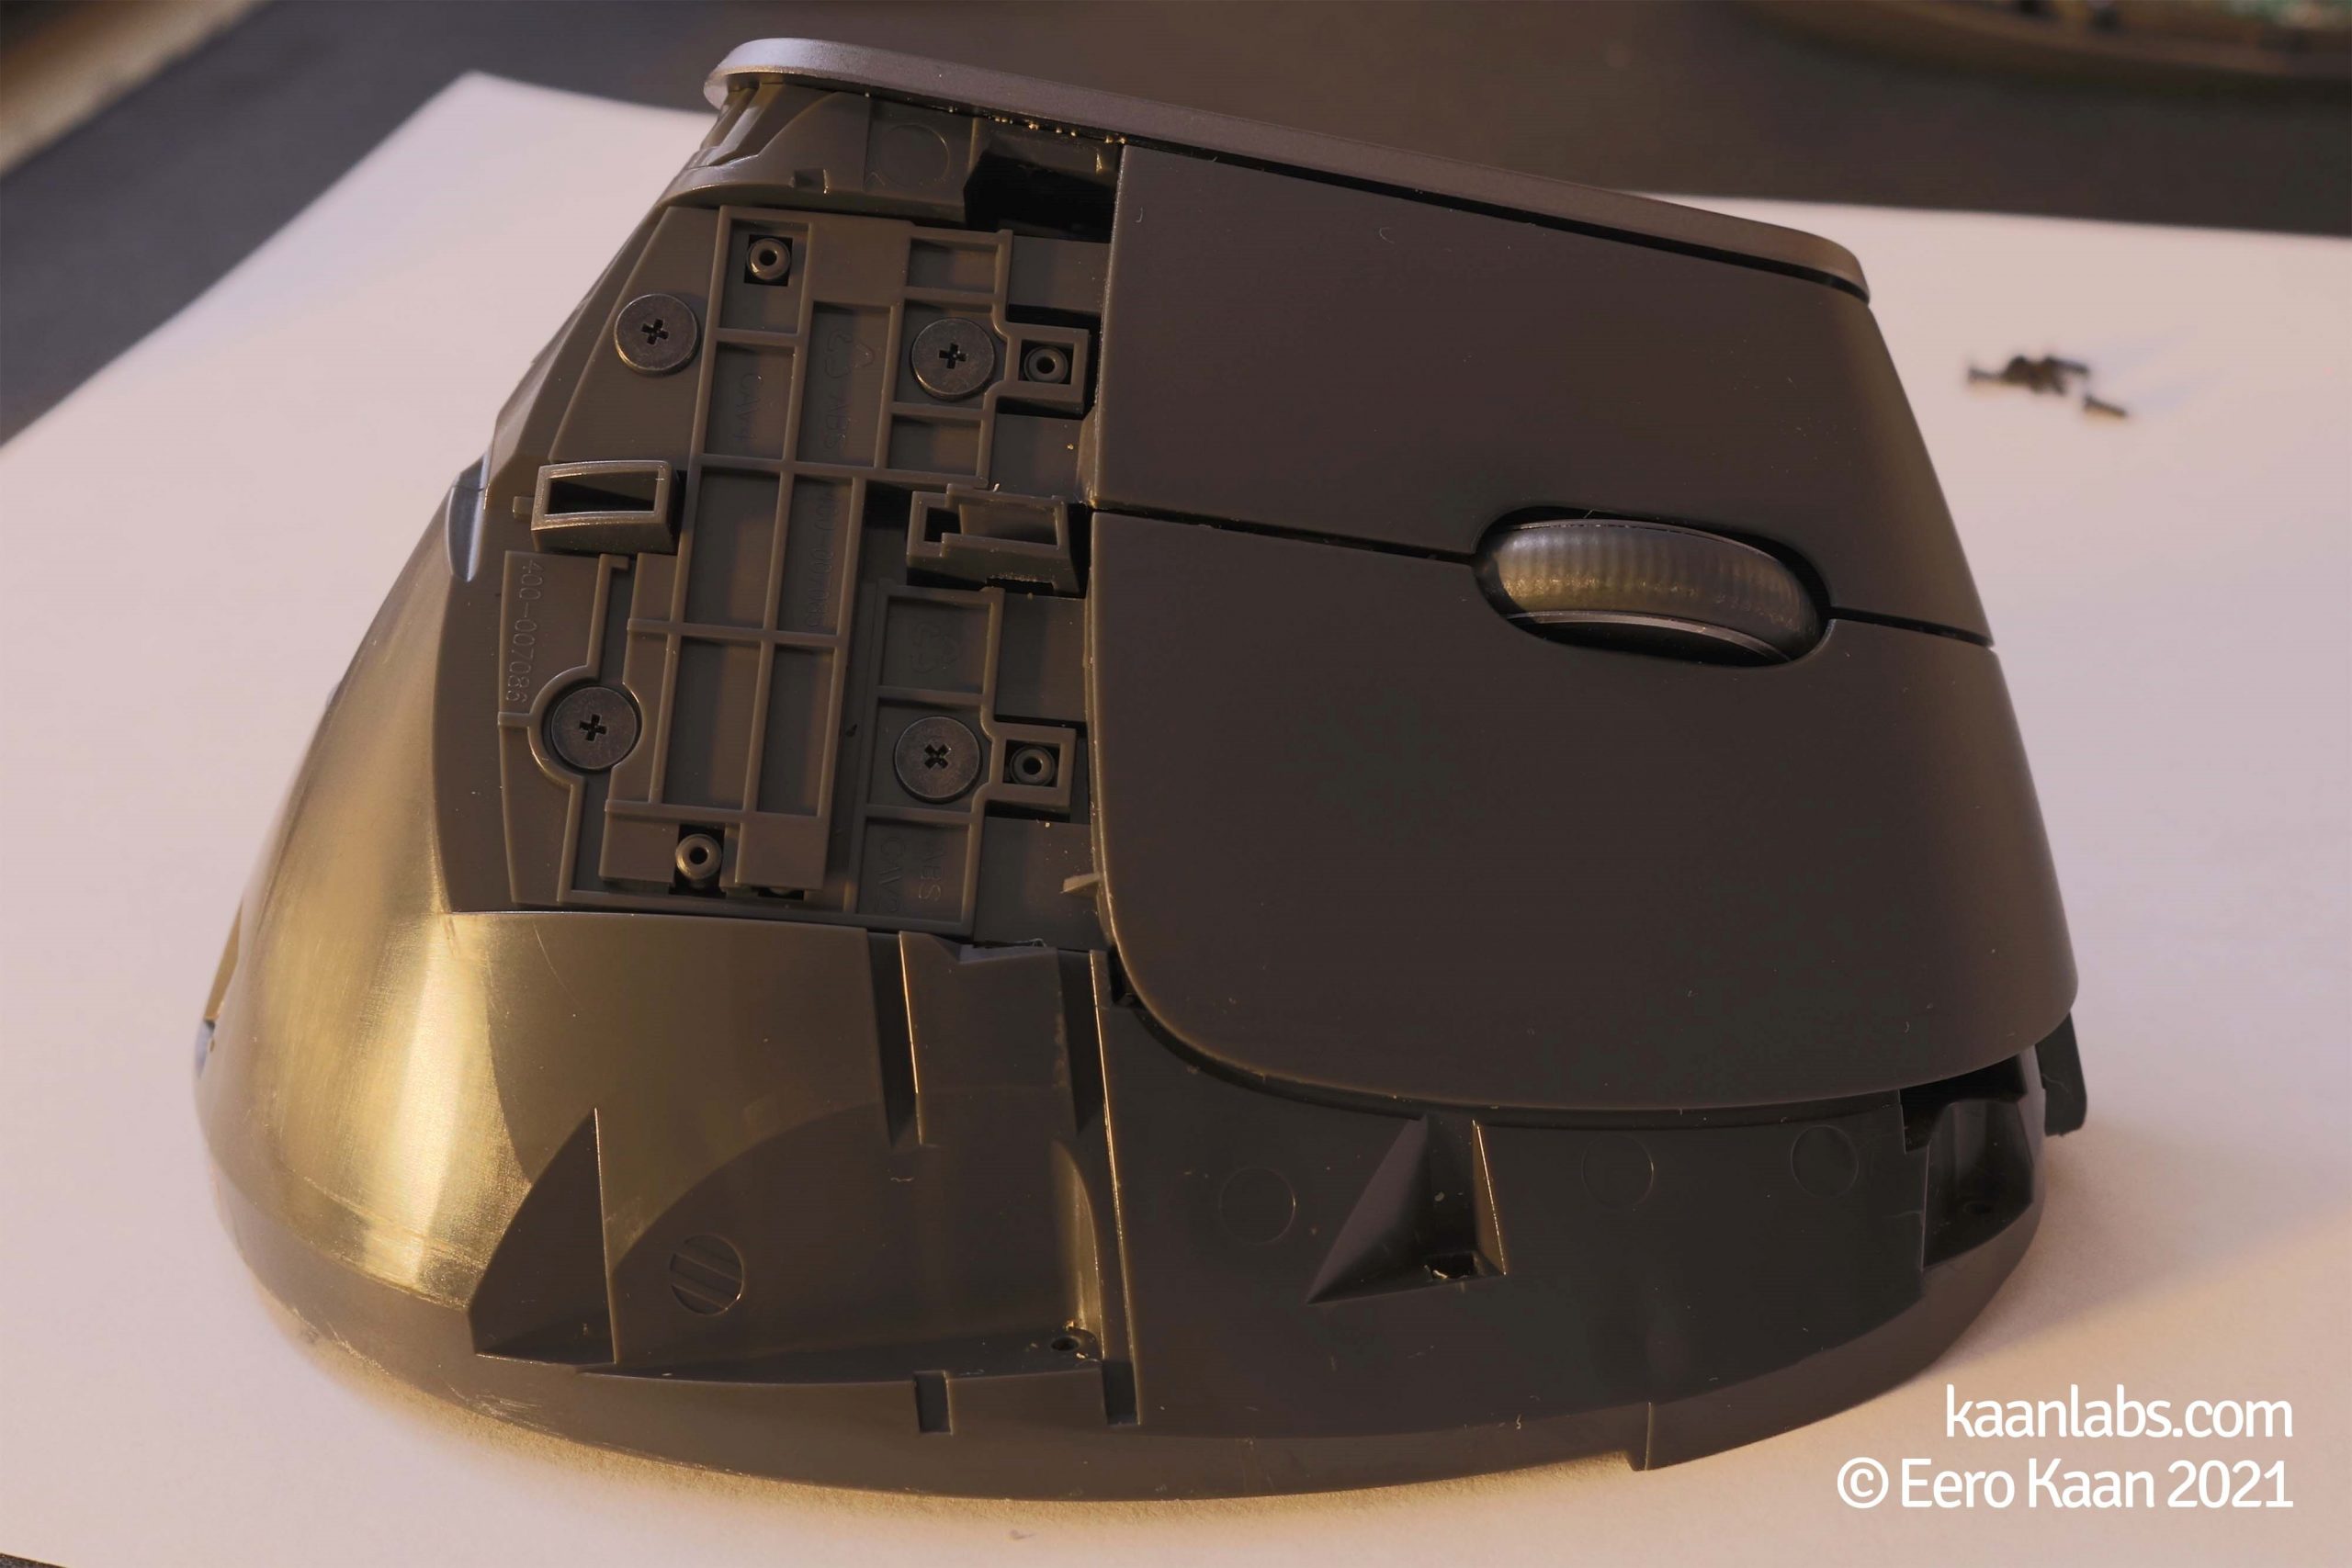
Continue to remove the internal screws, to gain access to the mouse buttons, like shown in the following pictures:
After all the internal screws have been removed, the mouse should look like this:
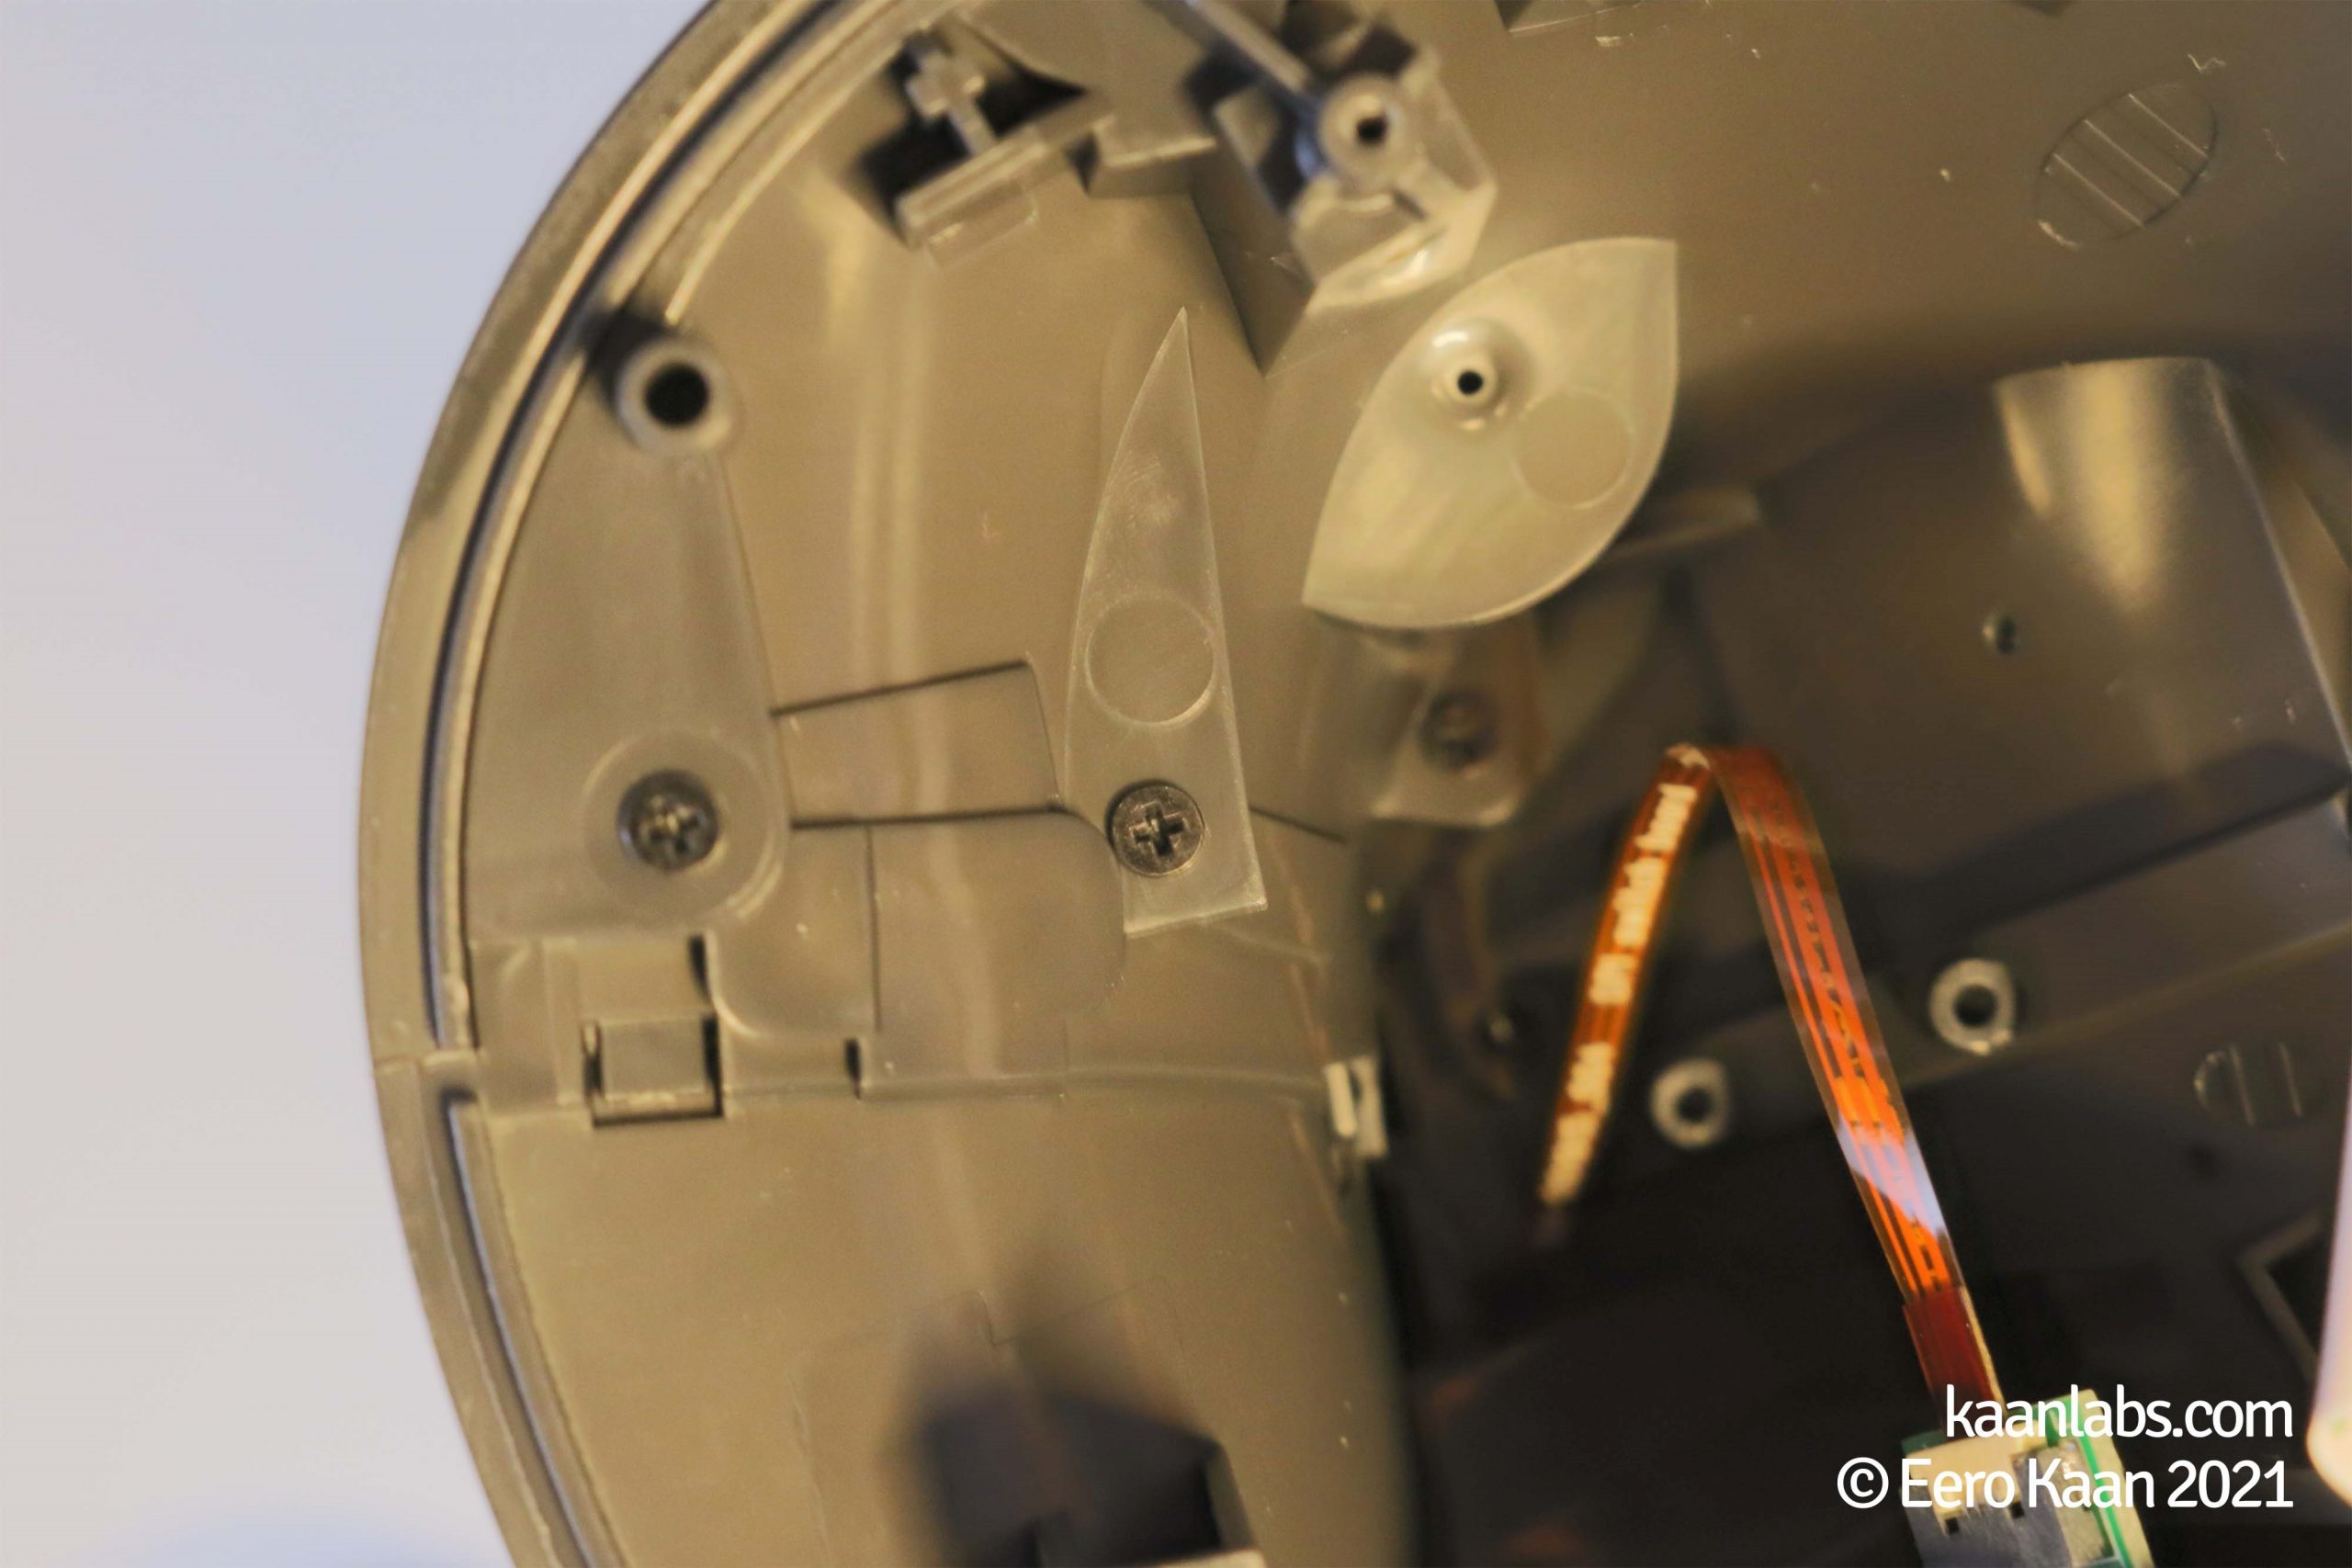
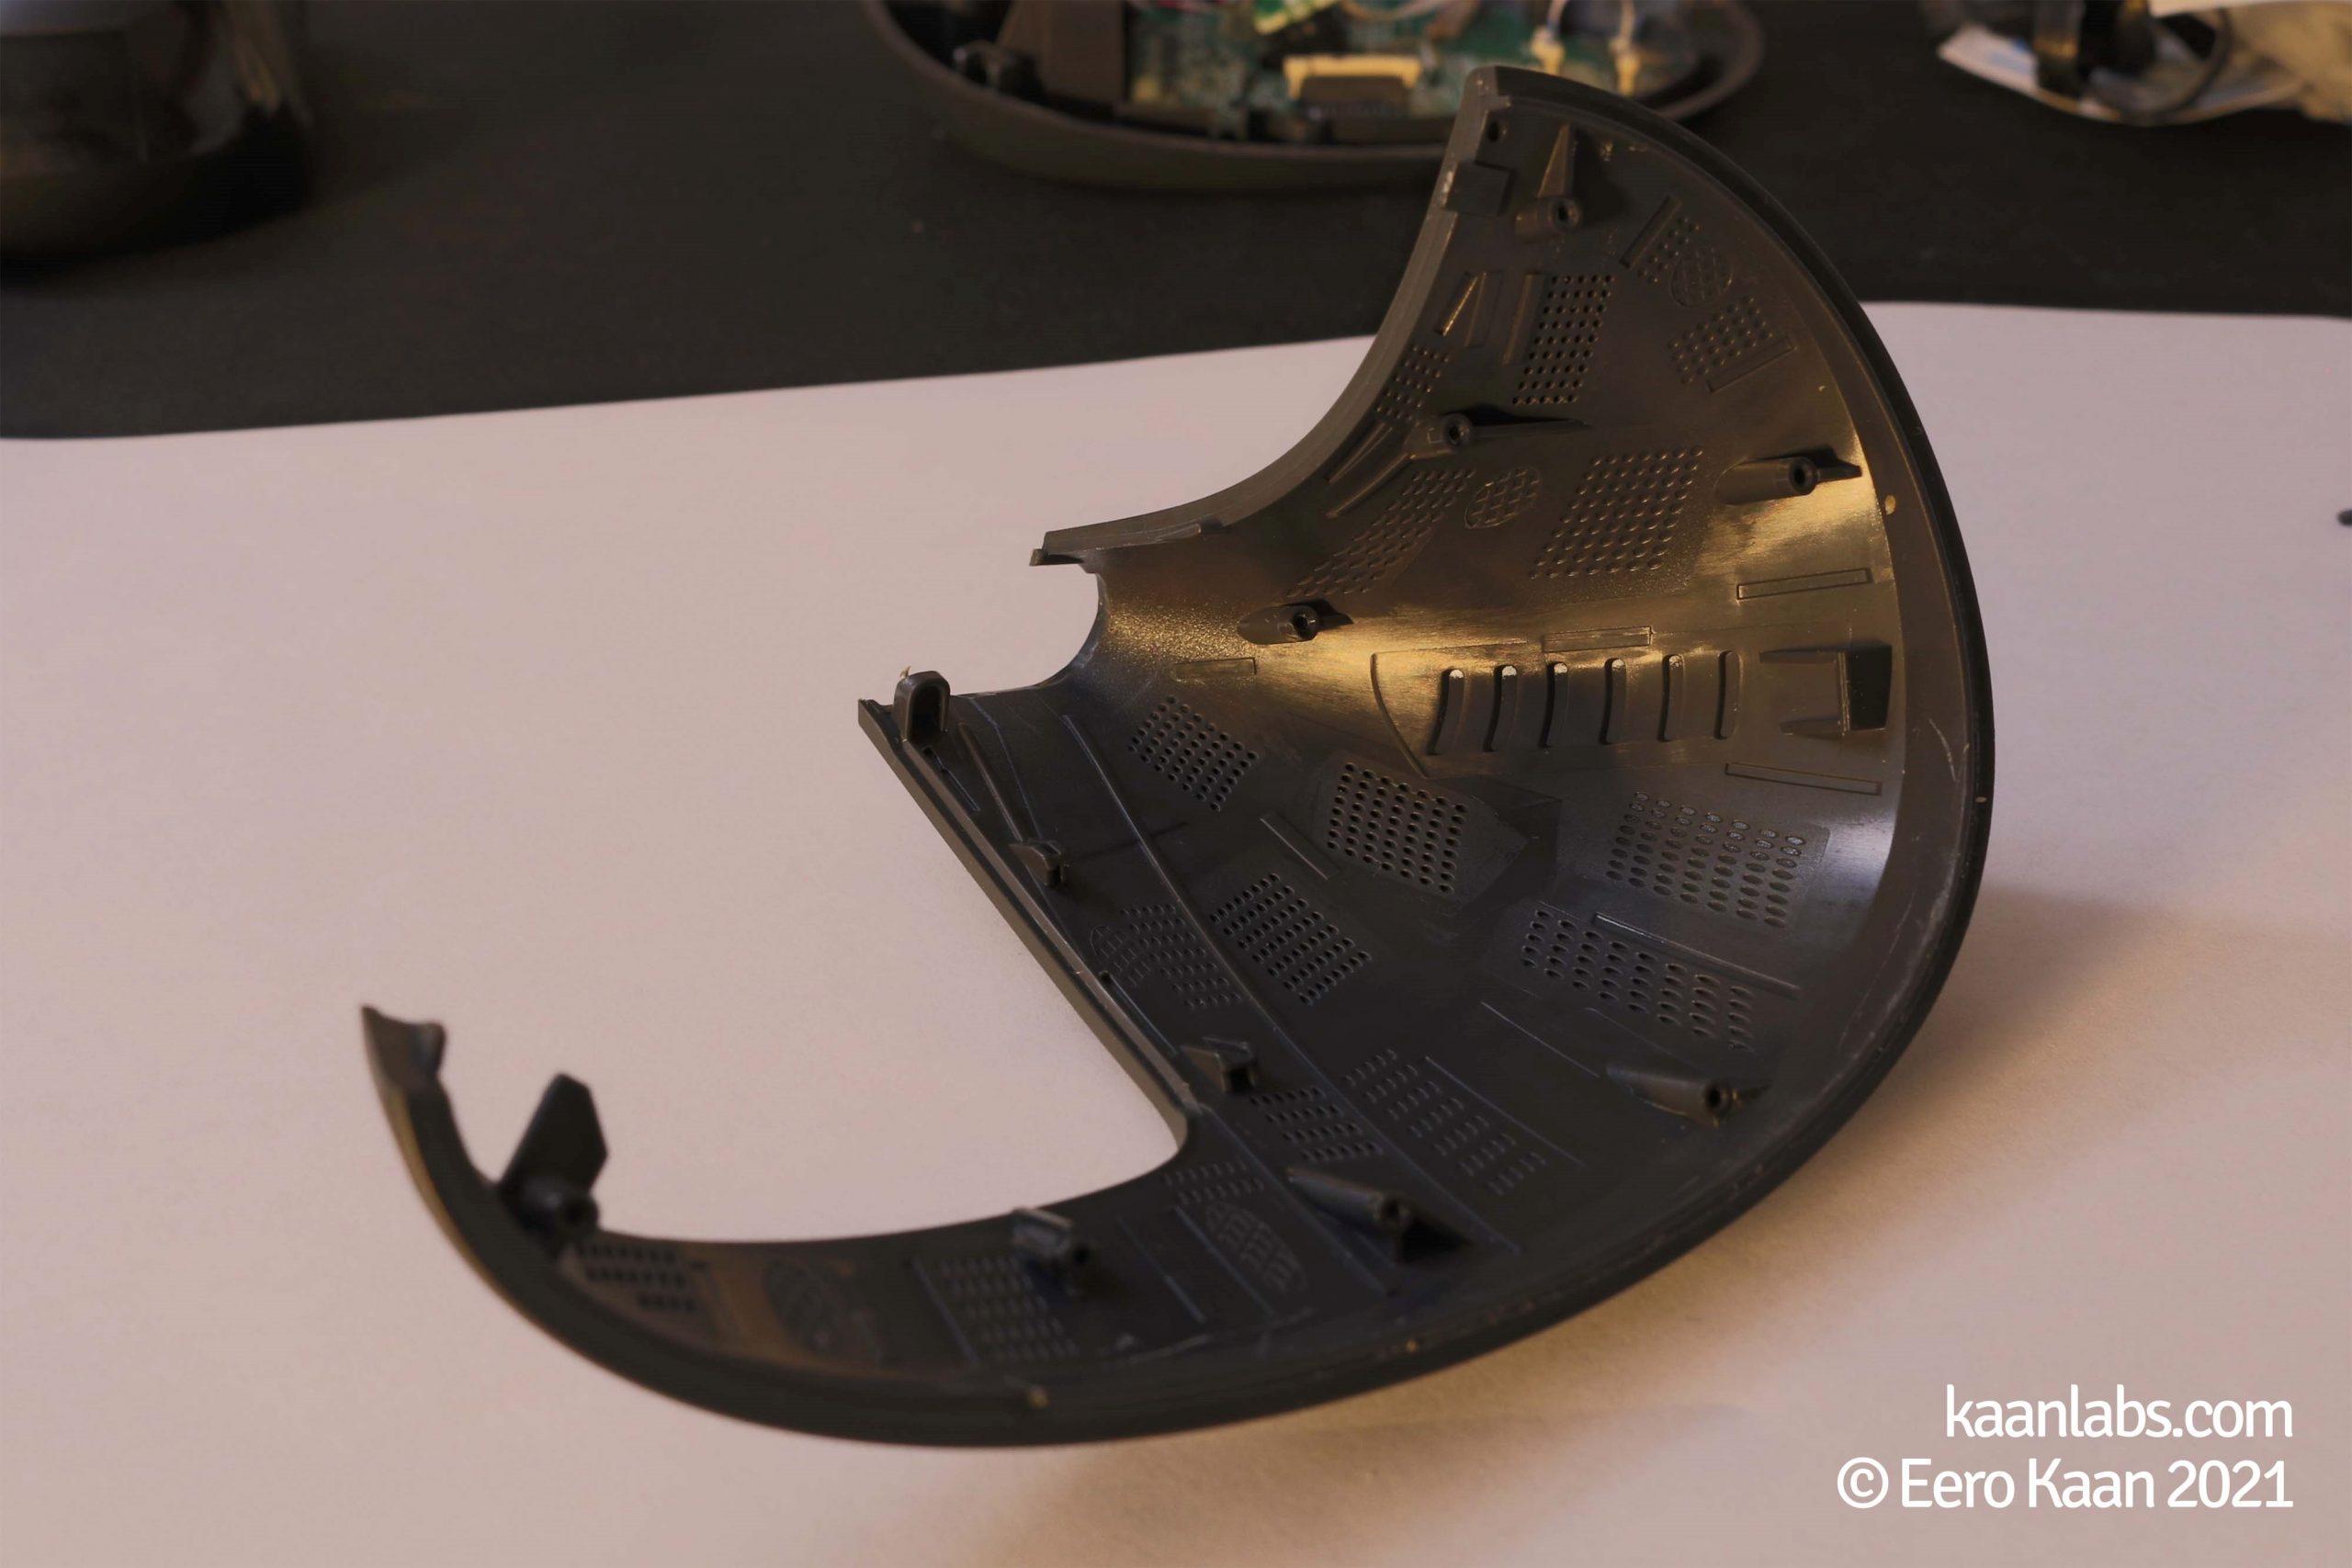
Now begin to “peel off” the “hand shell” plastic part…
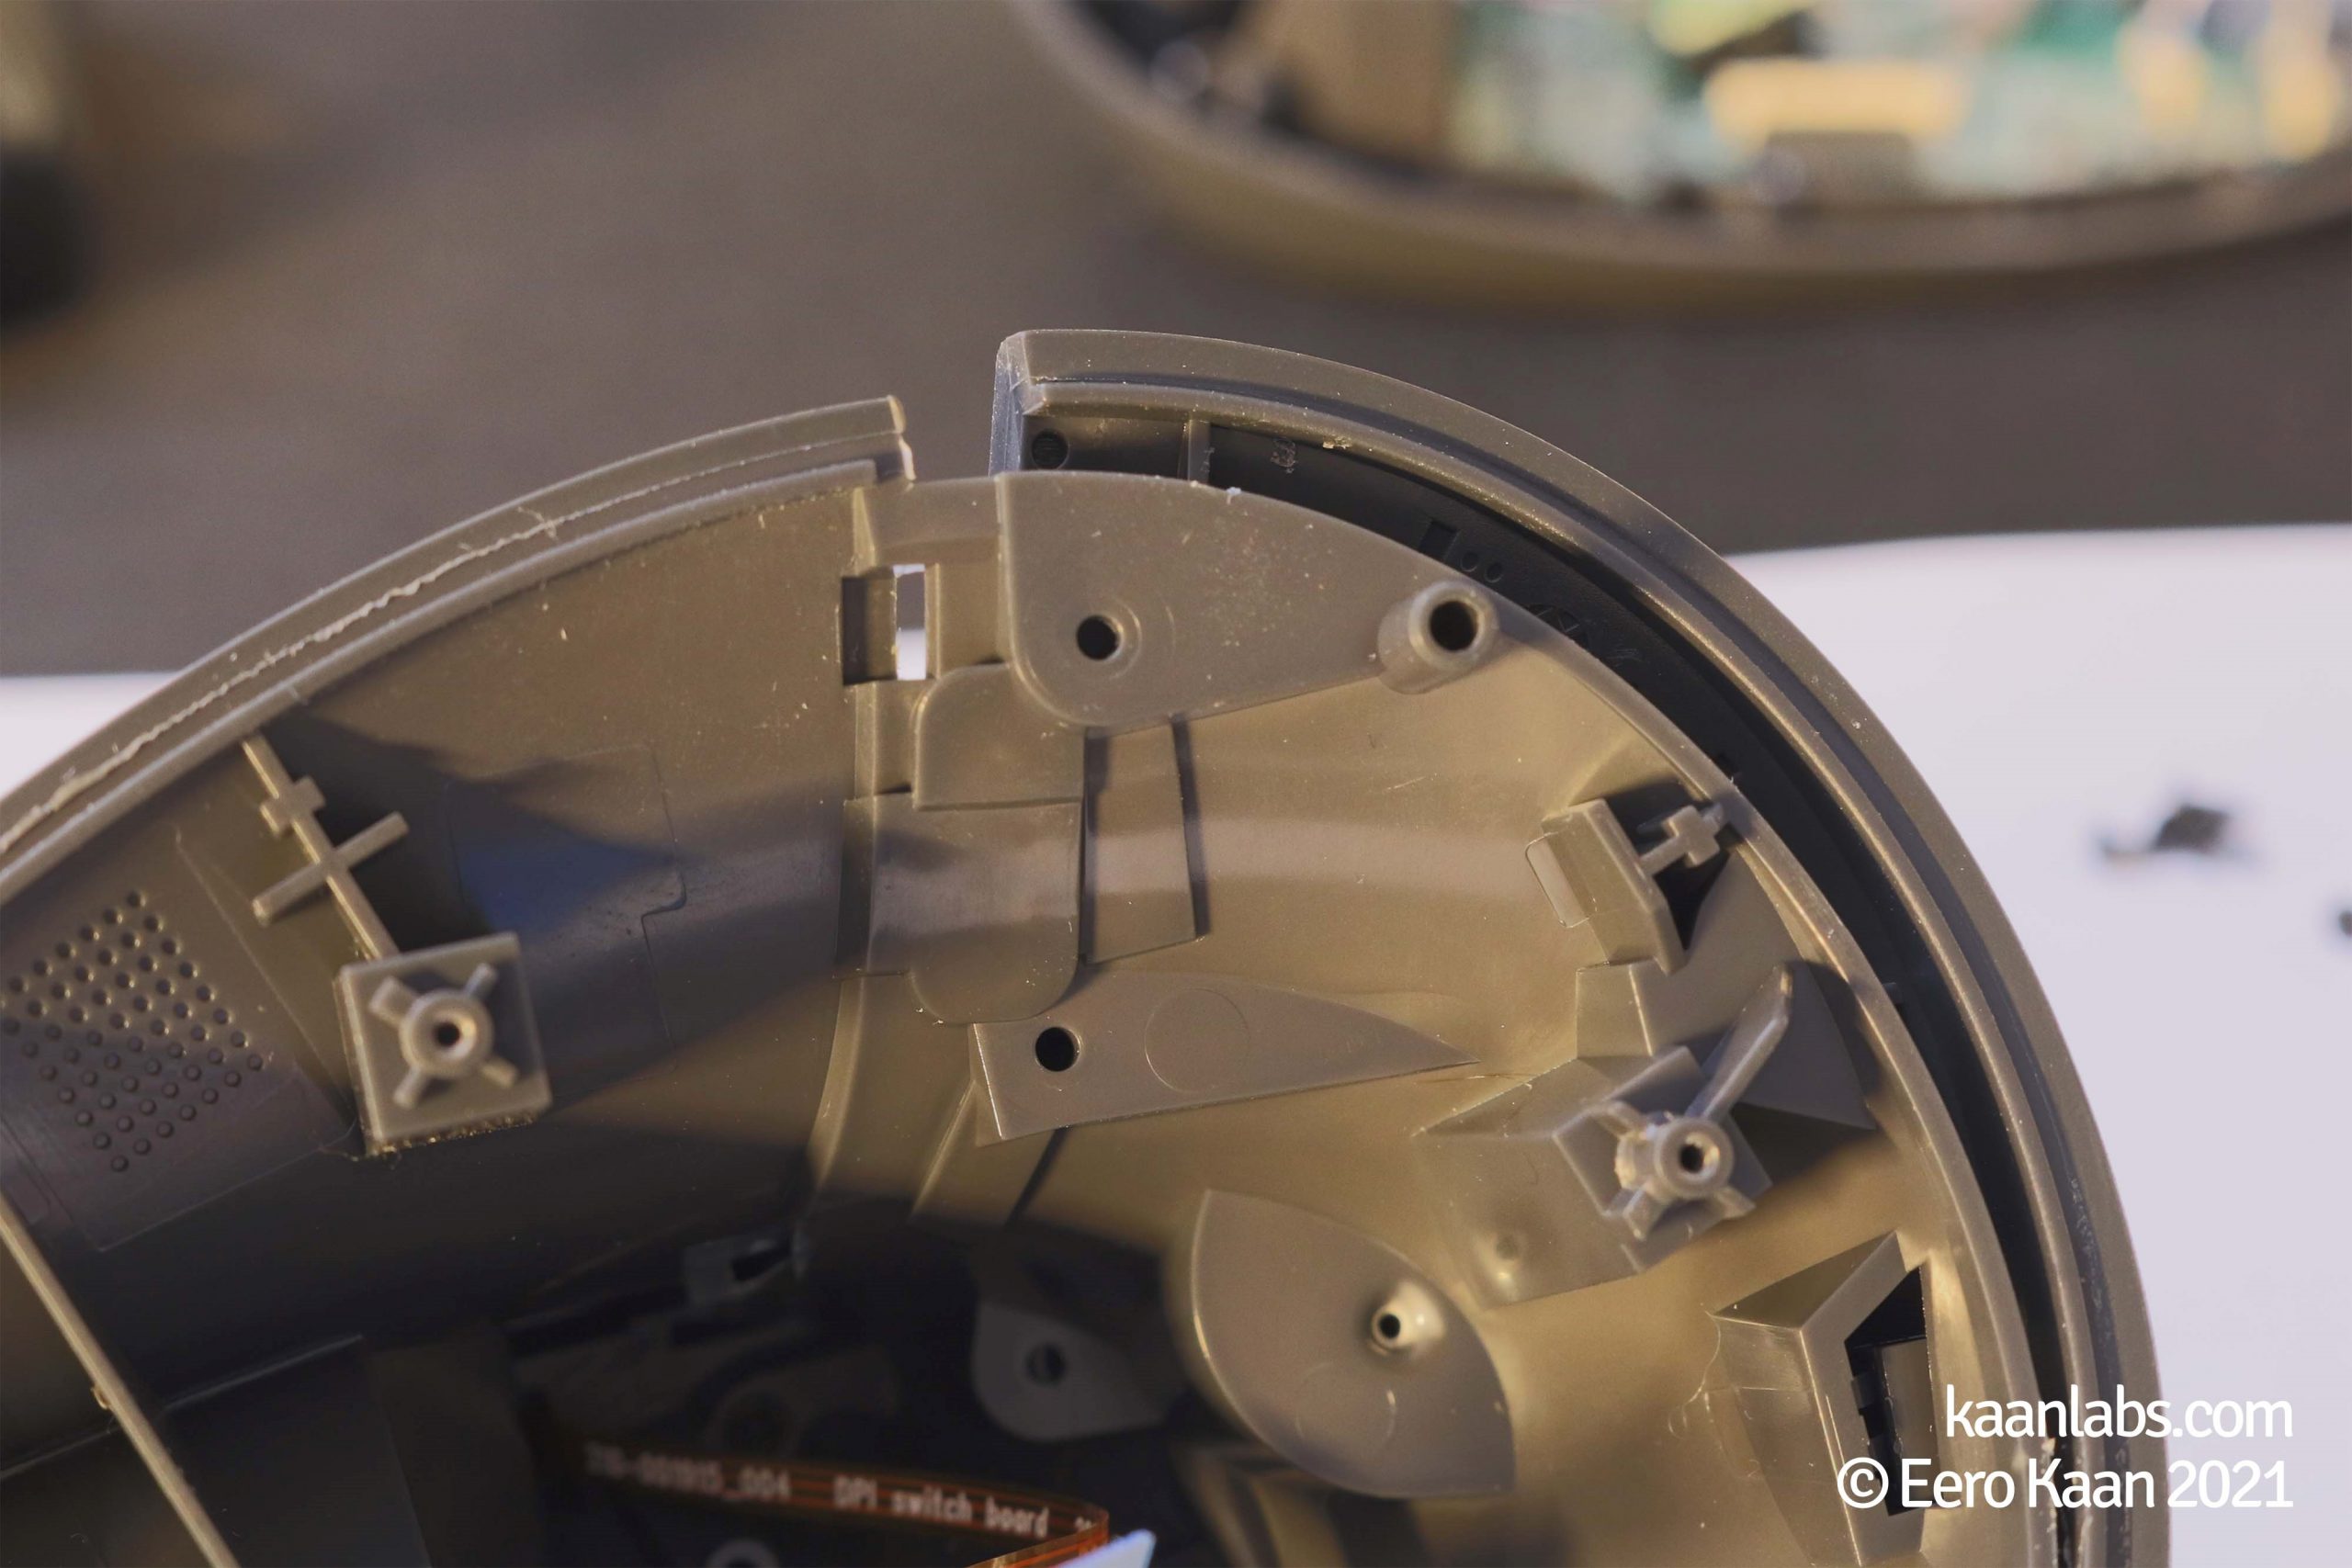
… to have a result like this afterwards:
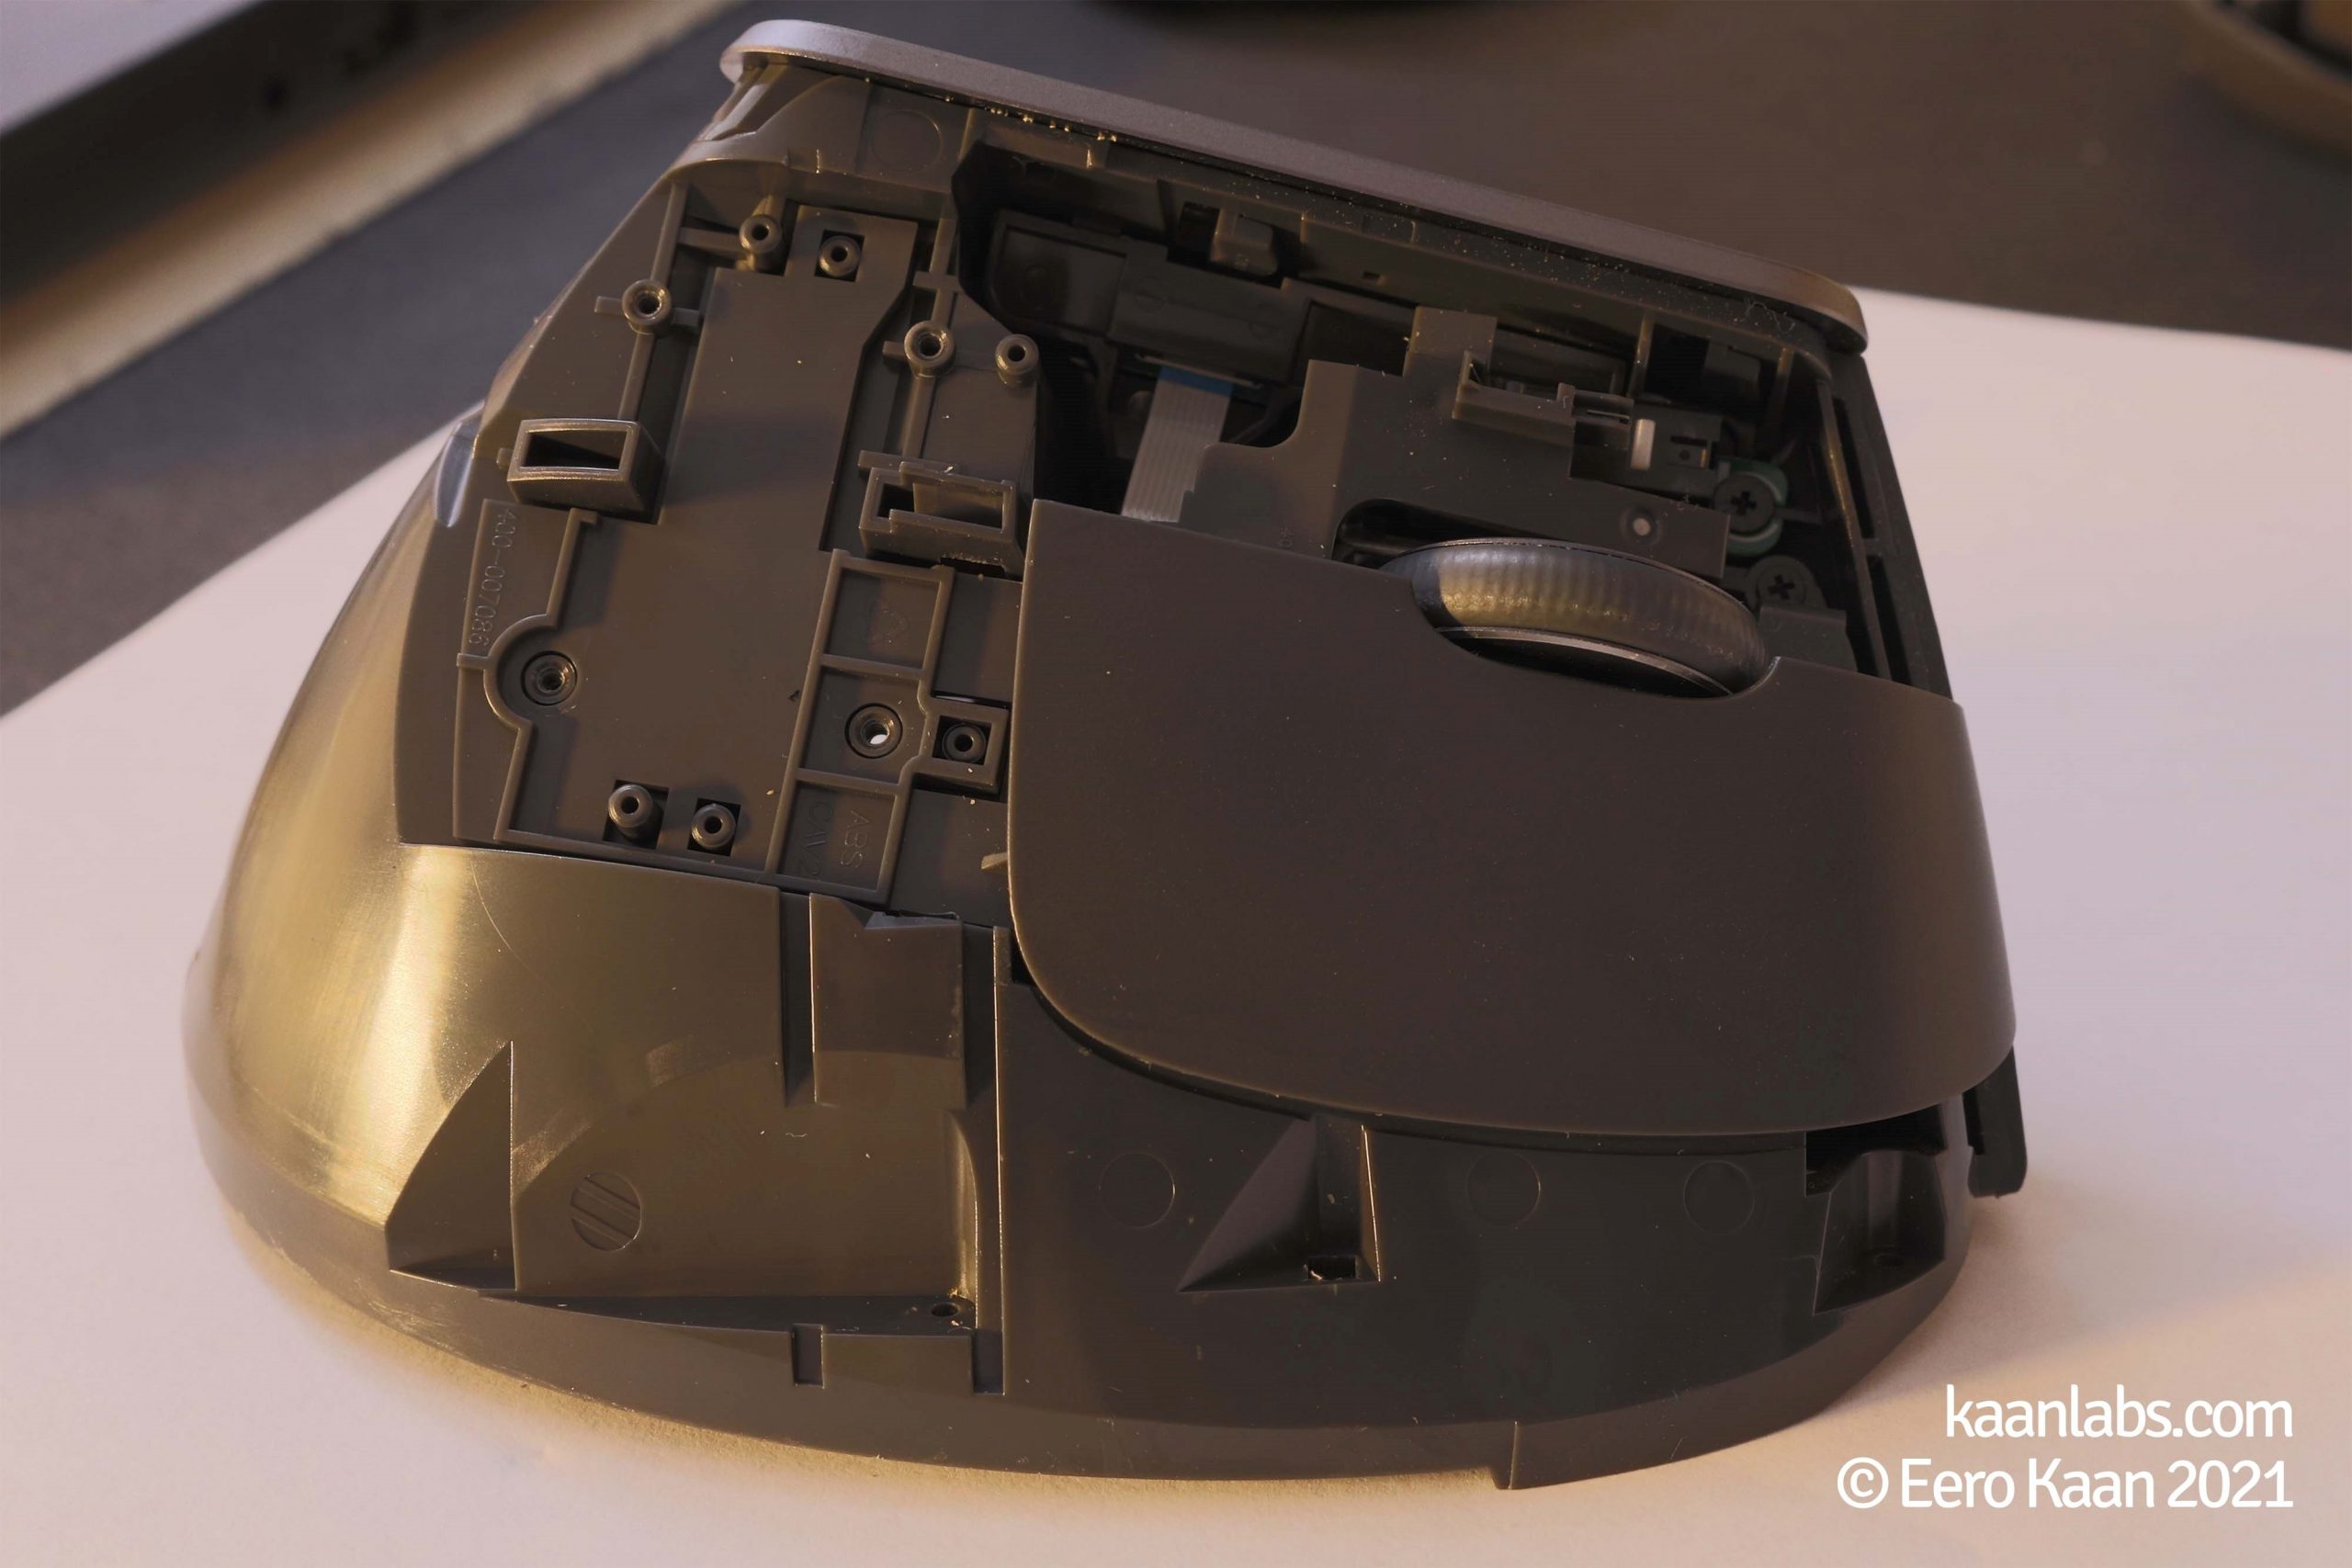
Step 4 – Remove the mouse buttons
Now, the mouse buttons are made accessible:
Continue to remove the four screws and take out the two separate mouse button plastic parts:
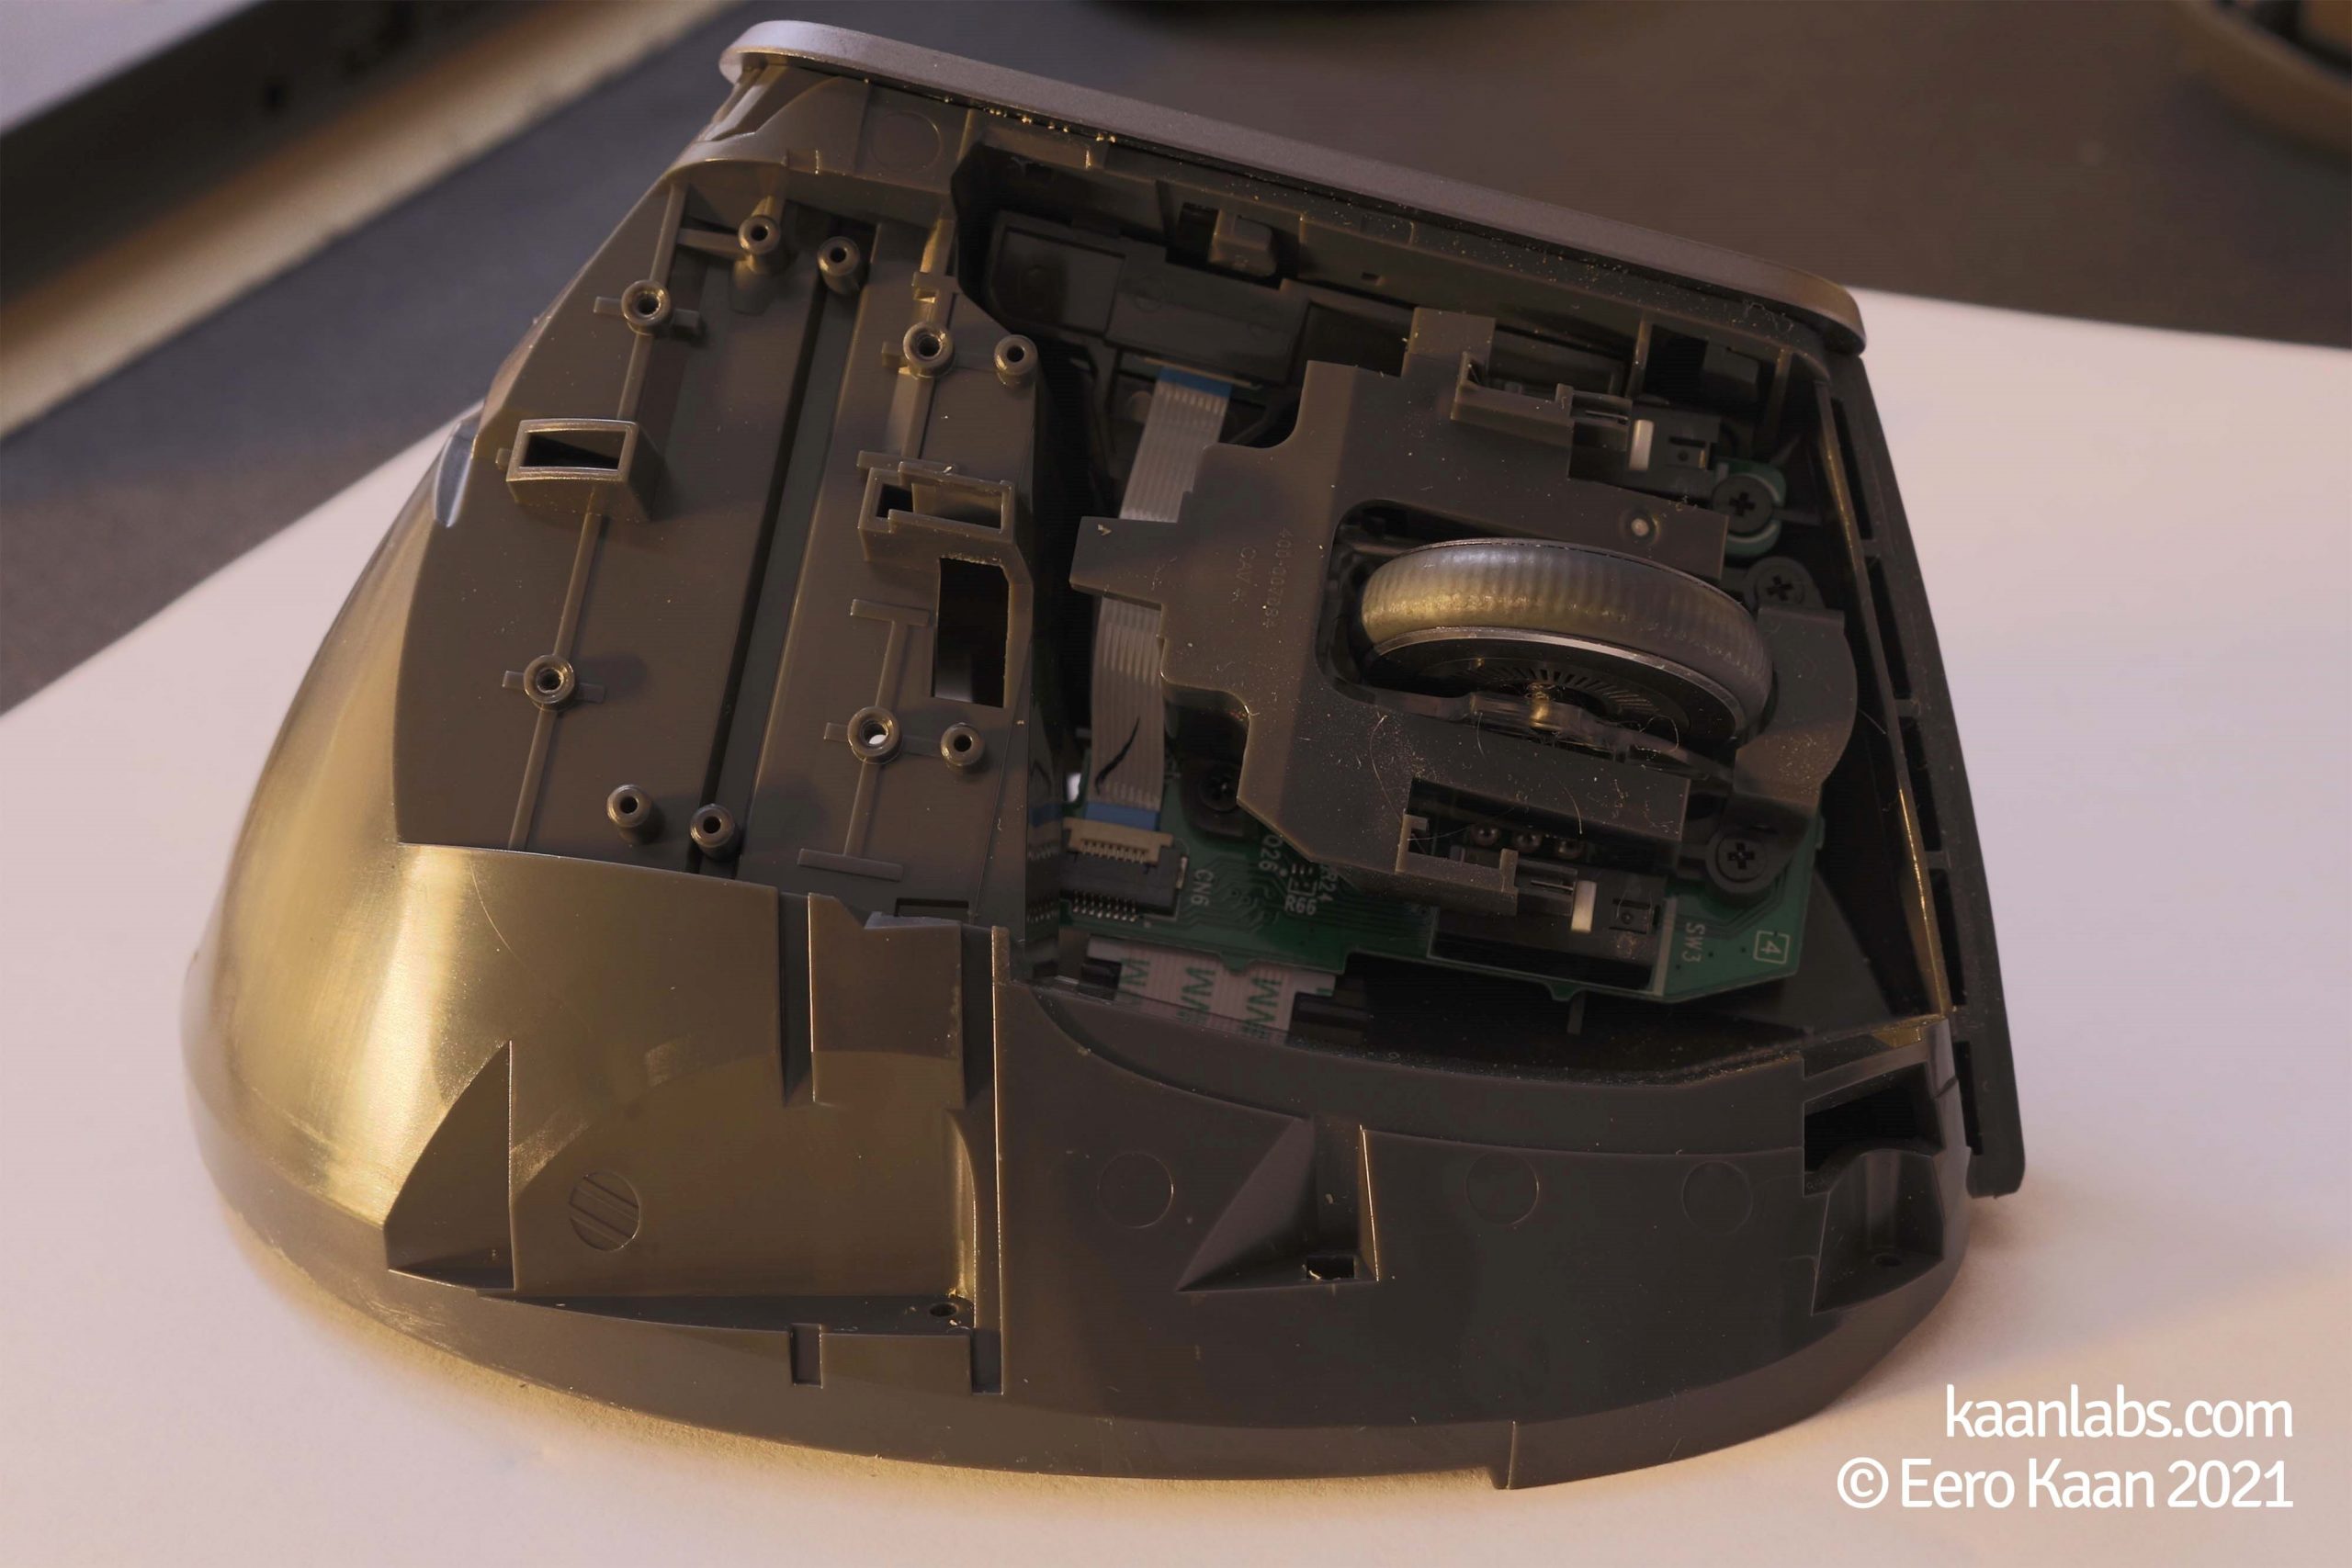
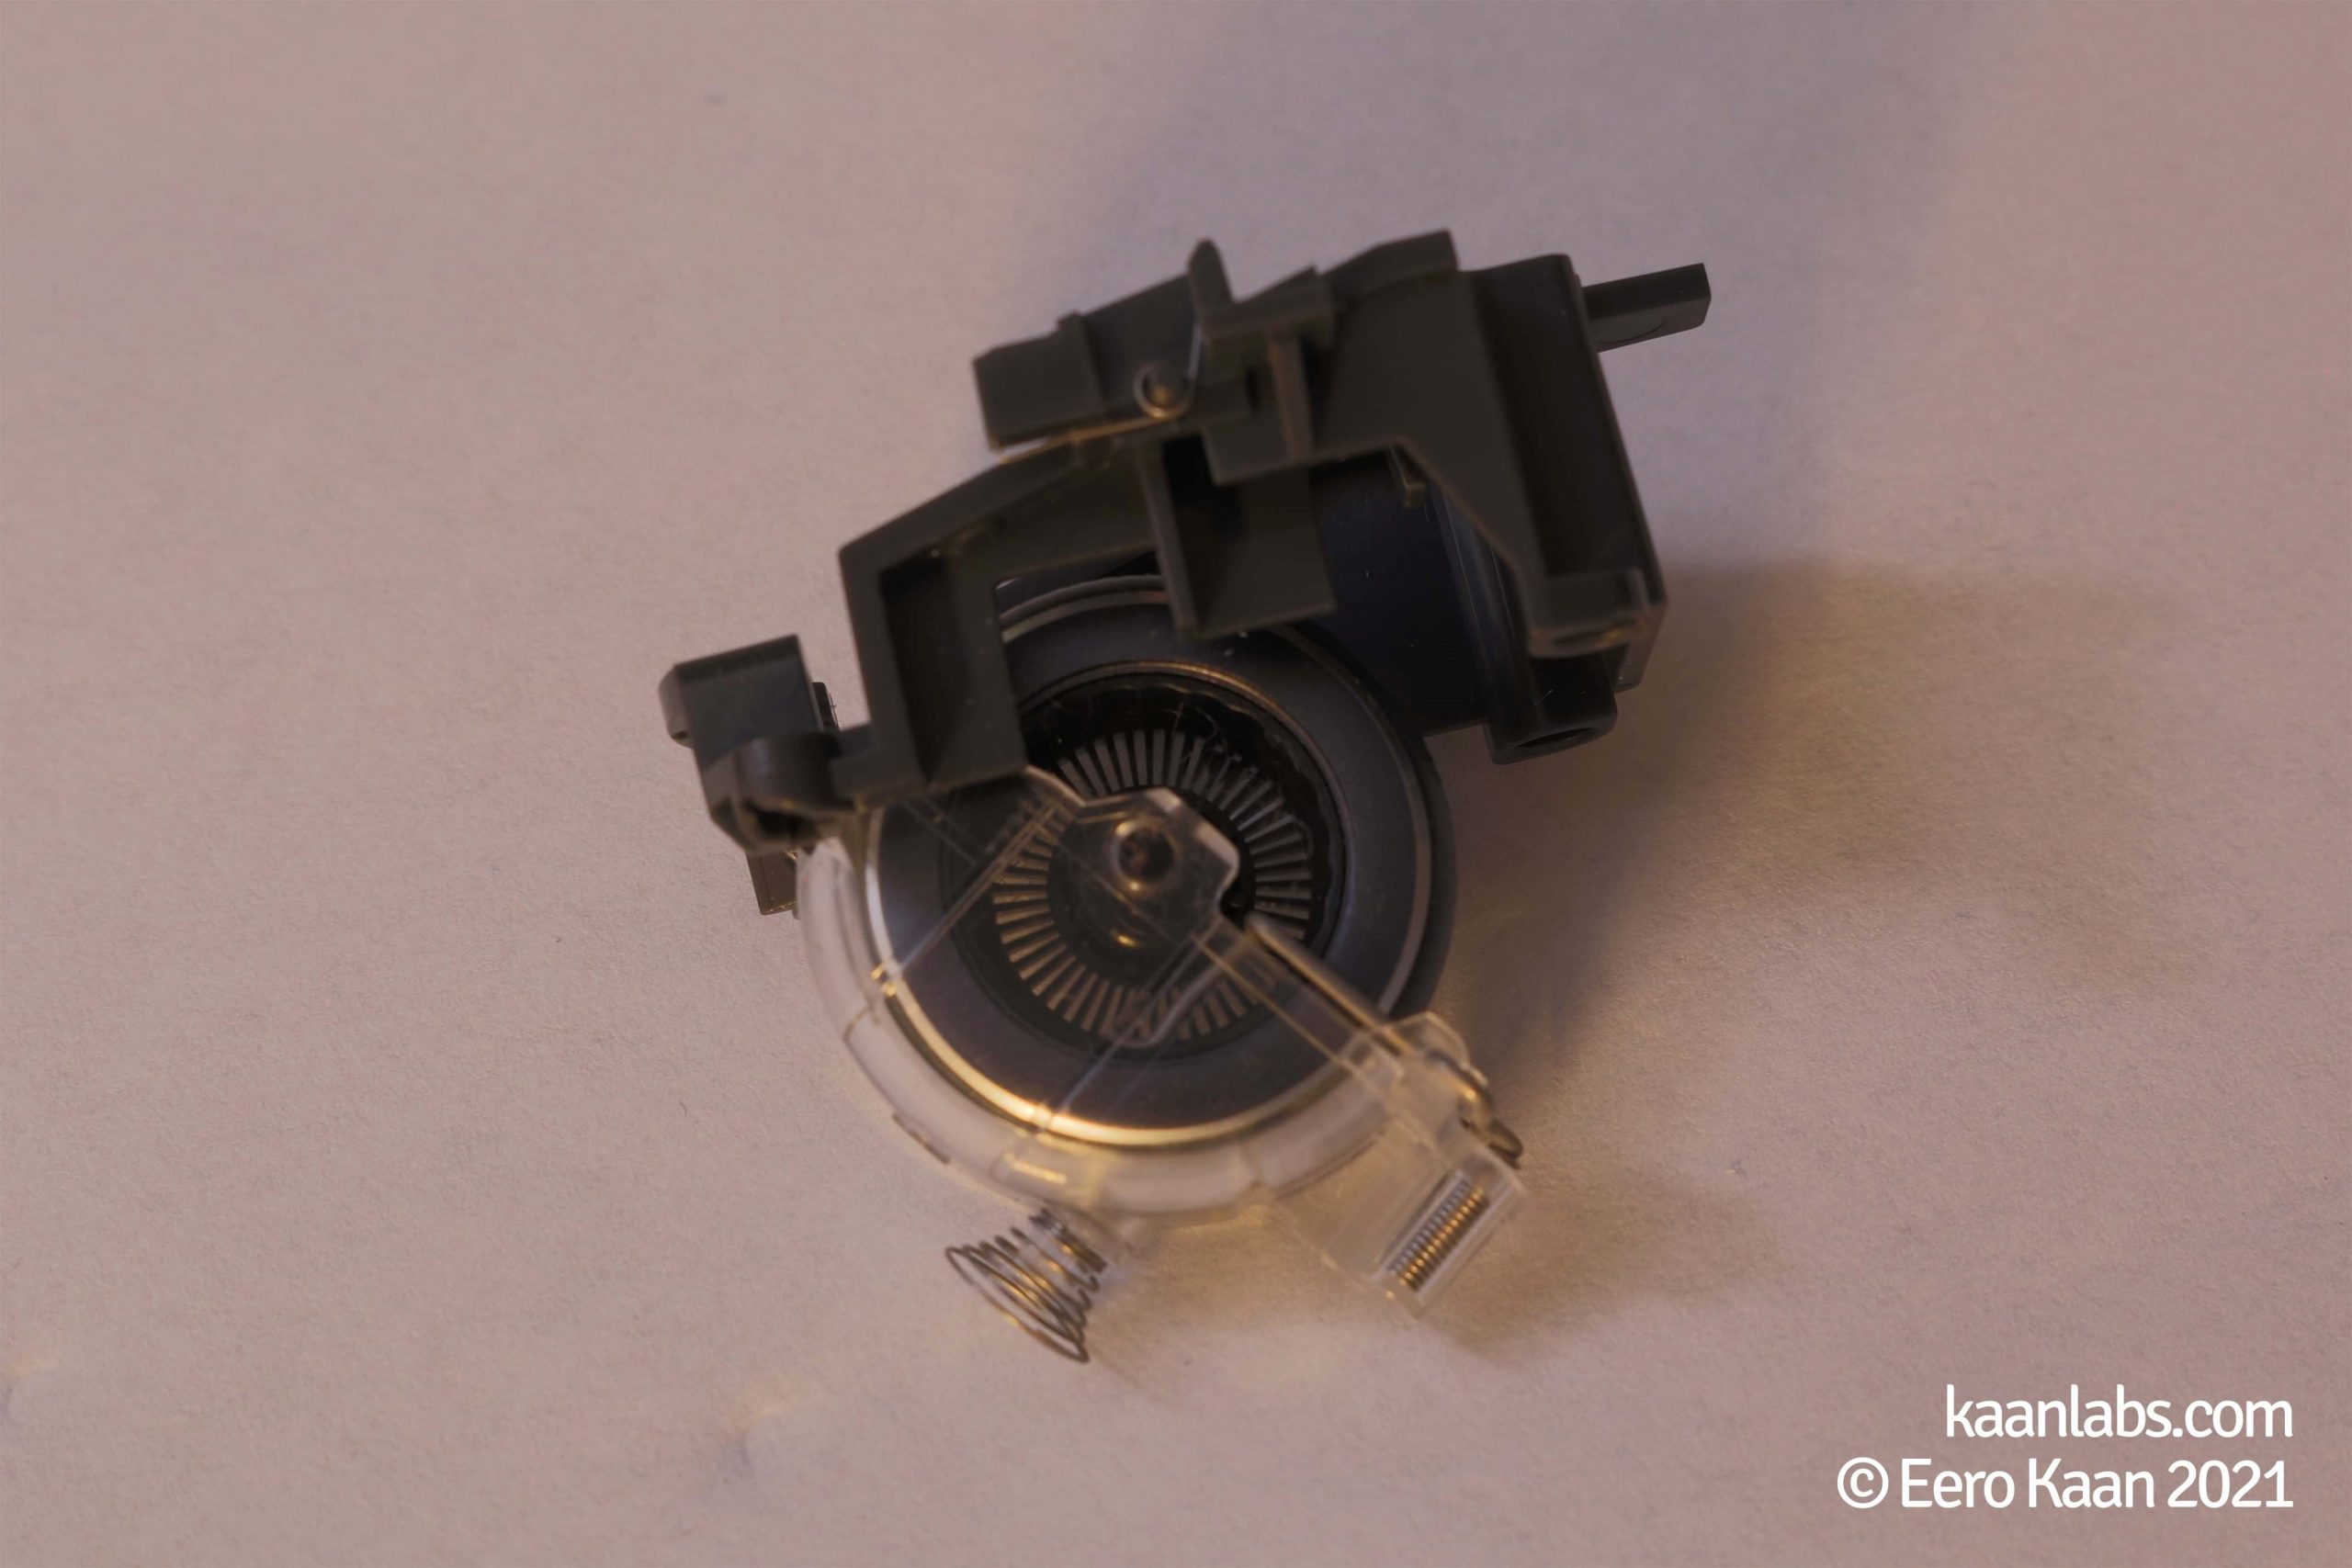
Step 5 – Remove the mouse wheel carriage
To gain further access to the mouse switches, you also have to remove the mouse wheel carriage. For that, remove the next four screws holding the carriage in place.
The carriage itself will look like this:
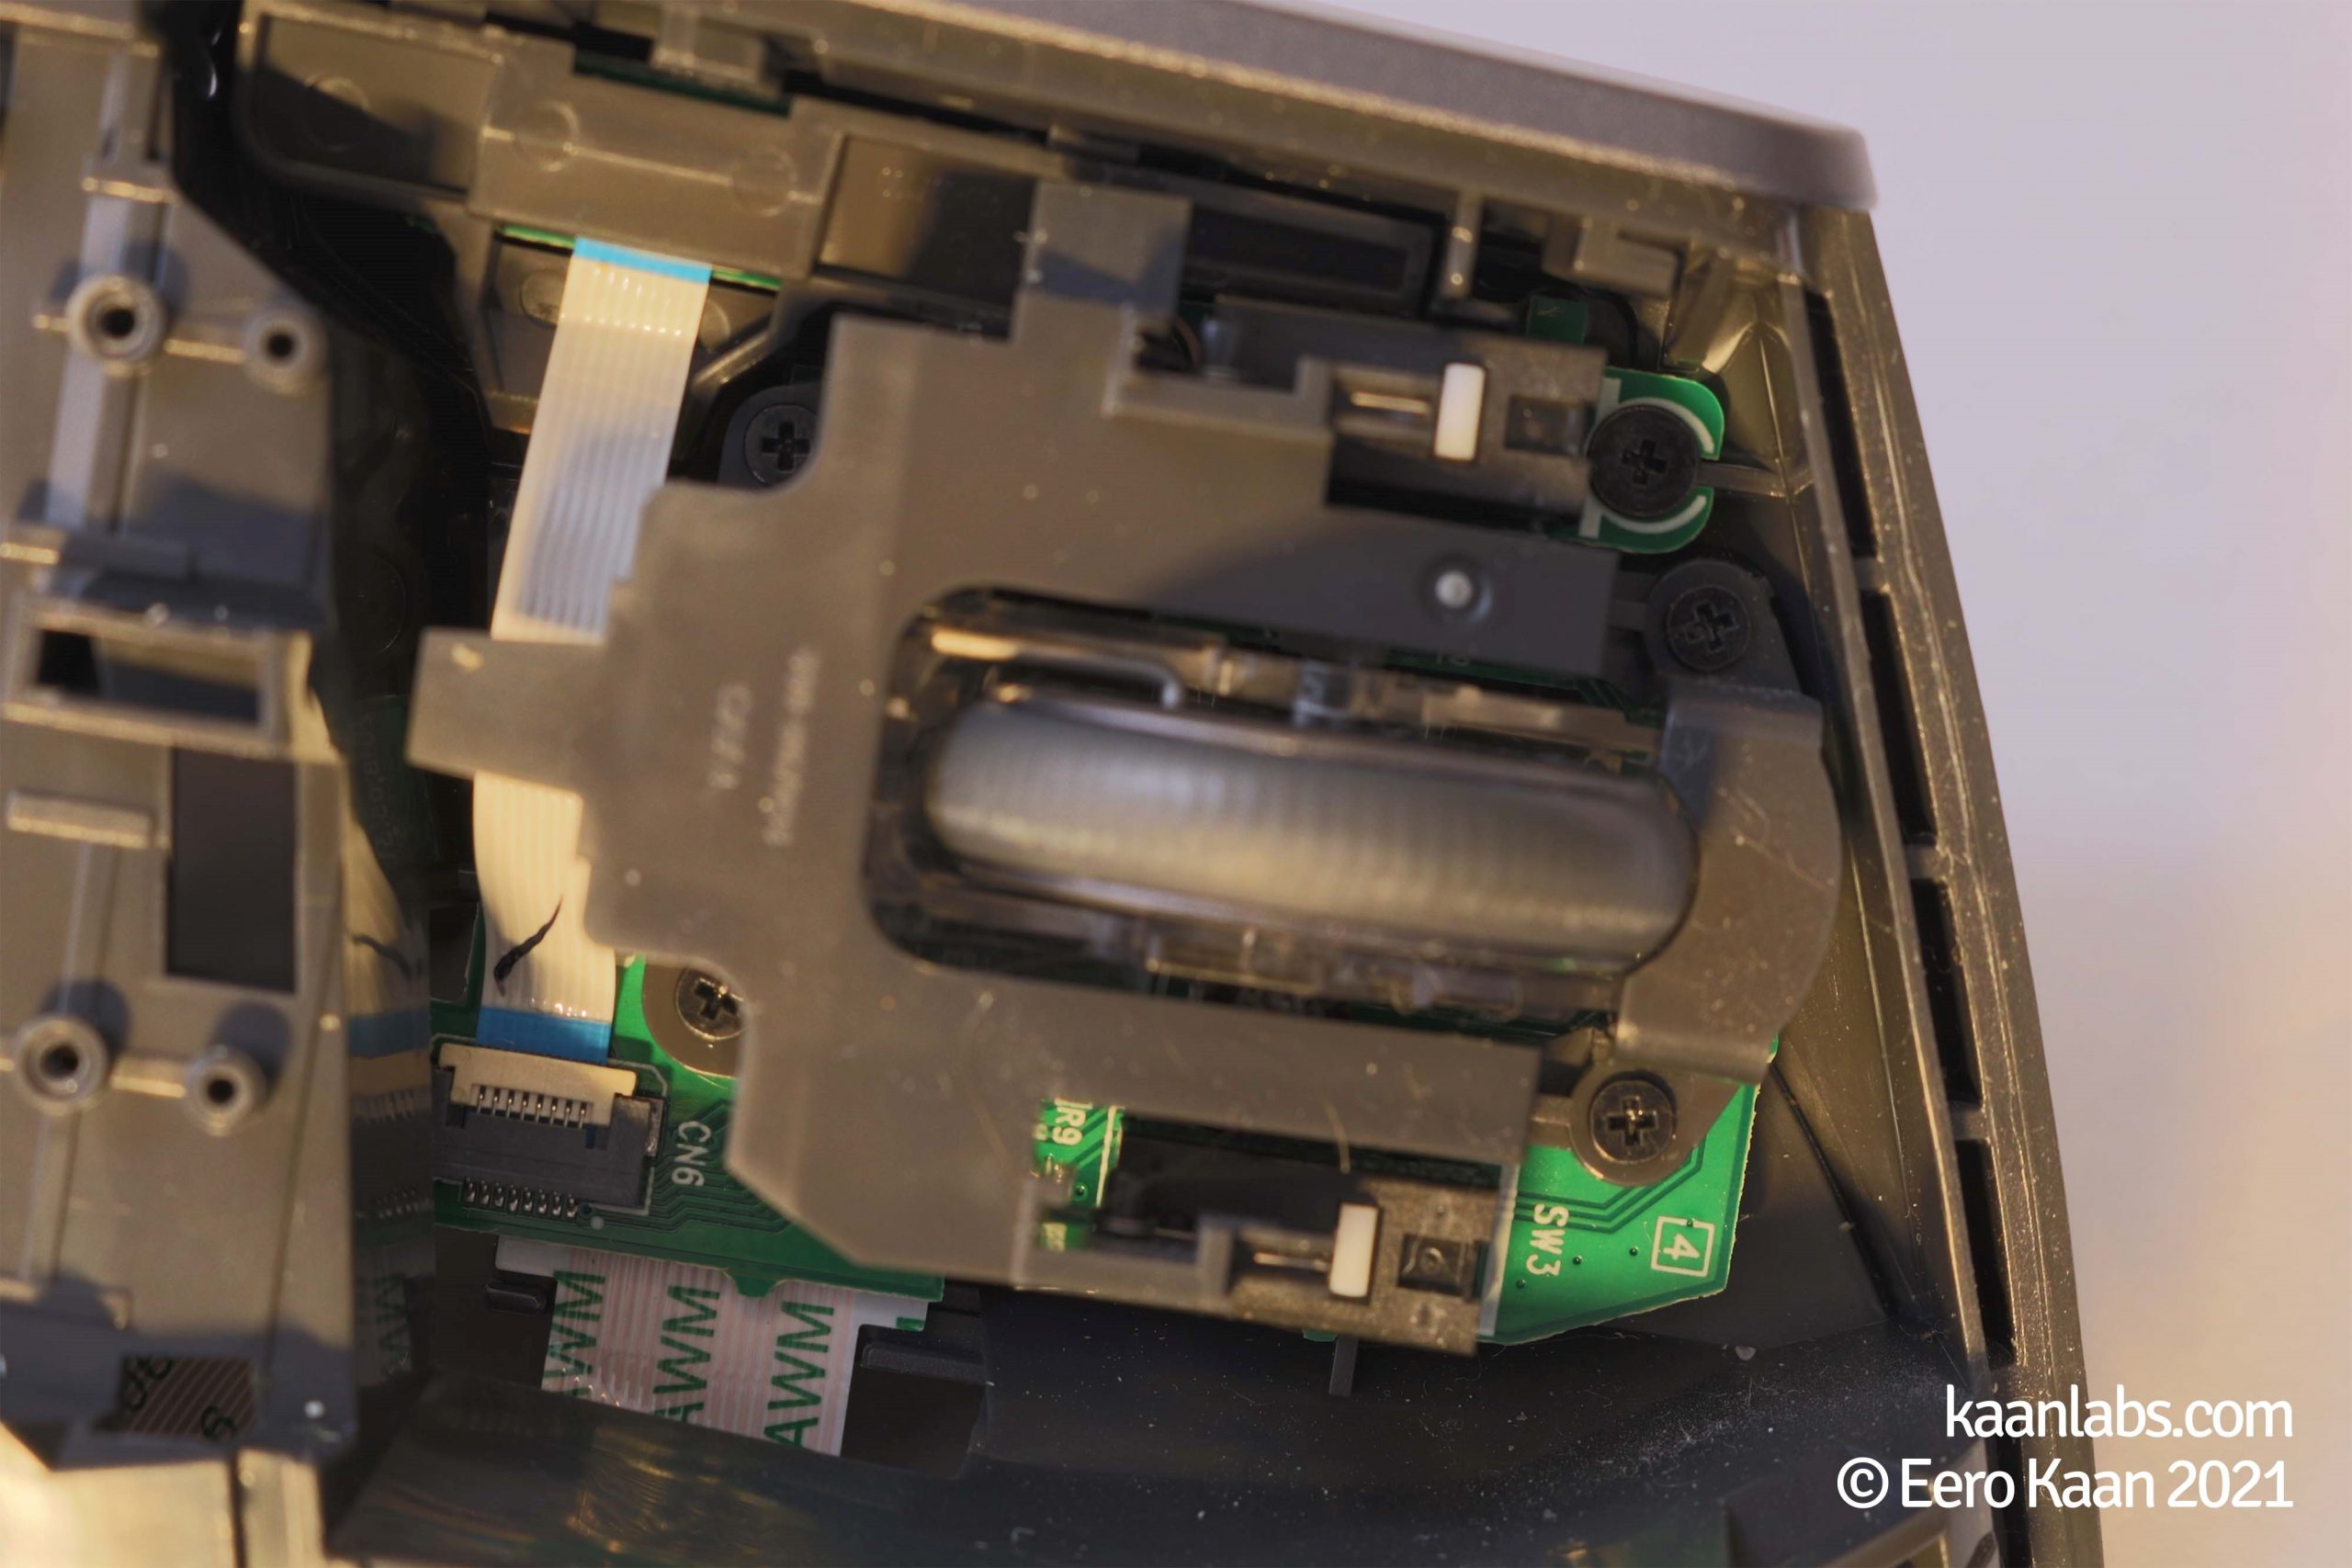
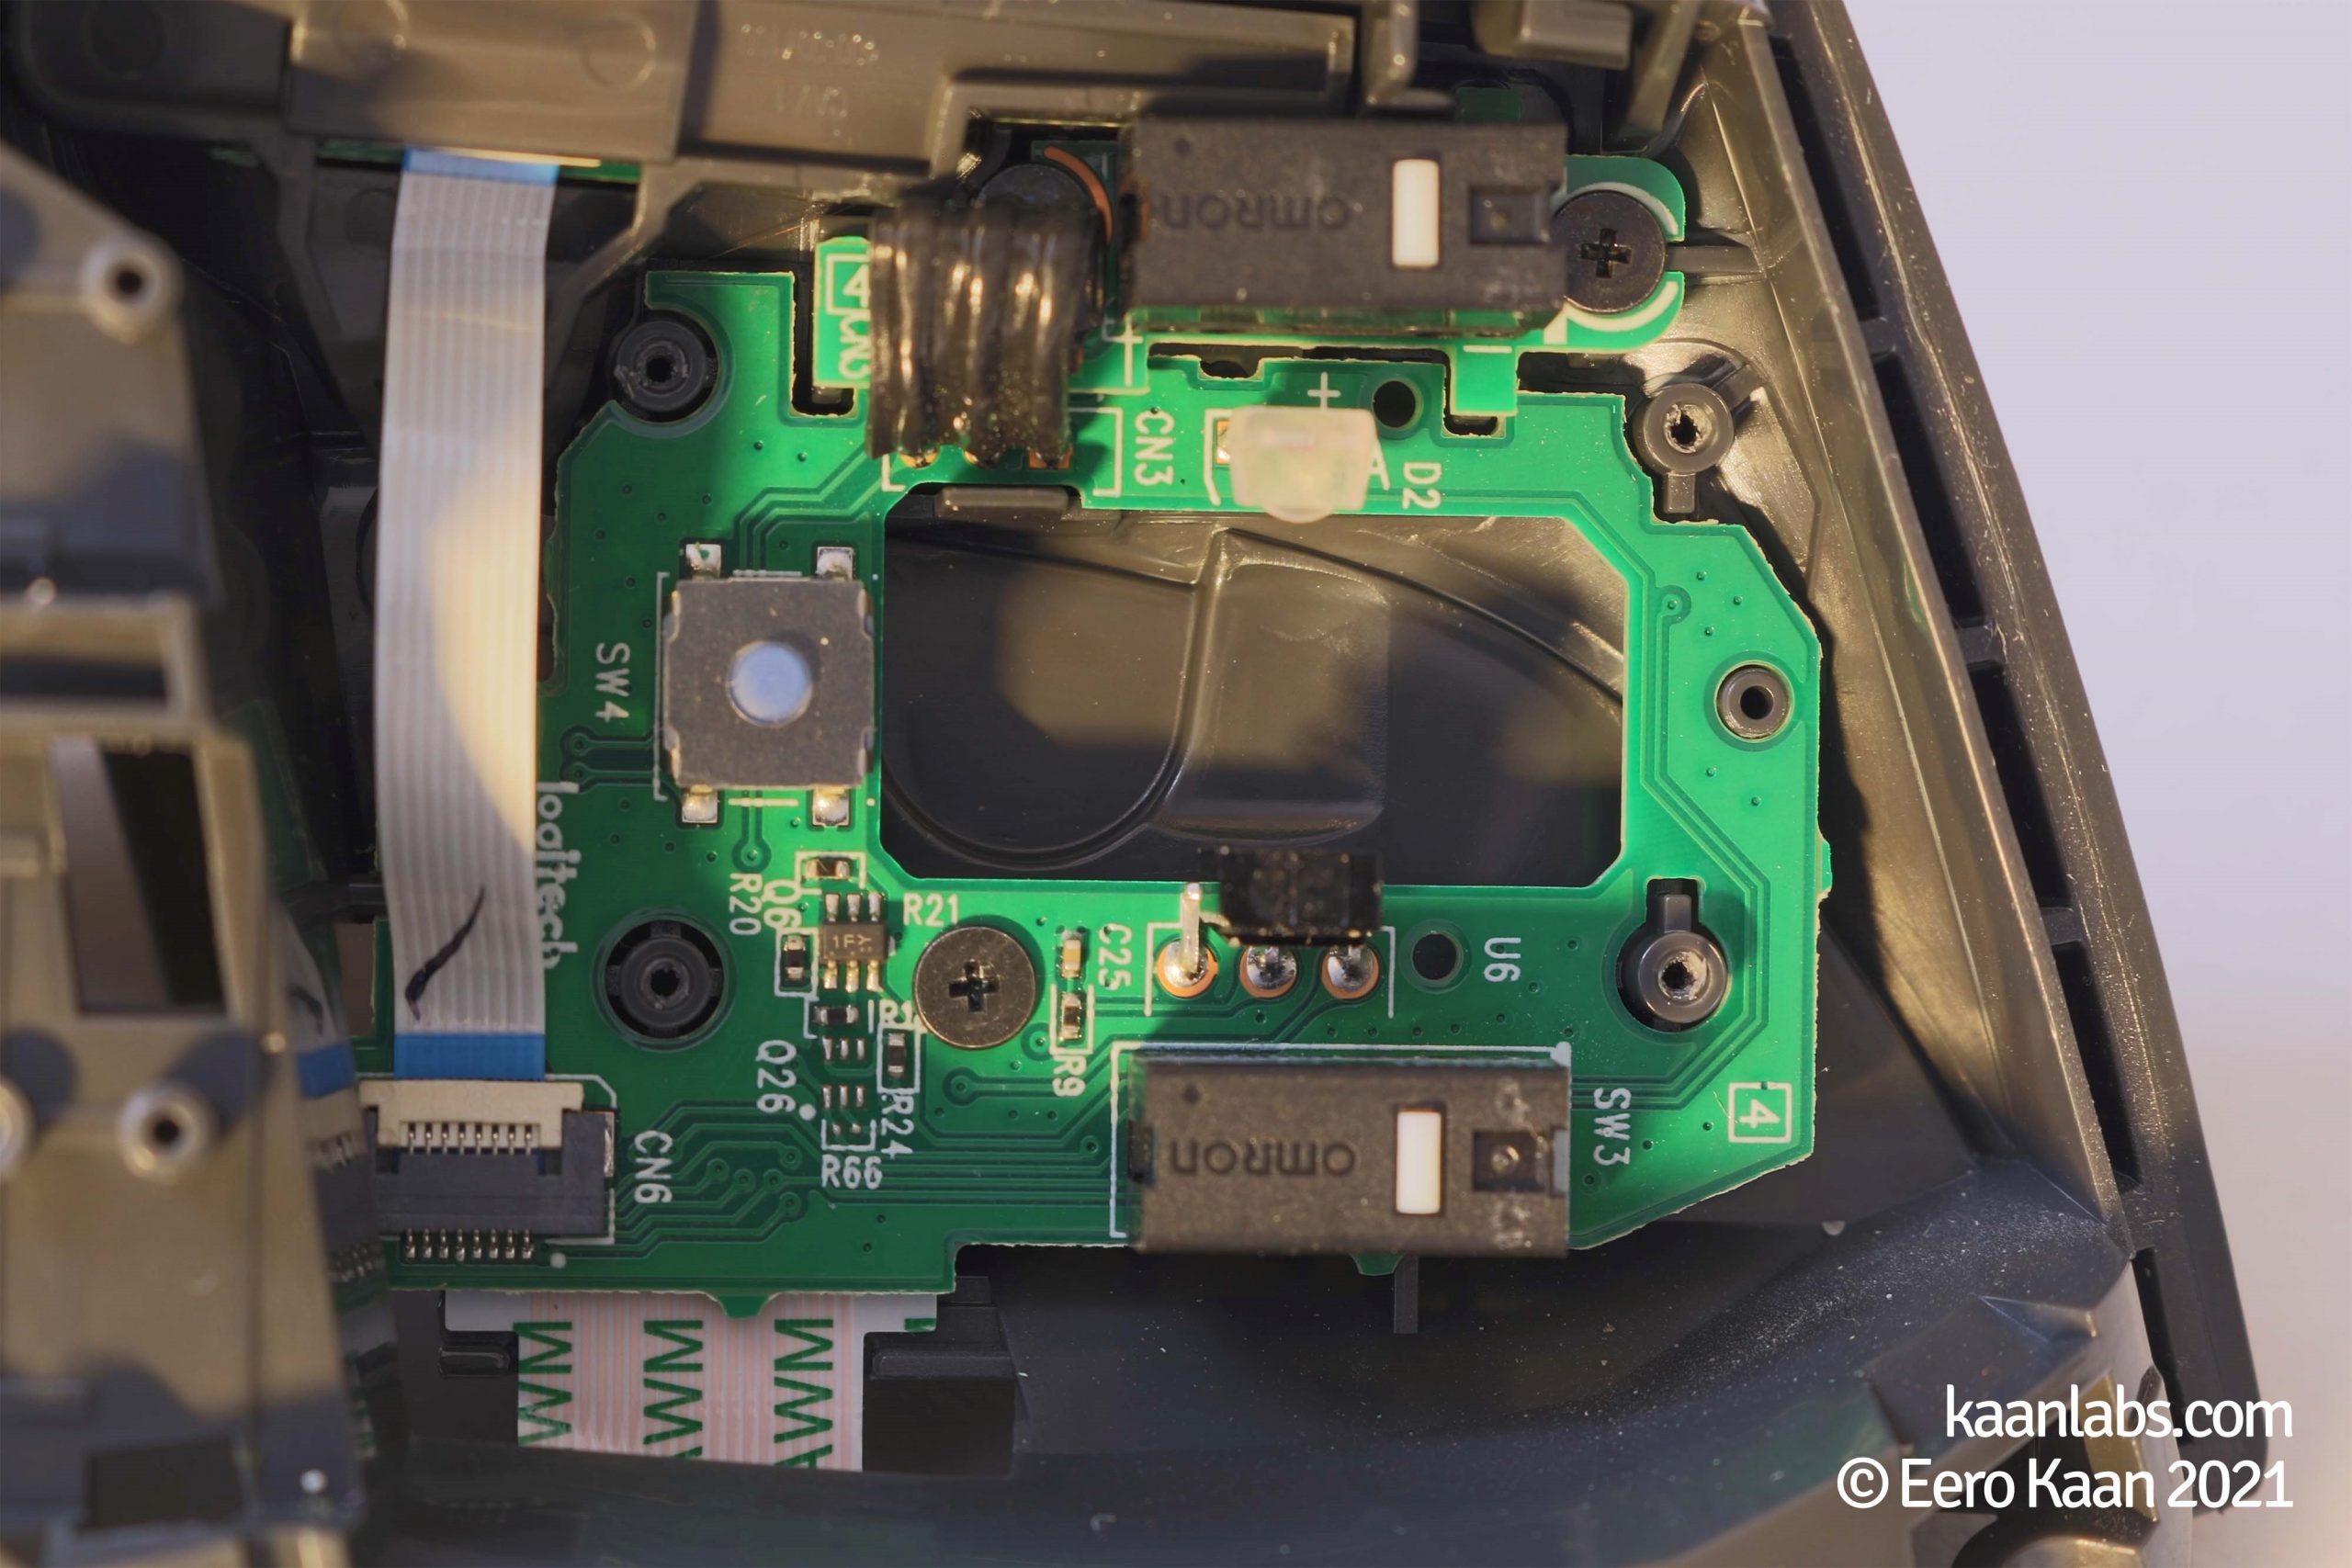
Step 6 – Take out the microswitches PCB
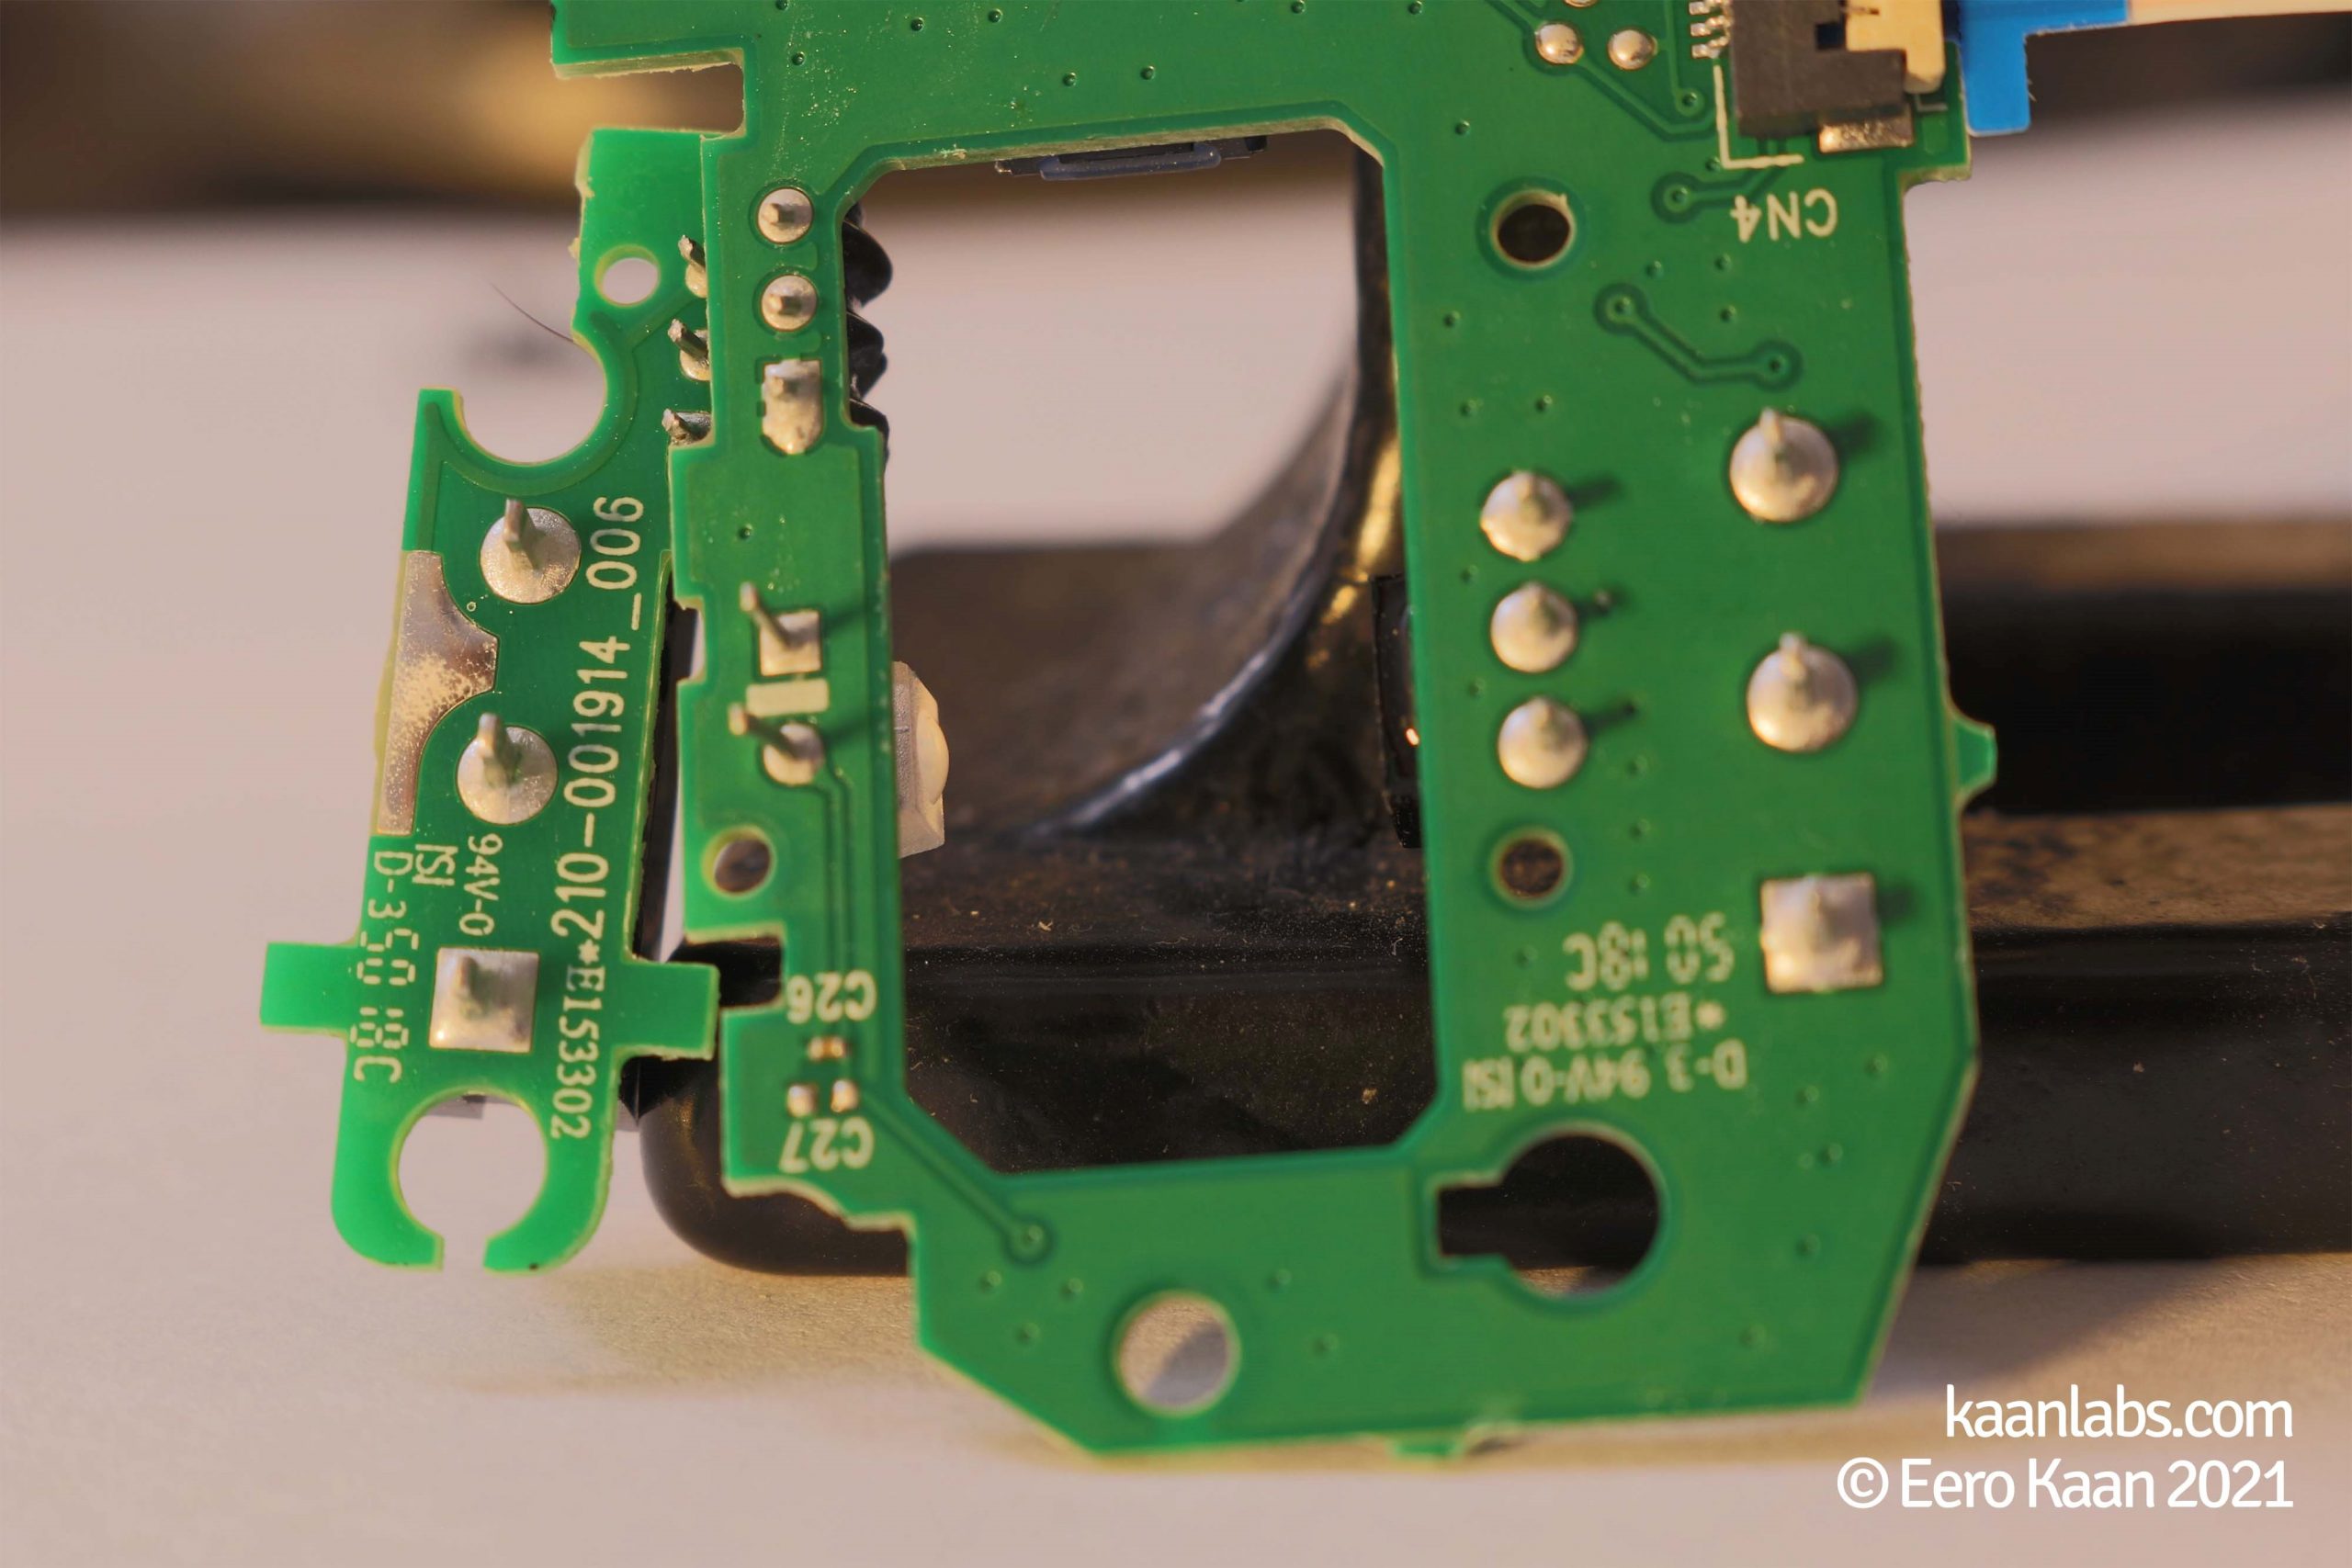
Now for the first time, you can see the Omron branded microswitches themselves.
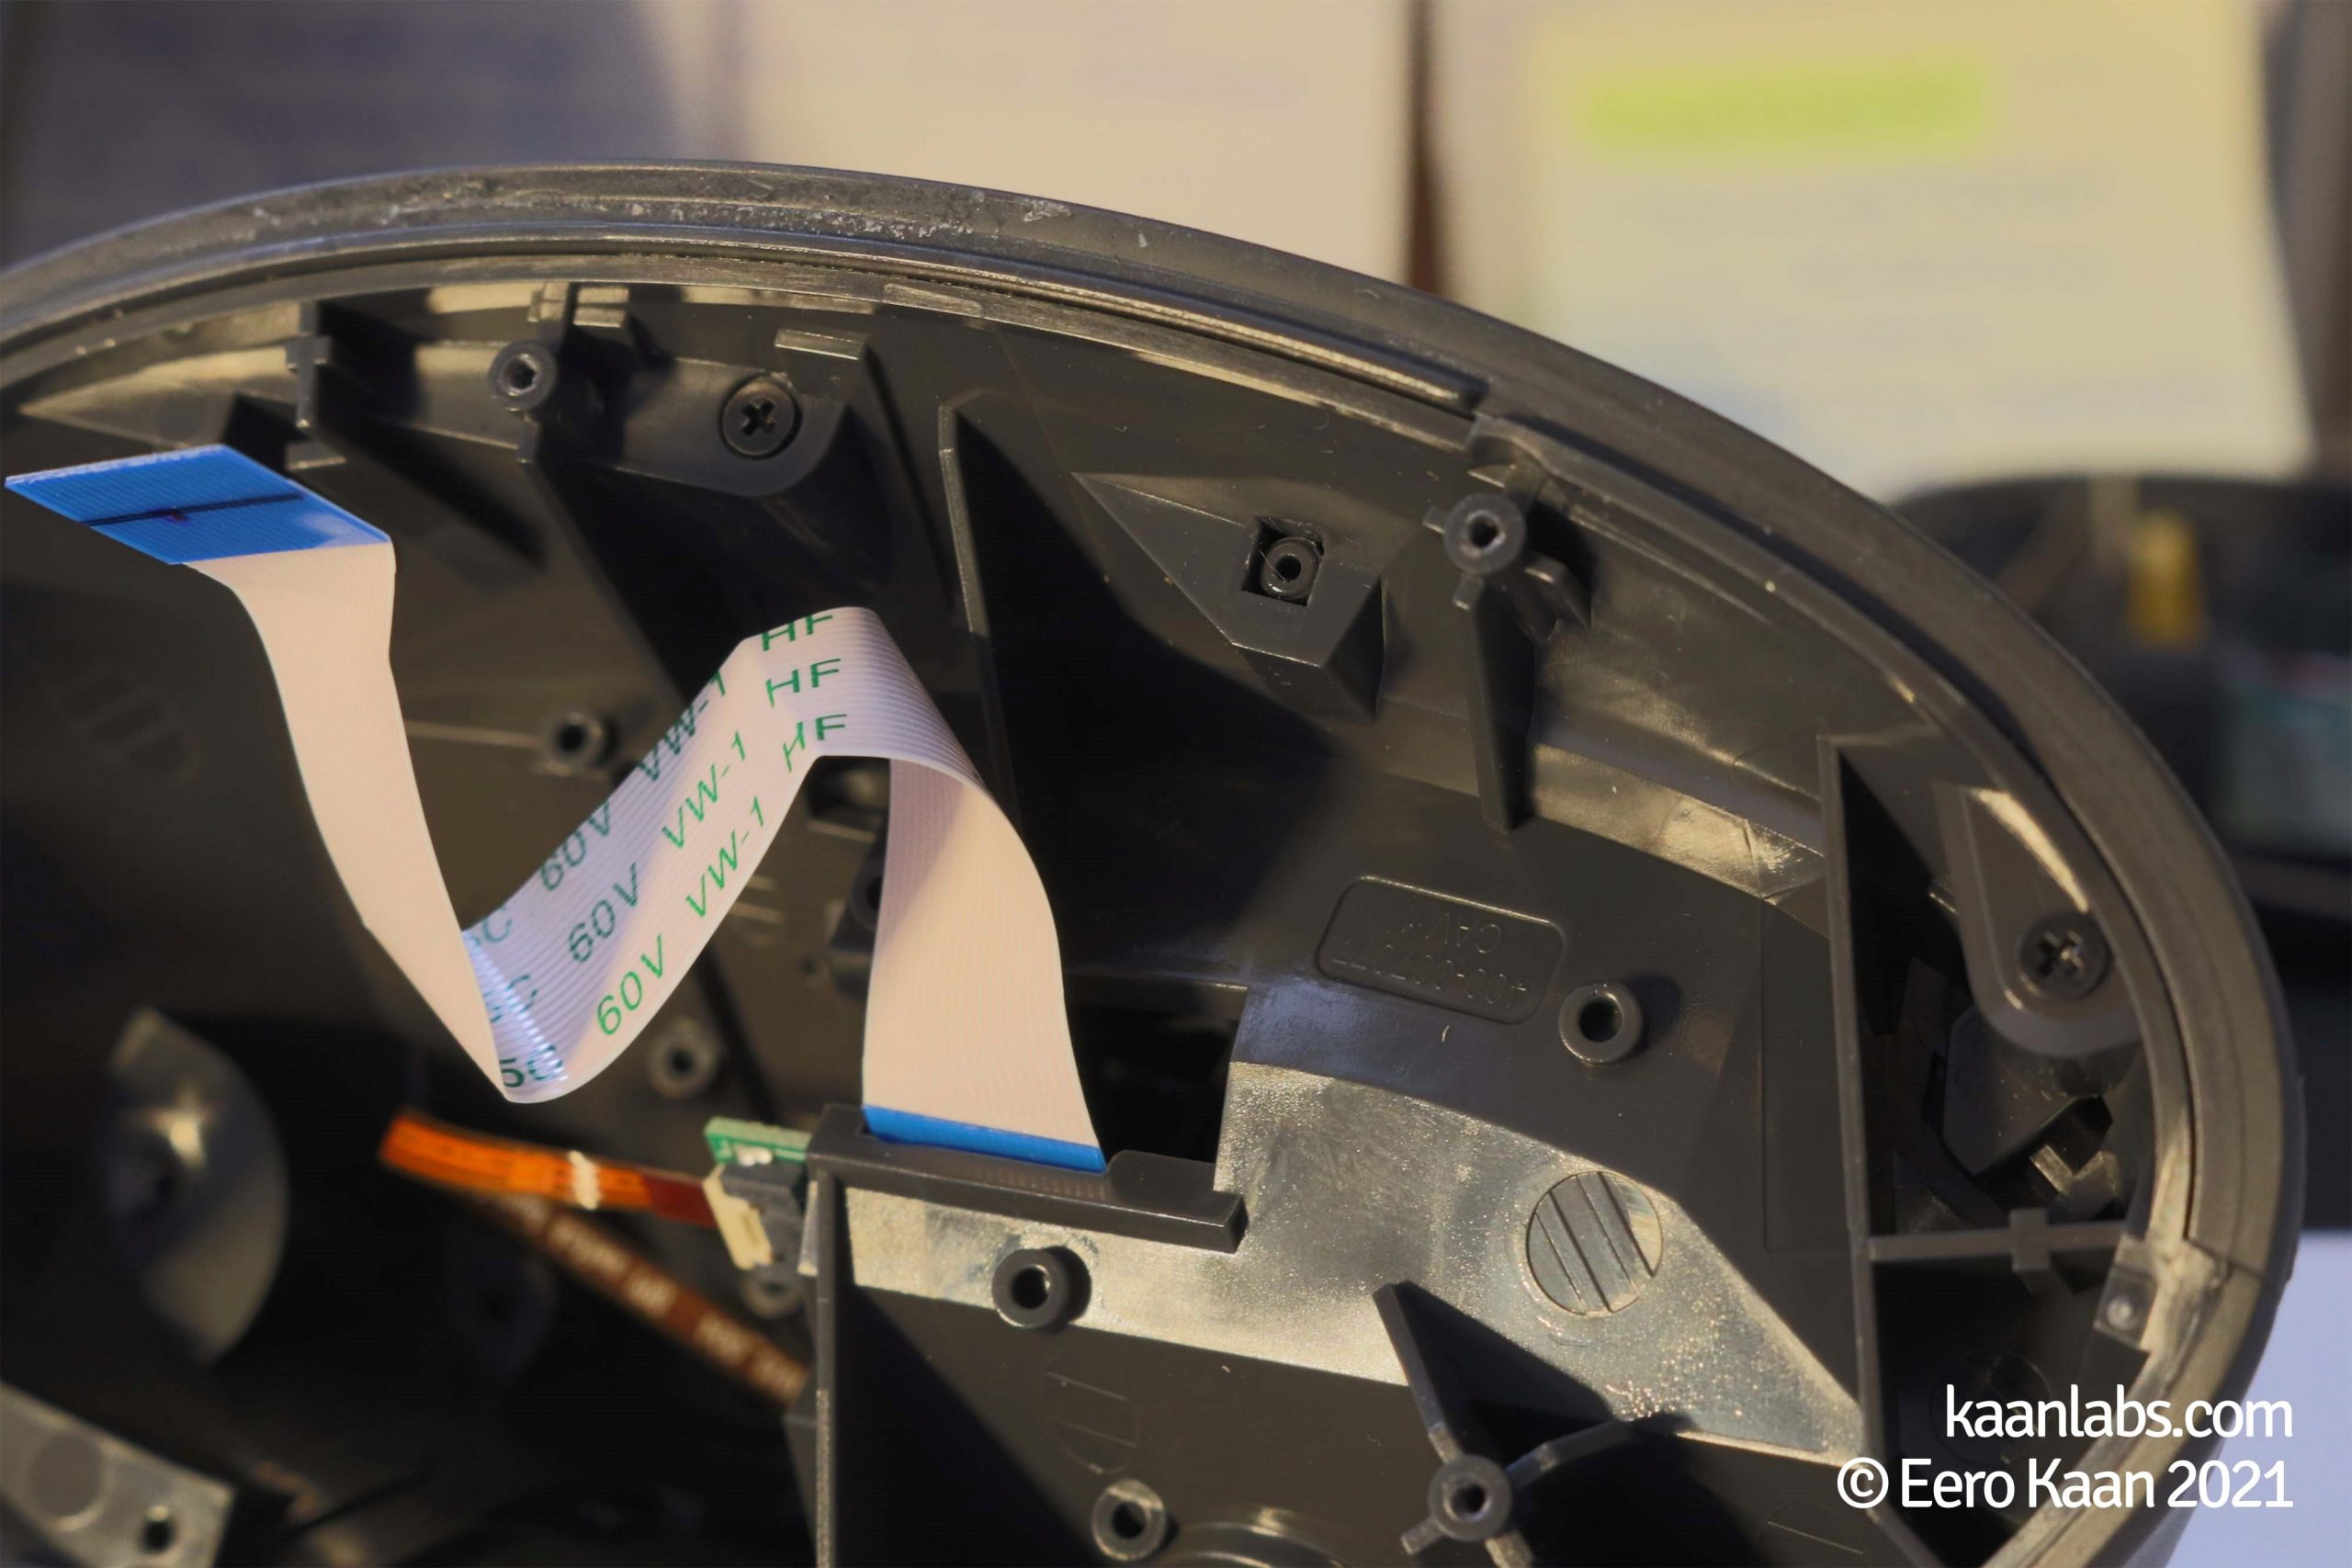
But still, further disassembly is necessary to gain access to the switches. Continue to take out the PCB by removing both ribbon cables…
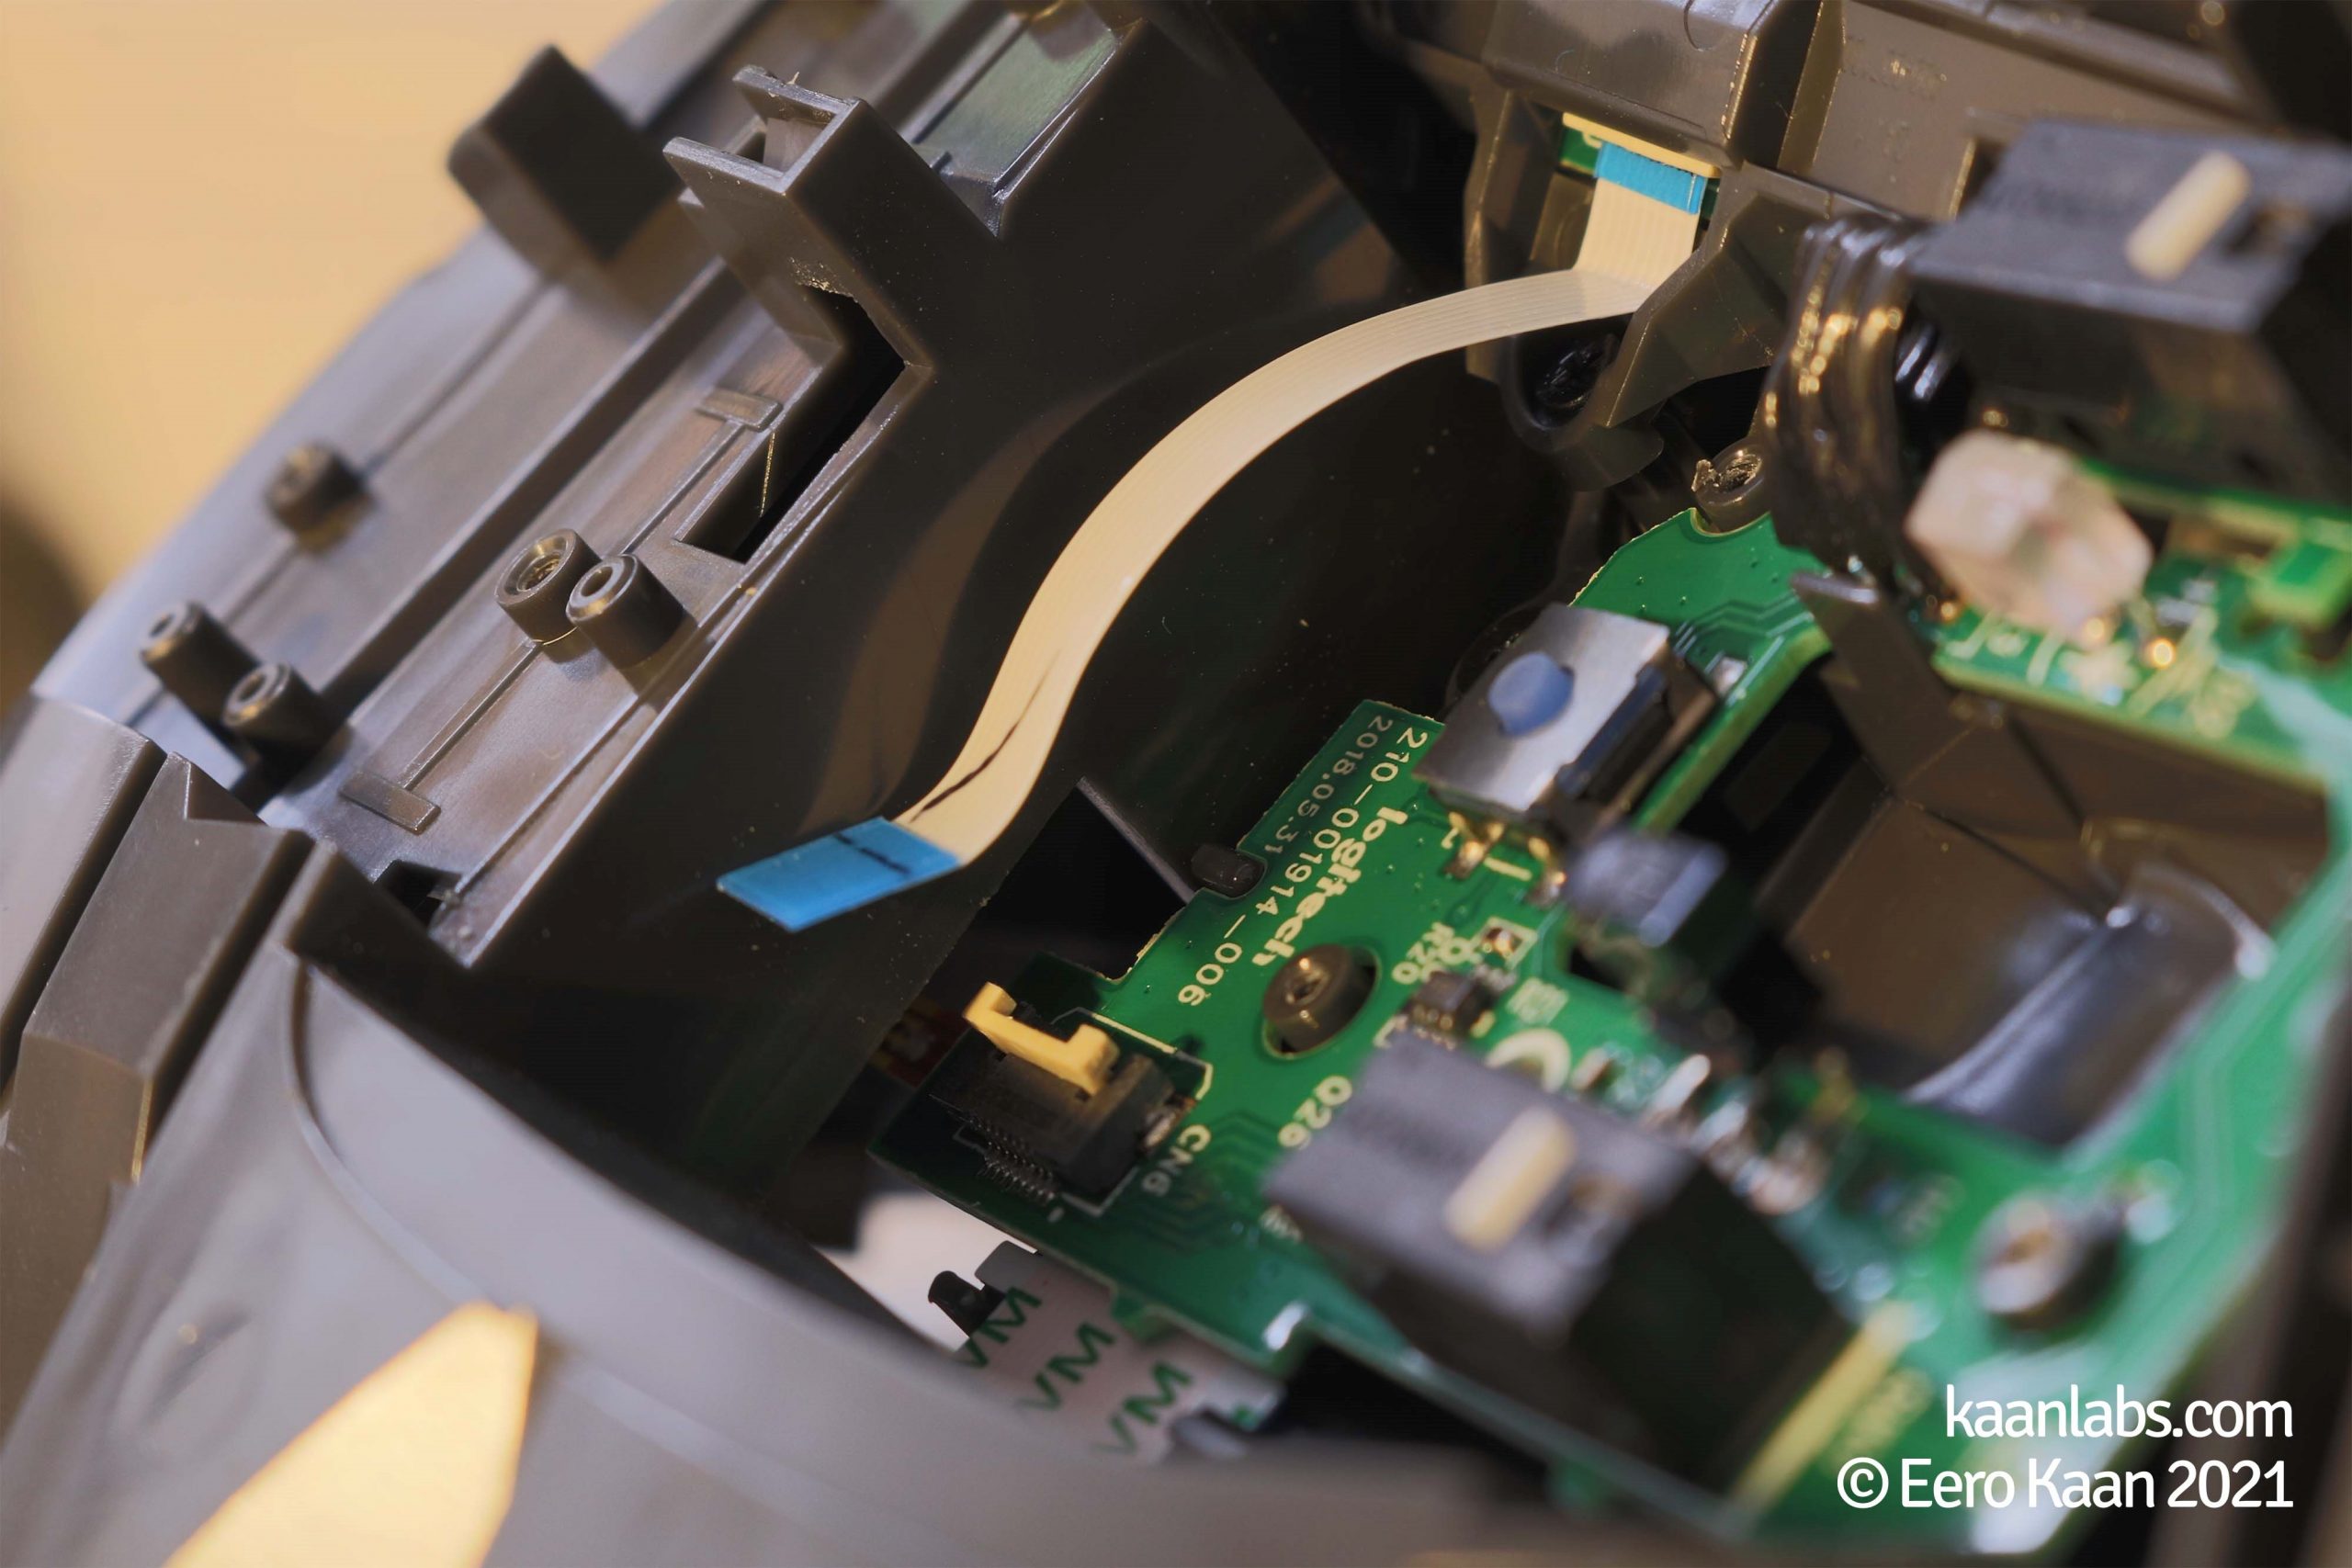
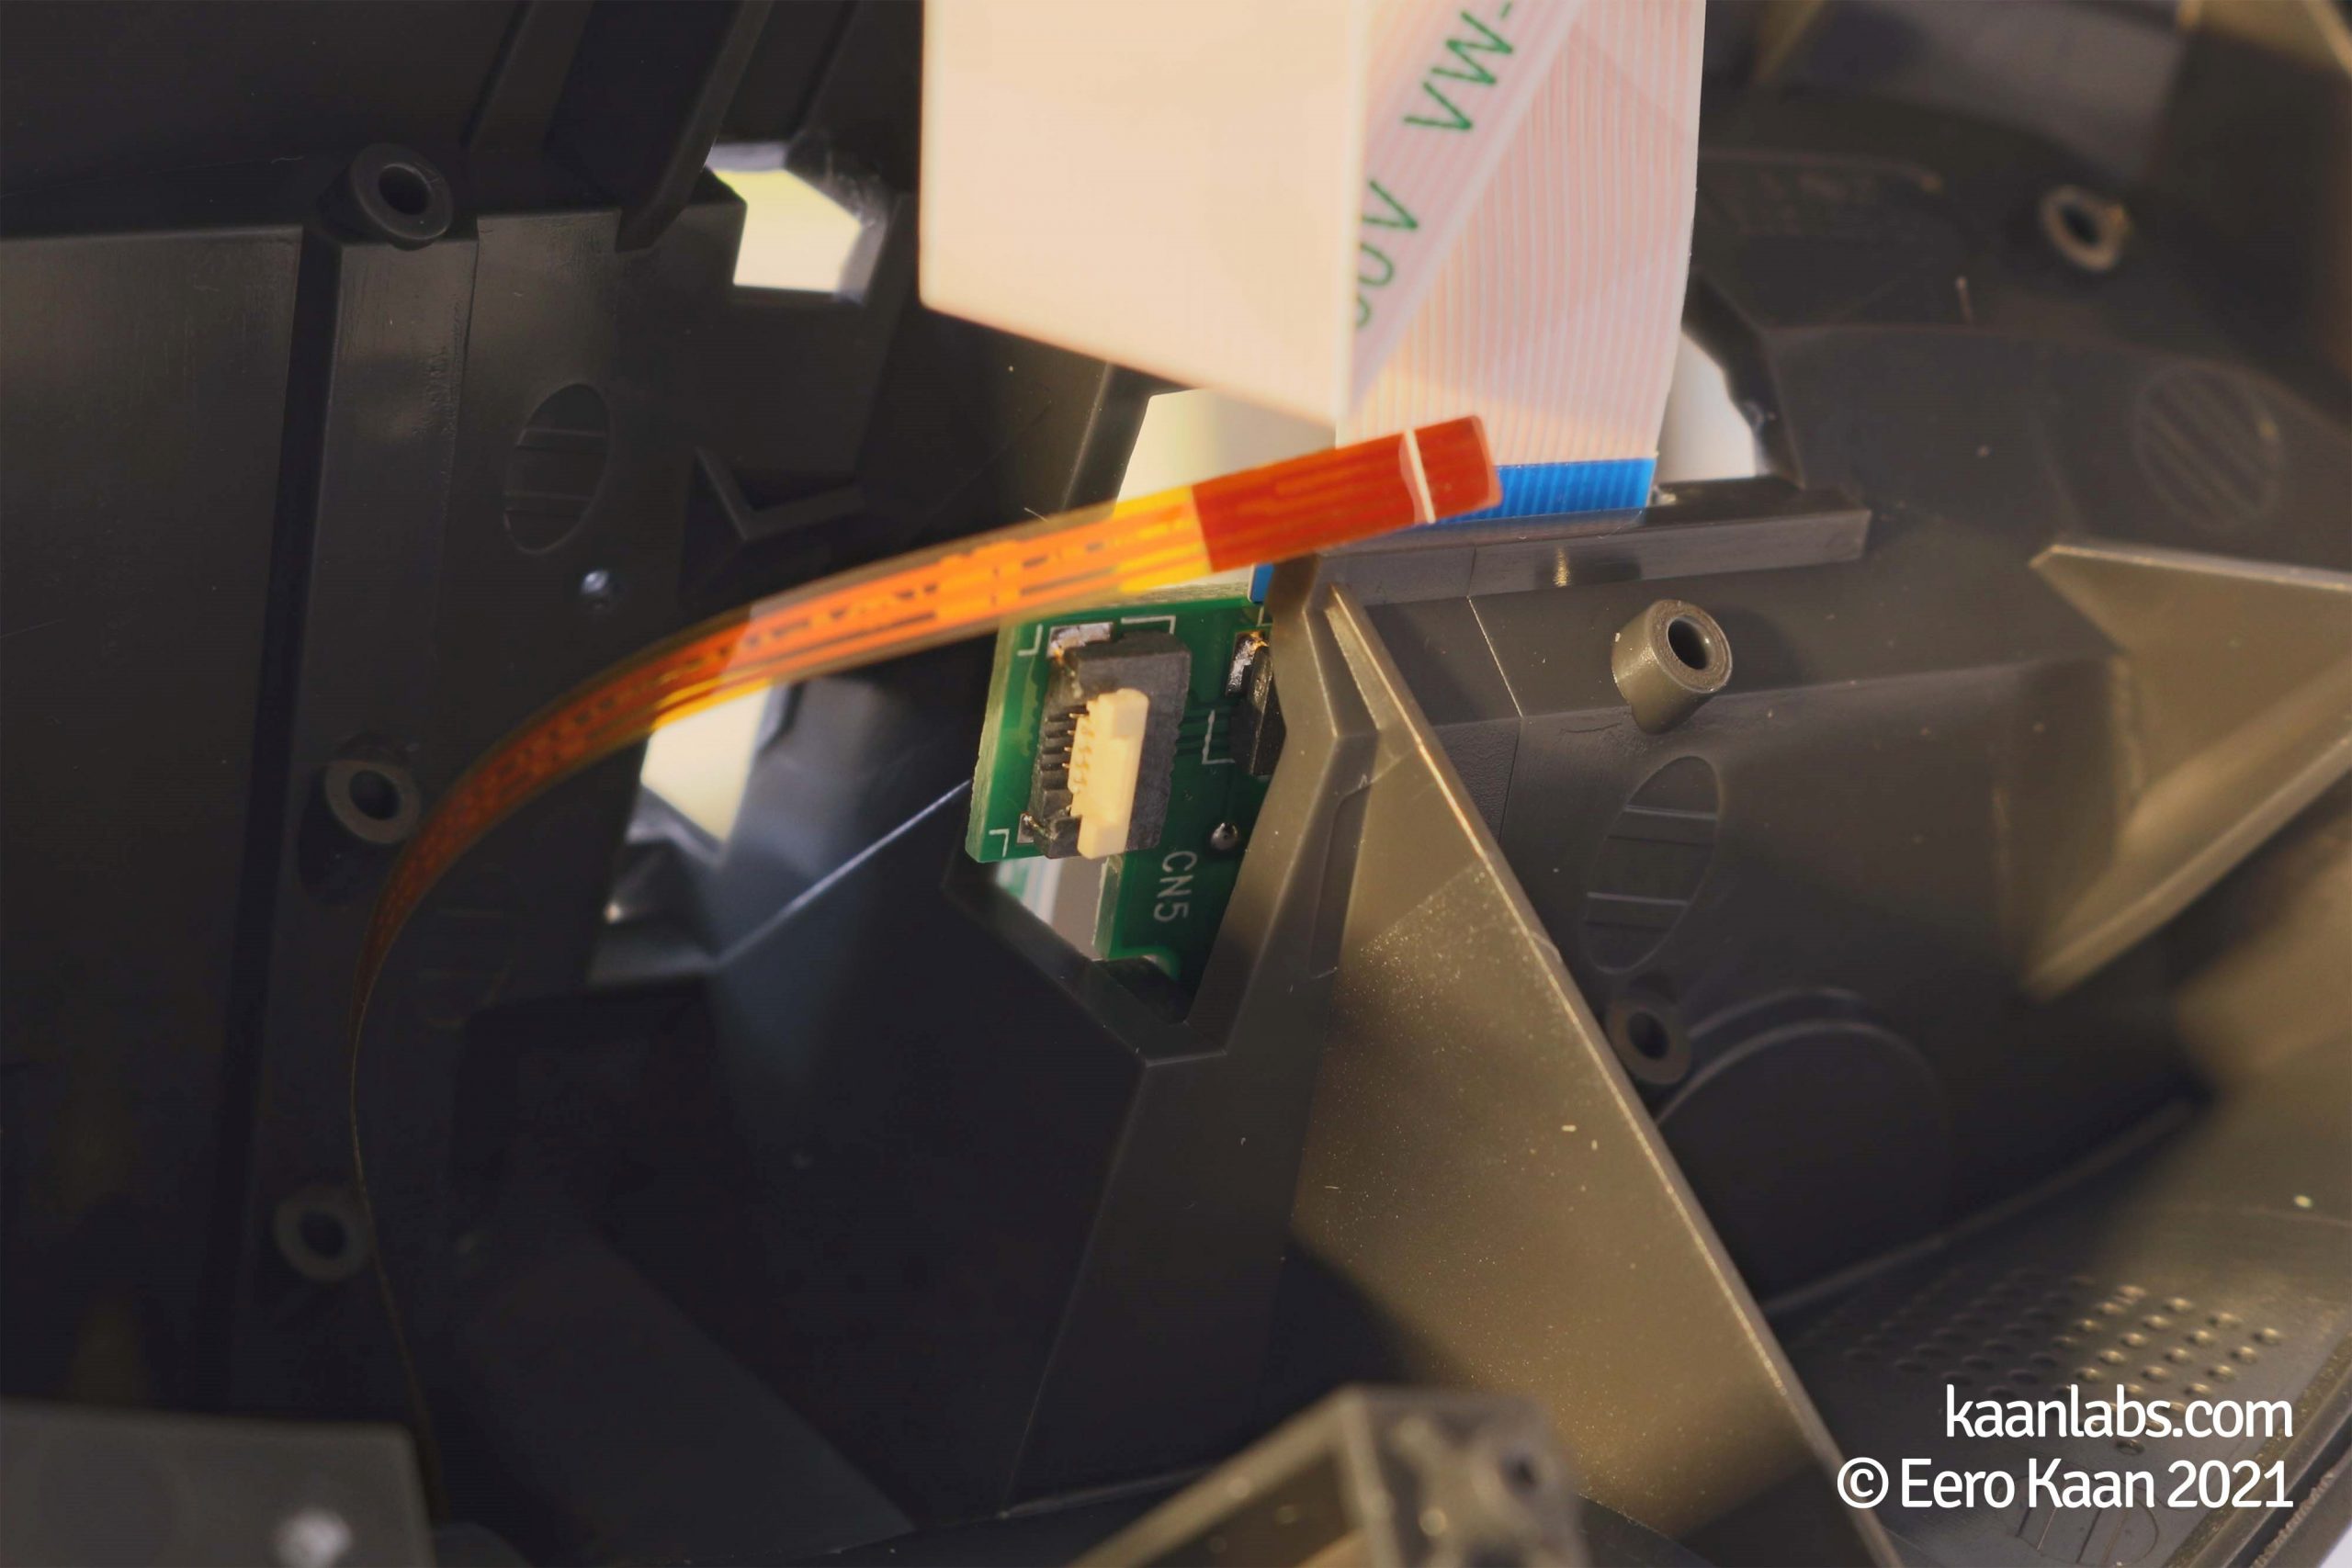
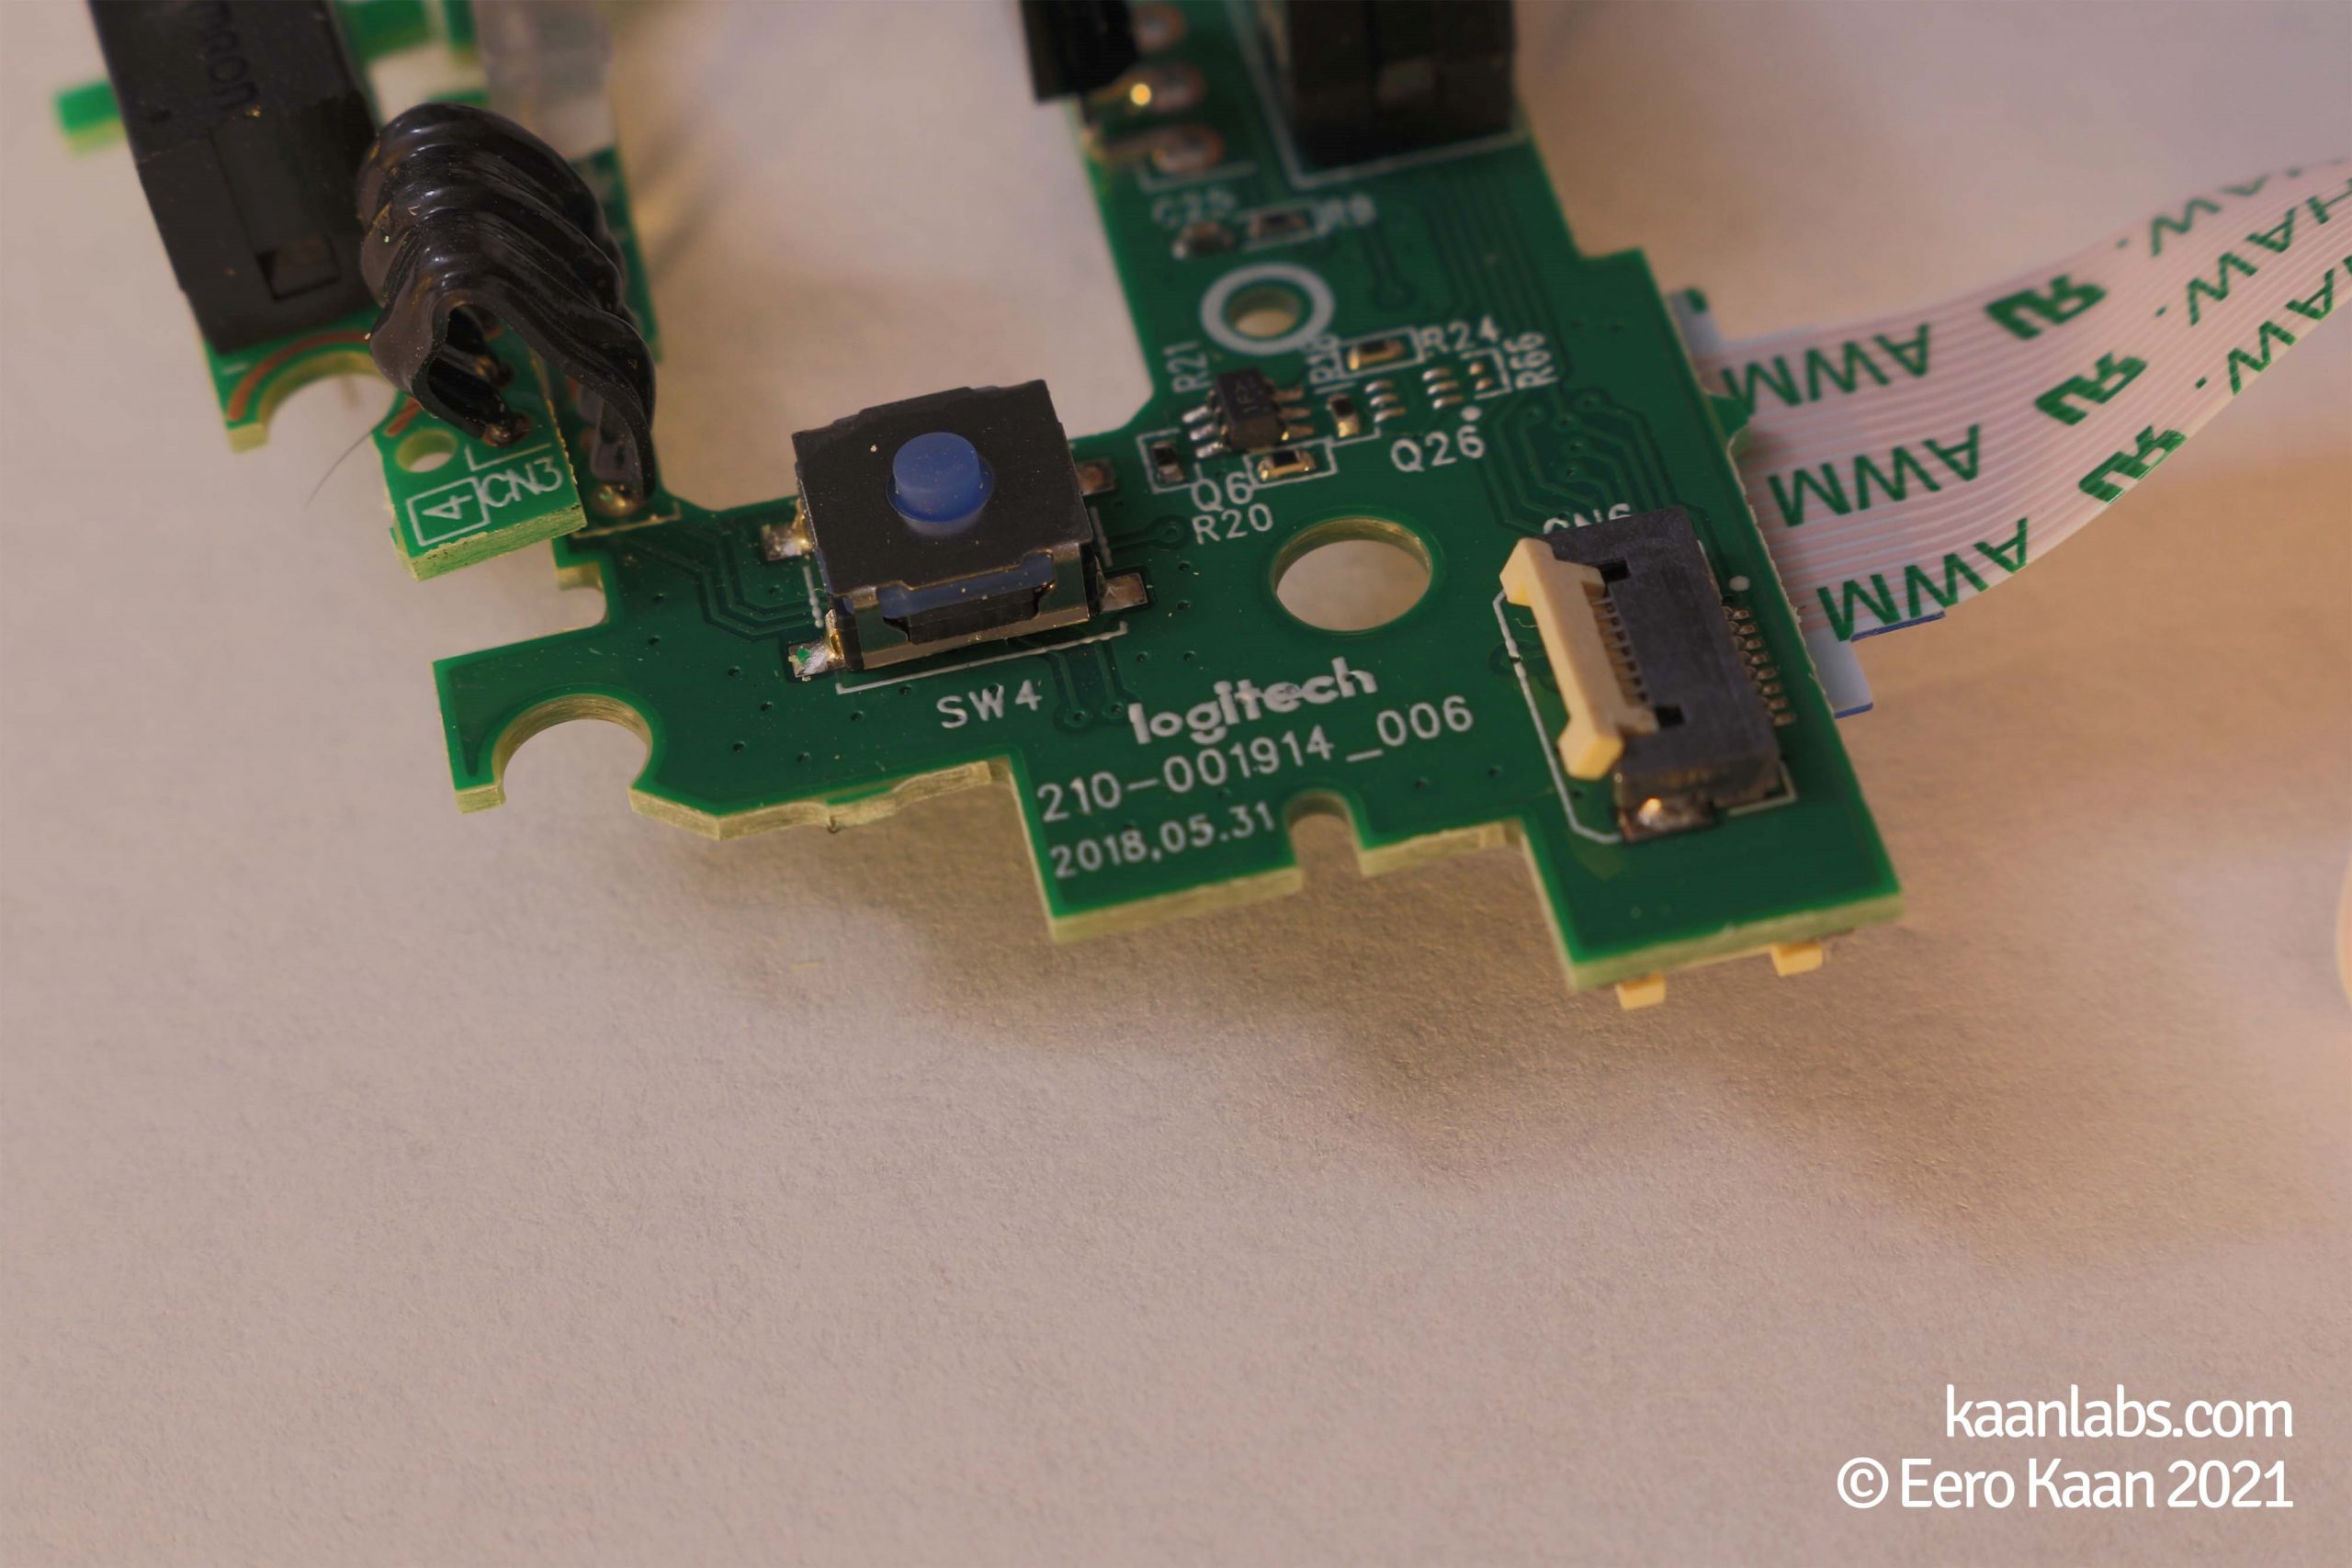
… and removing all screws. The result should look like this:
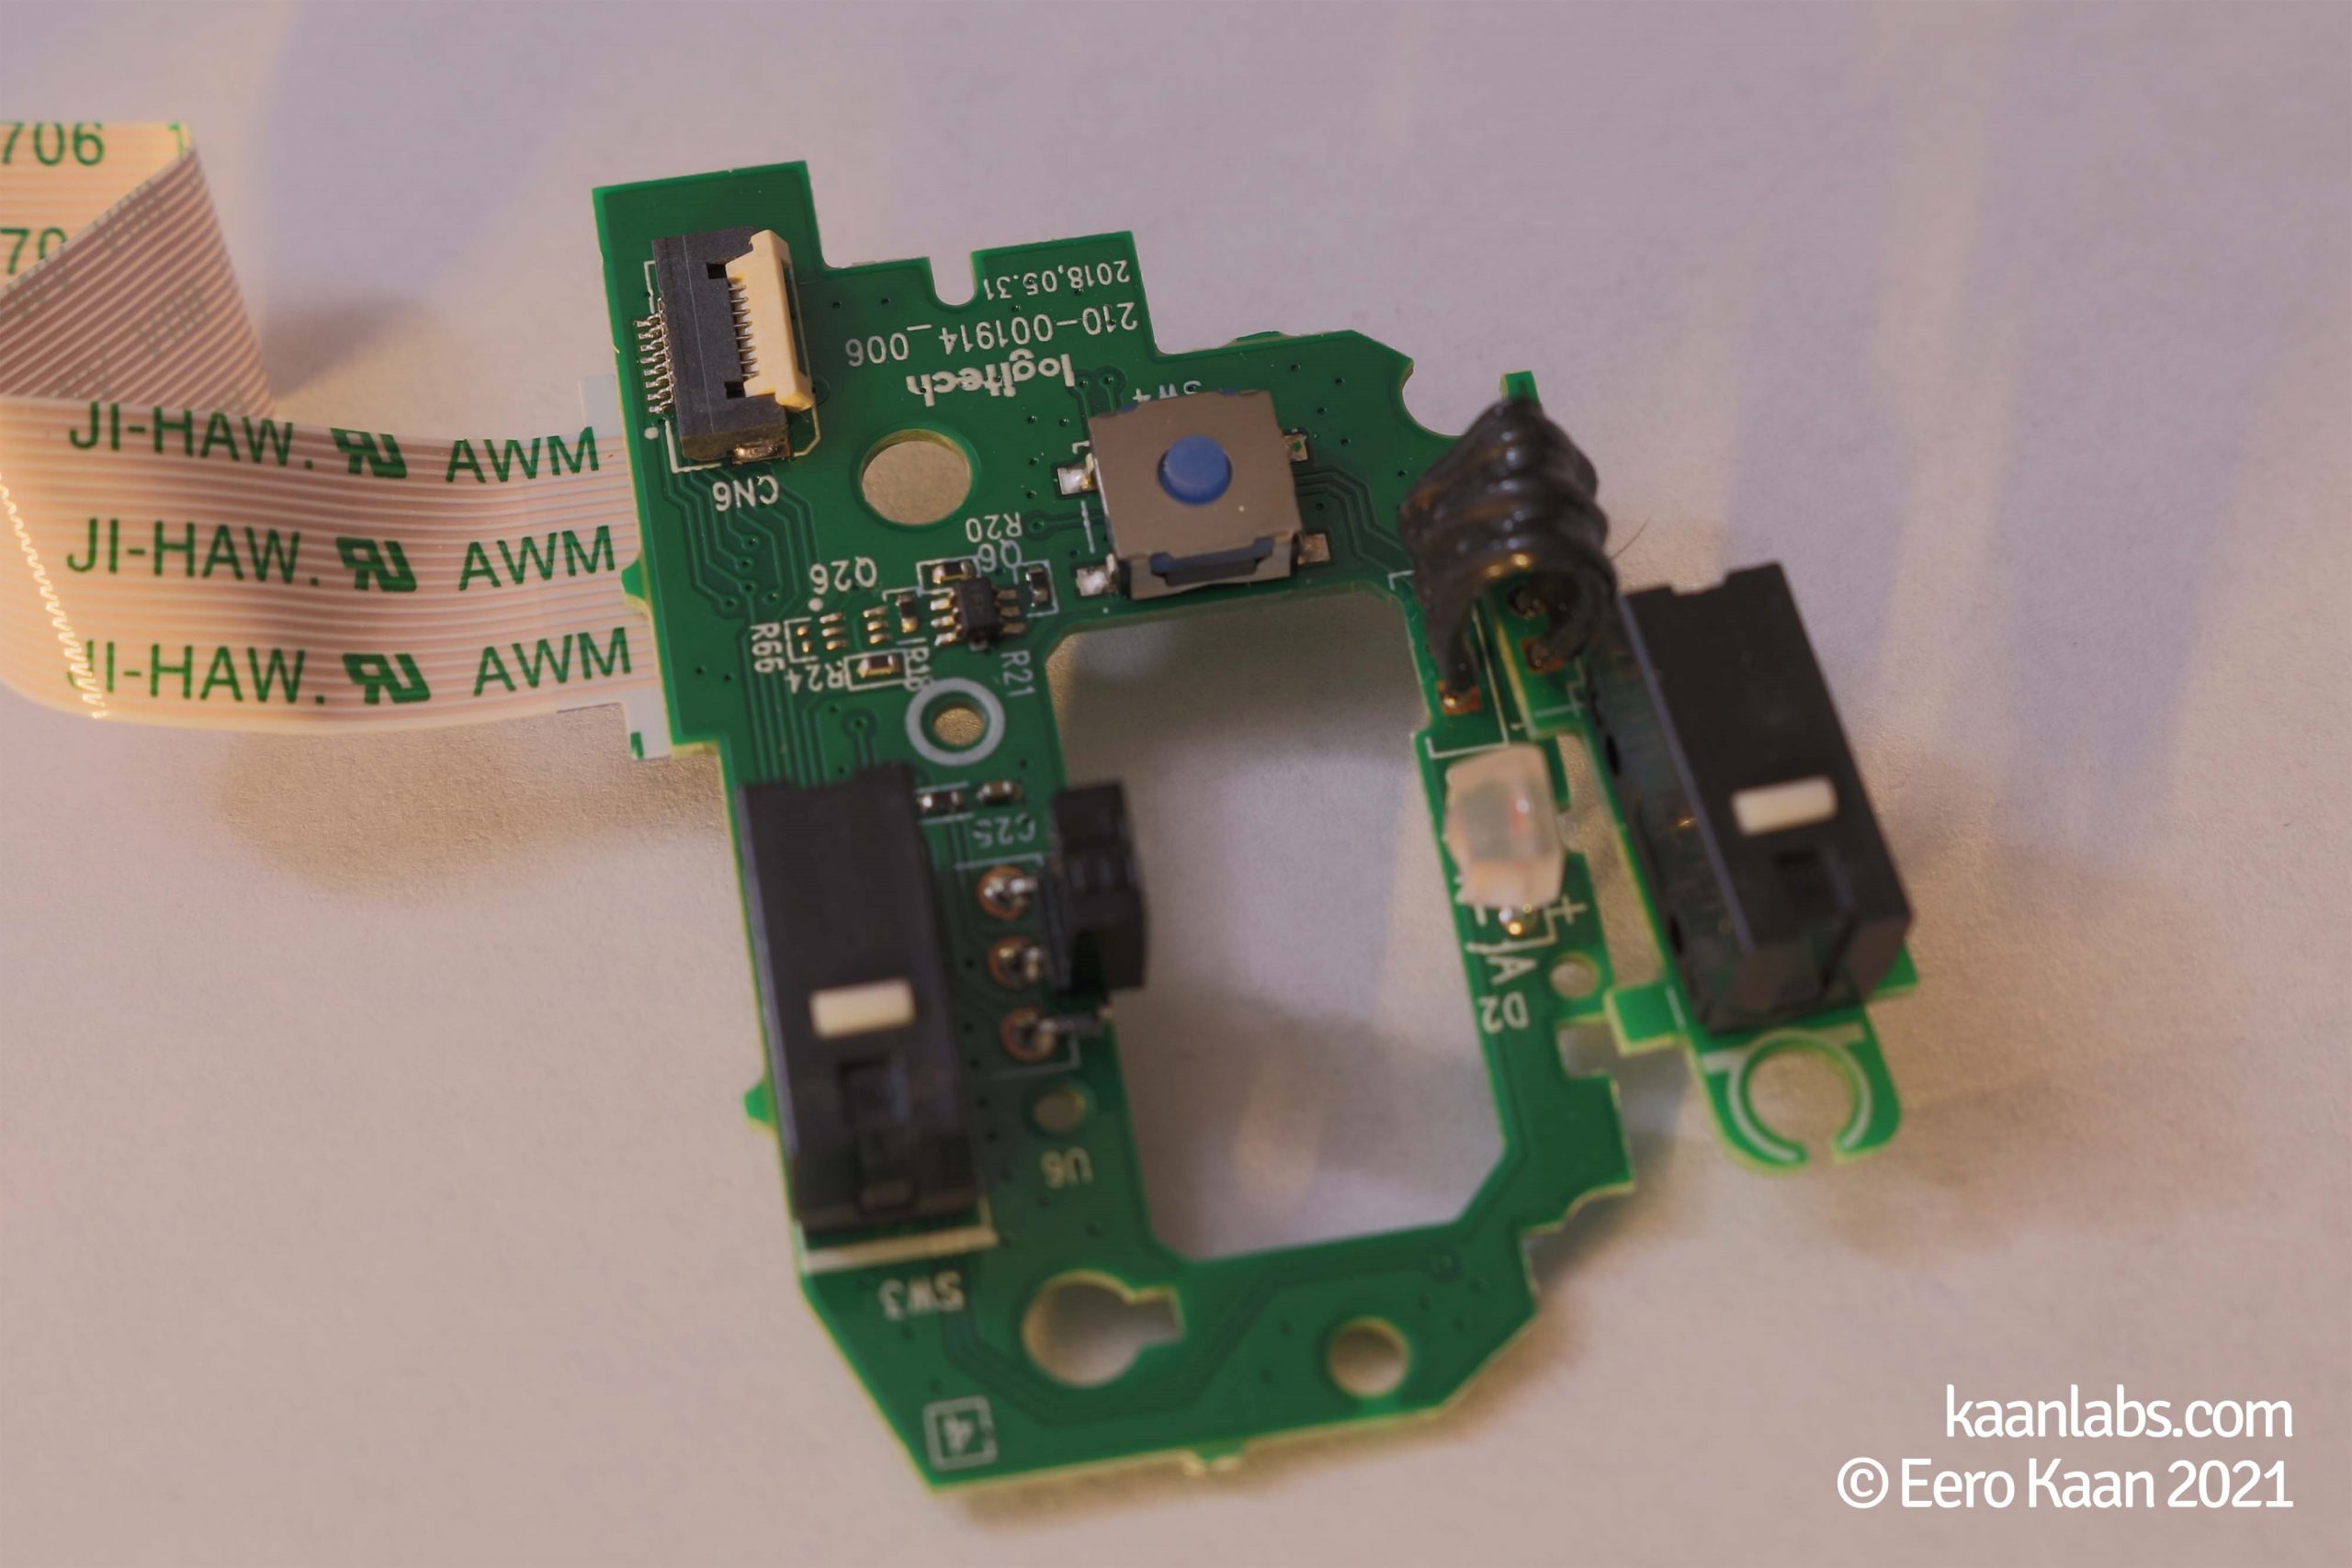
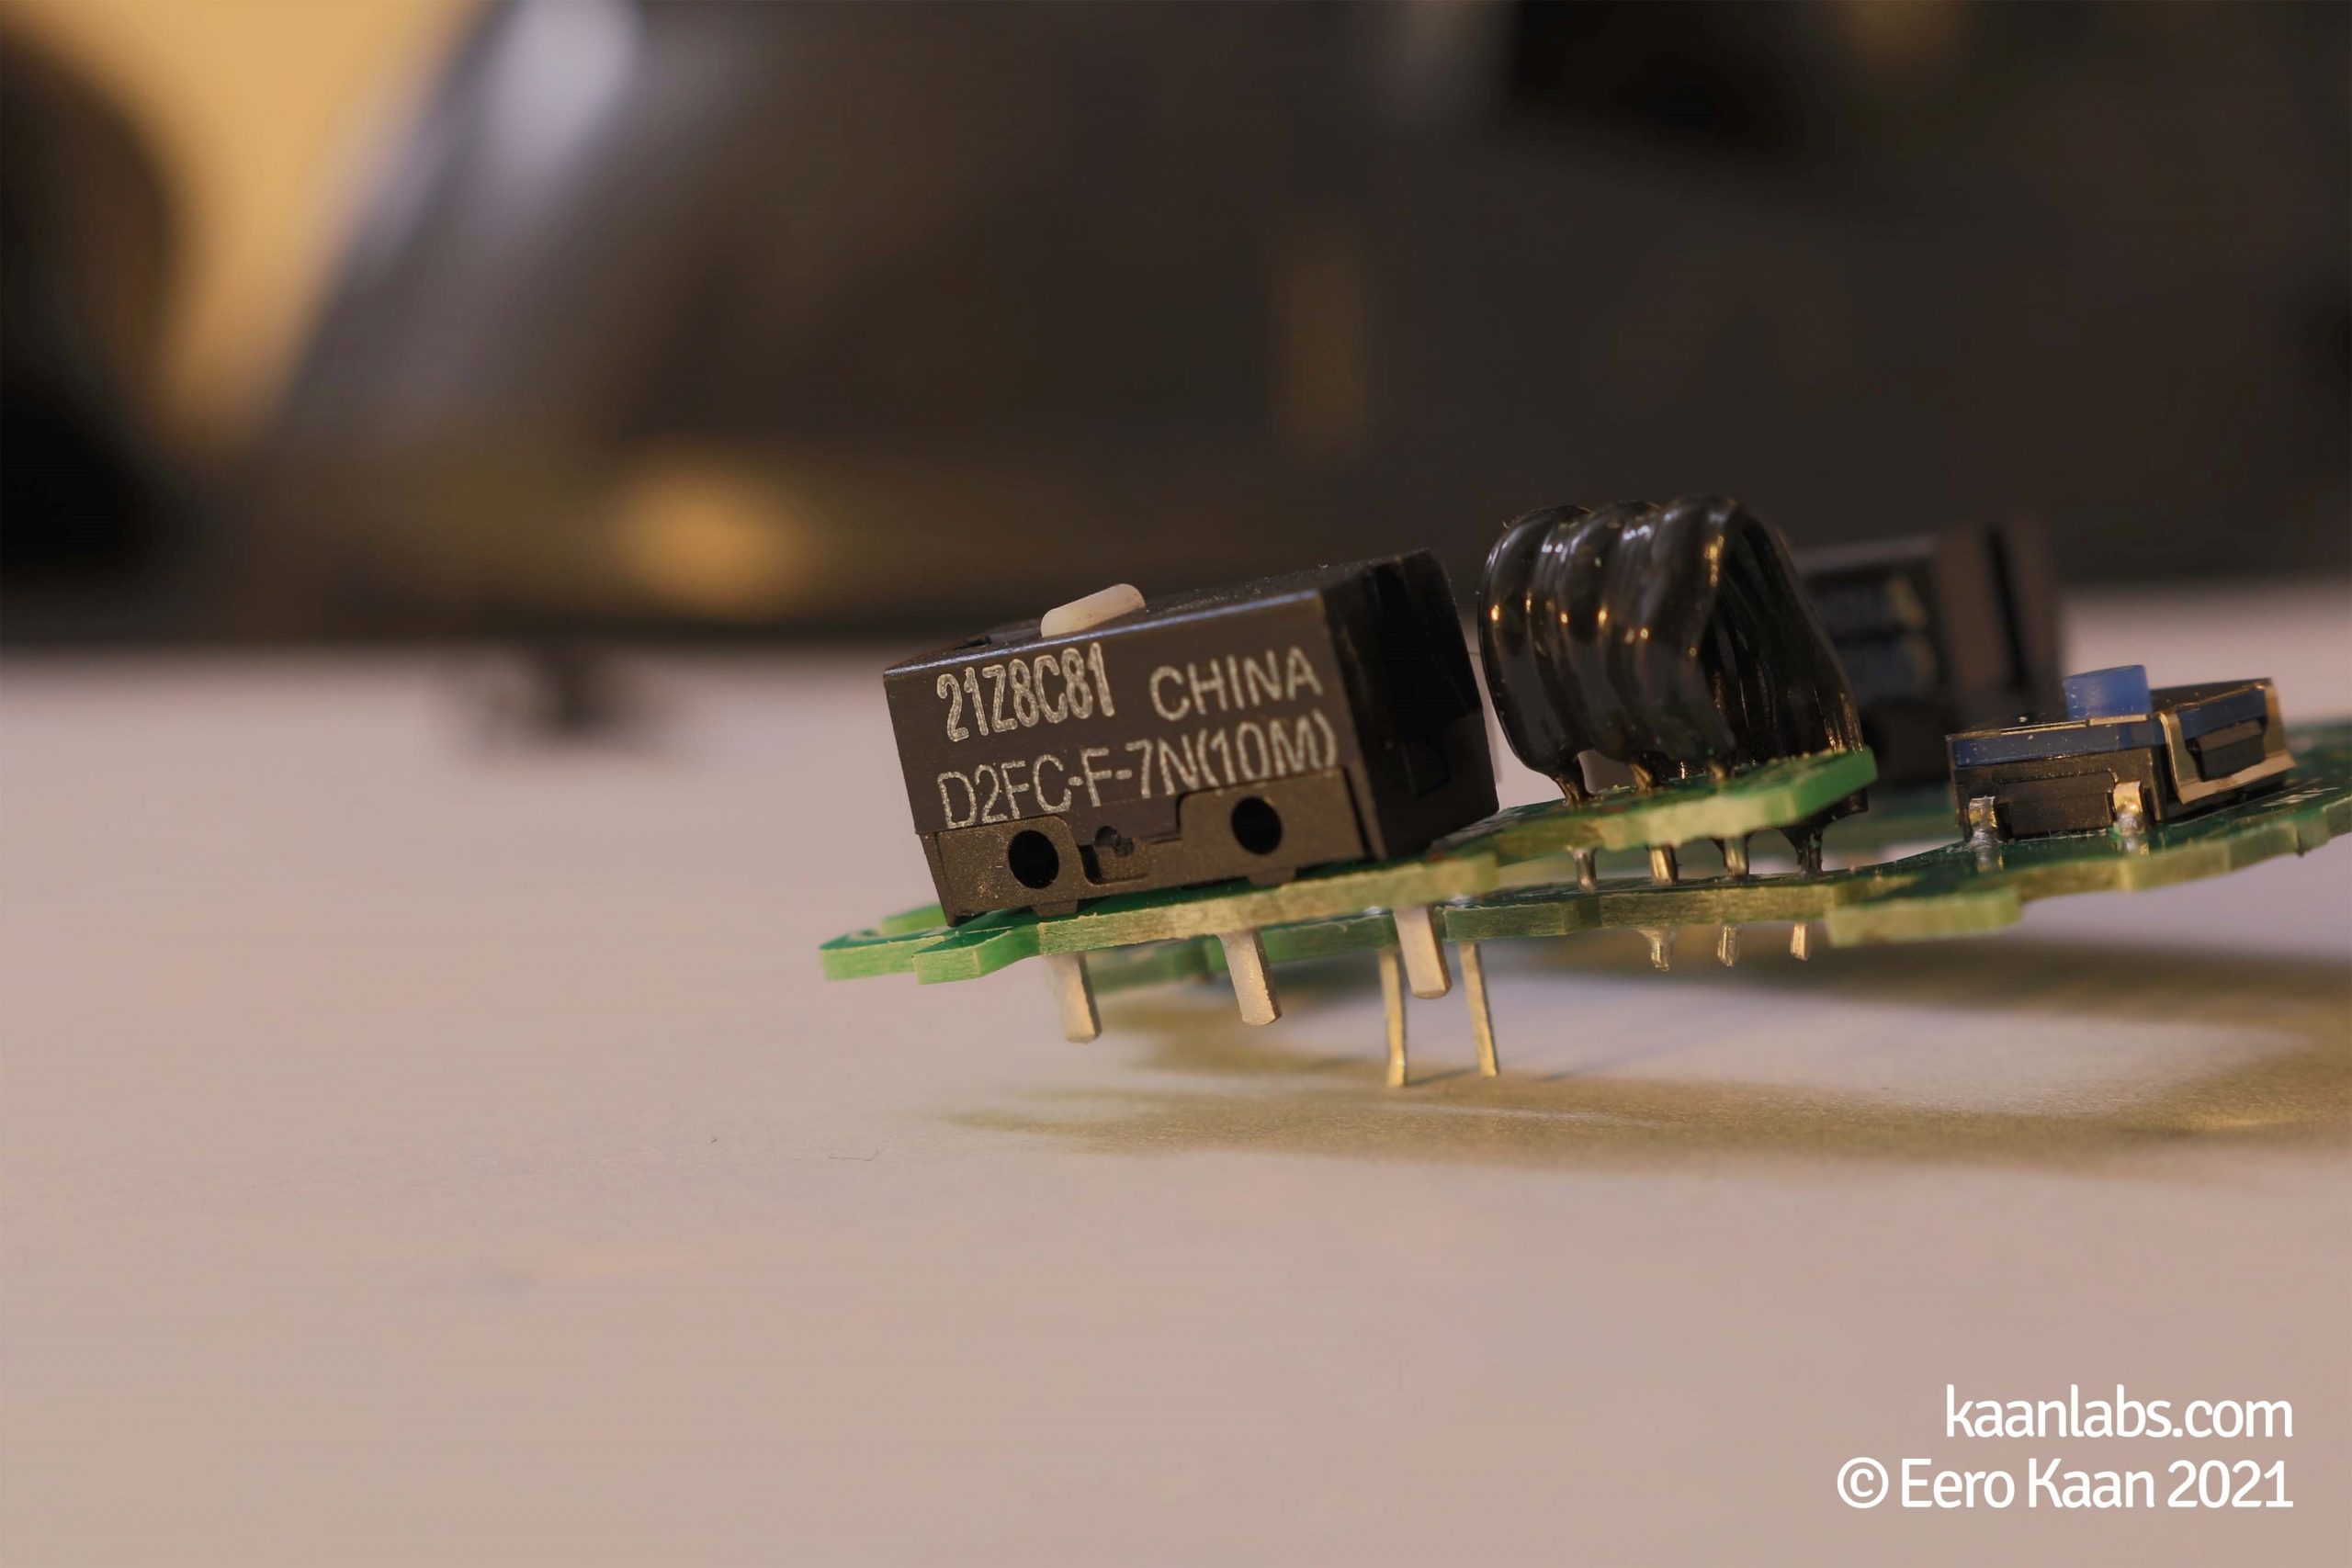
Please note, that the Logitech MX Vertical – at least in my model – has Omron D2FC-F-7N(10M) microswitches built in it, which are – at least in theory – rated for 10 million button clicks. However, my mouse failed way earlier, as this rating may suggest. But that comes to no surprise.
Step 7 – Microswitch replacement
It turns out, that the Omron D2FC-F-7N(10M) microswitch, or for that matter, the entire D2F-model family are unsuited to be built into these newer Logitech mice, as the newer Logitech models violate the set current and voltage ratings of the used D2F model family of microswitches.
When consulting the datasheet of the D2F family of microswitches, one can see that the used models are only specified for 100 mA @5V minimum, while the mouse itself only utilizes microcurrents (<1mA) through these switches.
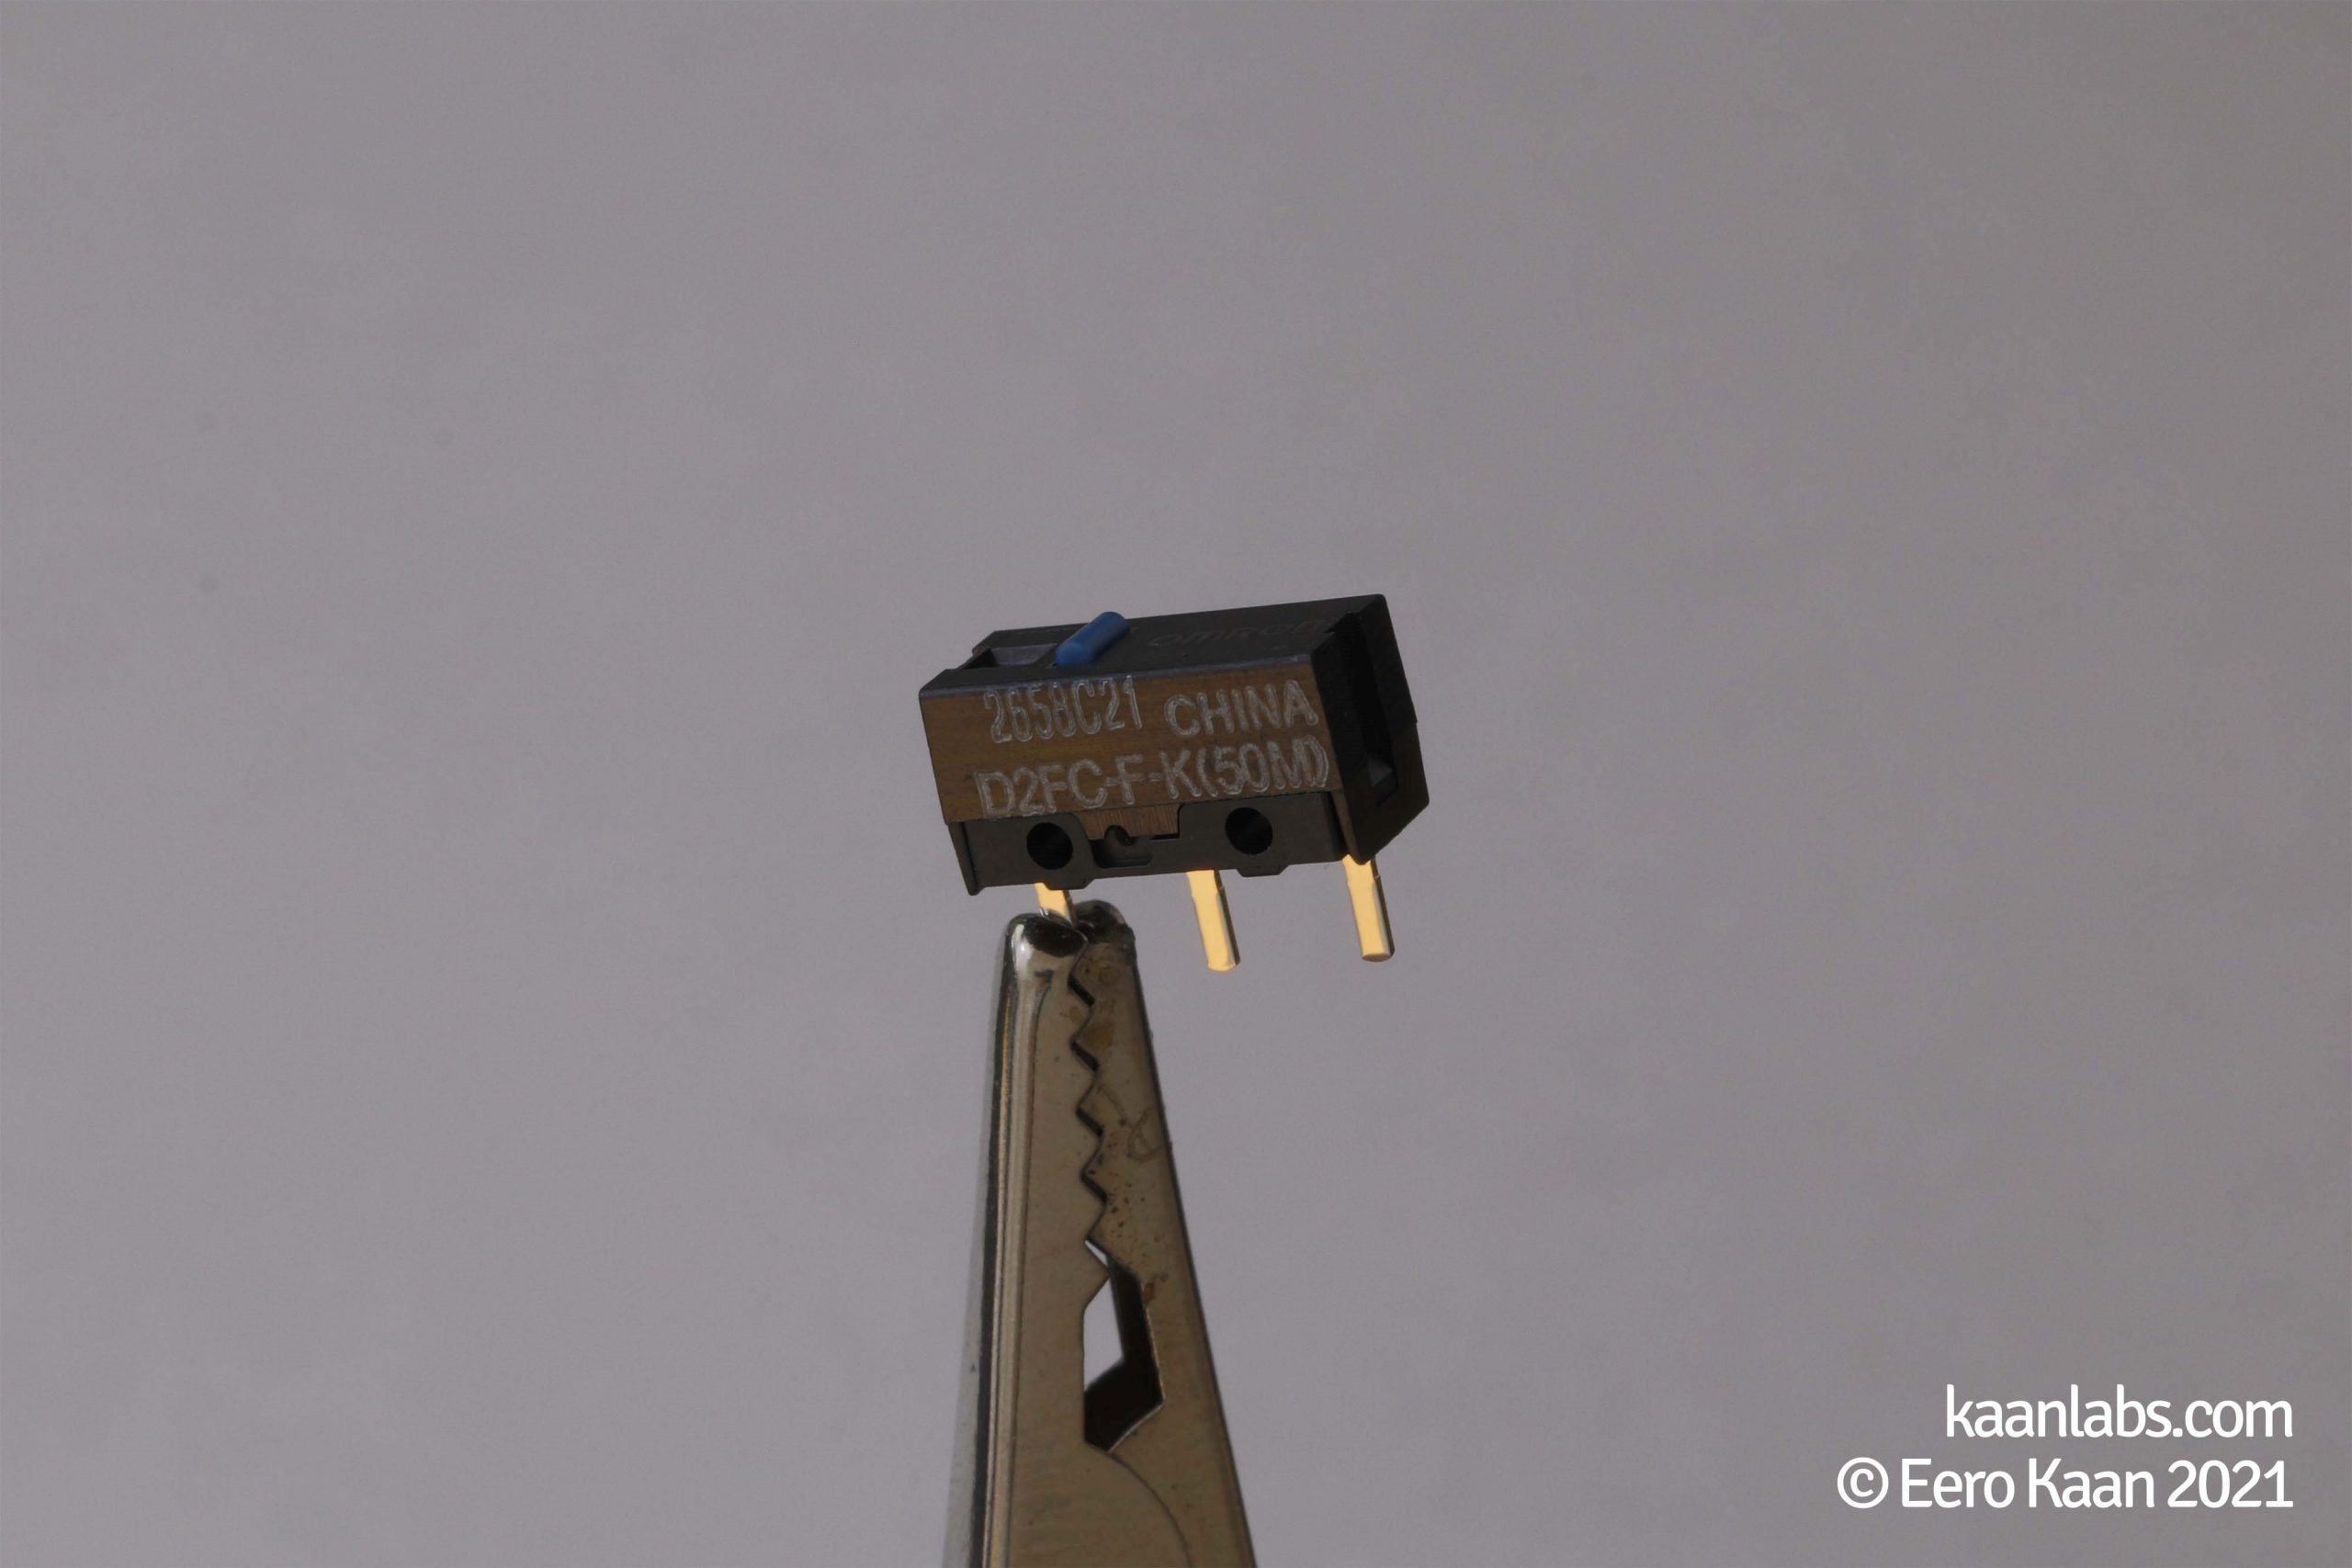
That’s also why the fancier, blue colored Omron D2FC-F-7N(50M) microswitches are also just as unfit as the “normal” D2FC-F-7N(10M) ones. They’re used simply out of spec.
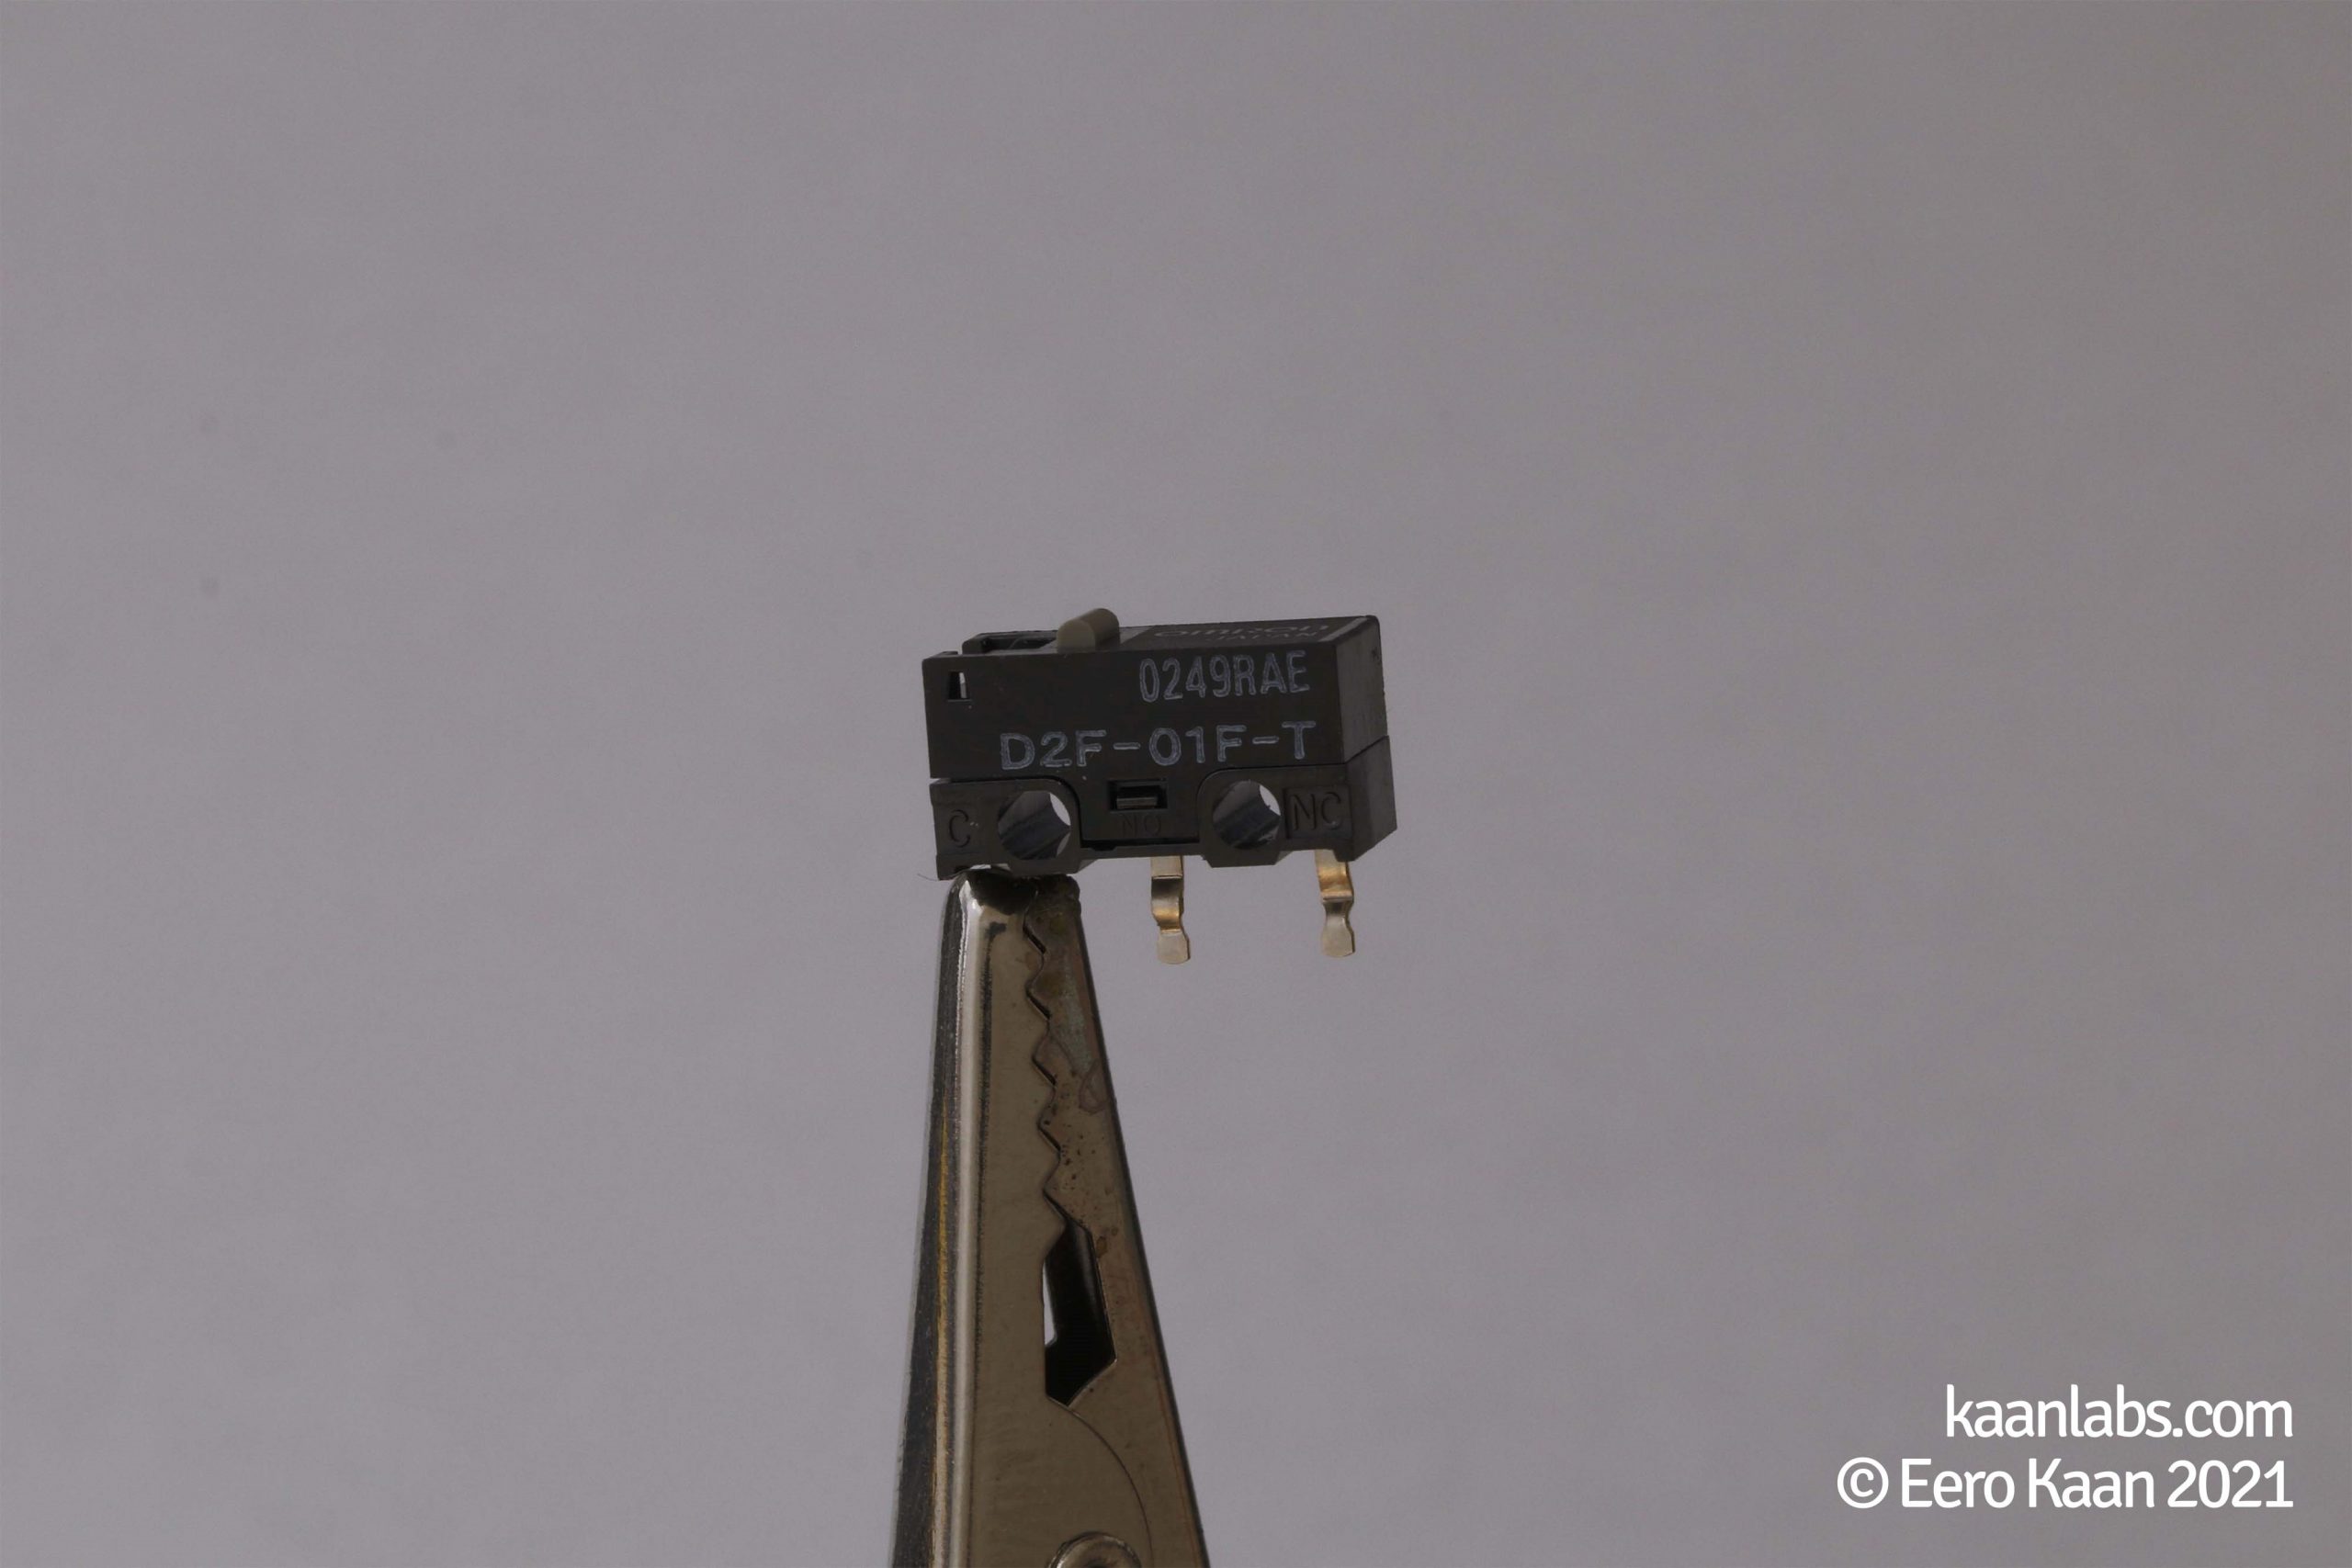
To fix this issue for good, I settled on replacing the faulty switches not with the same model again, but with Omron D2F-01F-T ones, as these are indeed rated to handle microcurrents.
For further information about this topic, I recommend watching this video:
Possible replacement part candidates…
Now with the new switches at hand, continue to desolder the faulty switches and swap them out for the replacement parts.
For symmetry’s sake, I replaced both the left and right microswitches, to ensure an equal clicking feel and behavior when using the mouse again.
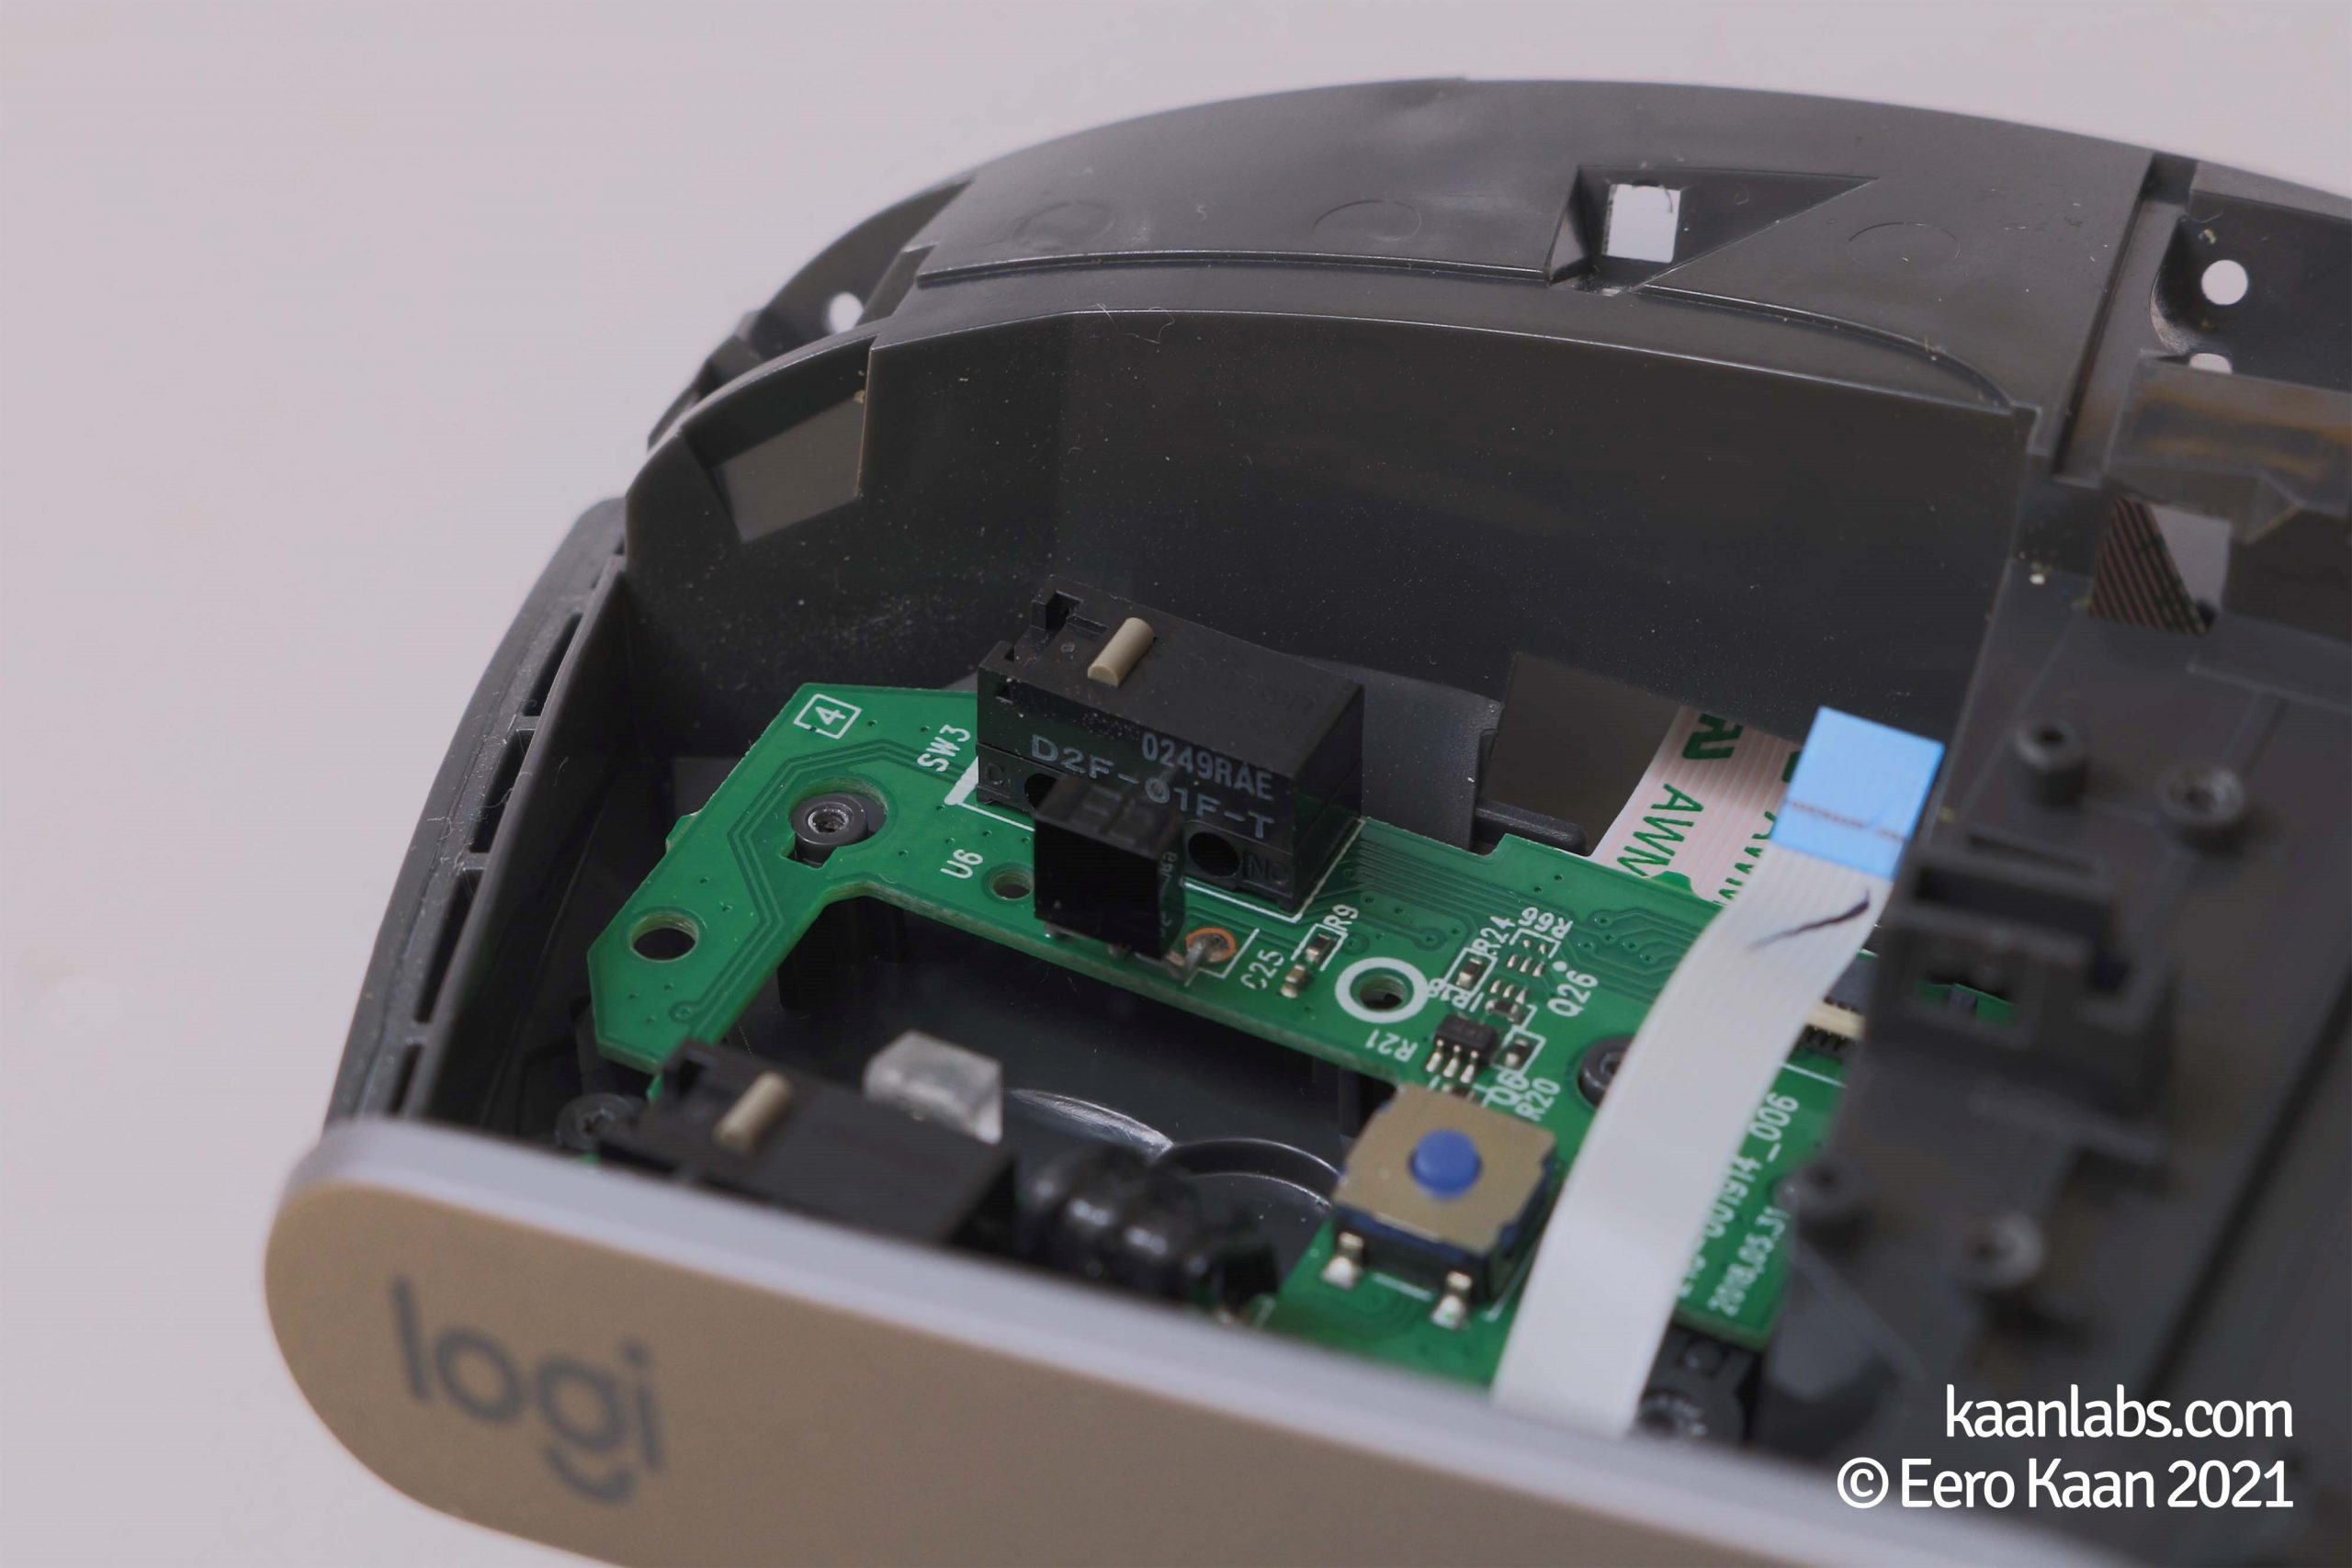
After soldering, the result should look something like this:
Step 8 – Reassembly
Now with the repair itself done, continue to reassemble the entire mouse again, just backwards as the way you took it apart.
When the mouse is assembled again, you can rudimentary test out if the mouse is working, before continuing to apply the mouse skates on the mouse underside again.
After applying those, the result should look like this:
Congratulations! Your Logitech MX Vertical mouse is now repaired and ready for work again.