An updated version of this article is now available, which uses the modern RTSP/WebRTC standards to achieve sub-second latencies. This is a significant improvement over the slow and outdated RTMP/HLS method, described in this tutorial here.
The described tutorial is only applicable up to the Raspberry Pi 3B+ running Raspberry Pi OS 10 Buster, since the necessary OpenMAX IL API is only supported up to this version.
Introduction
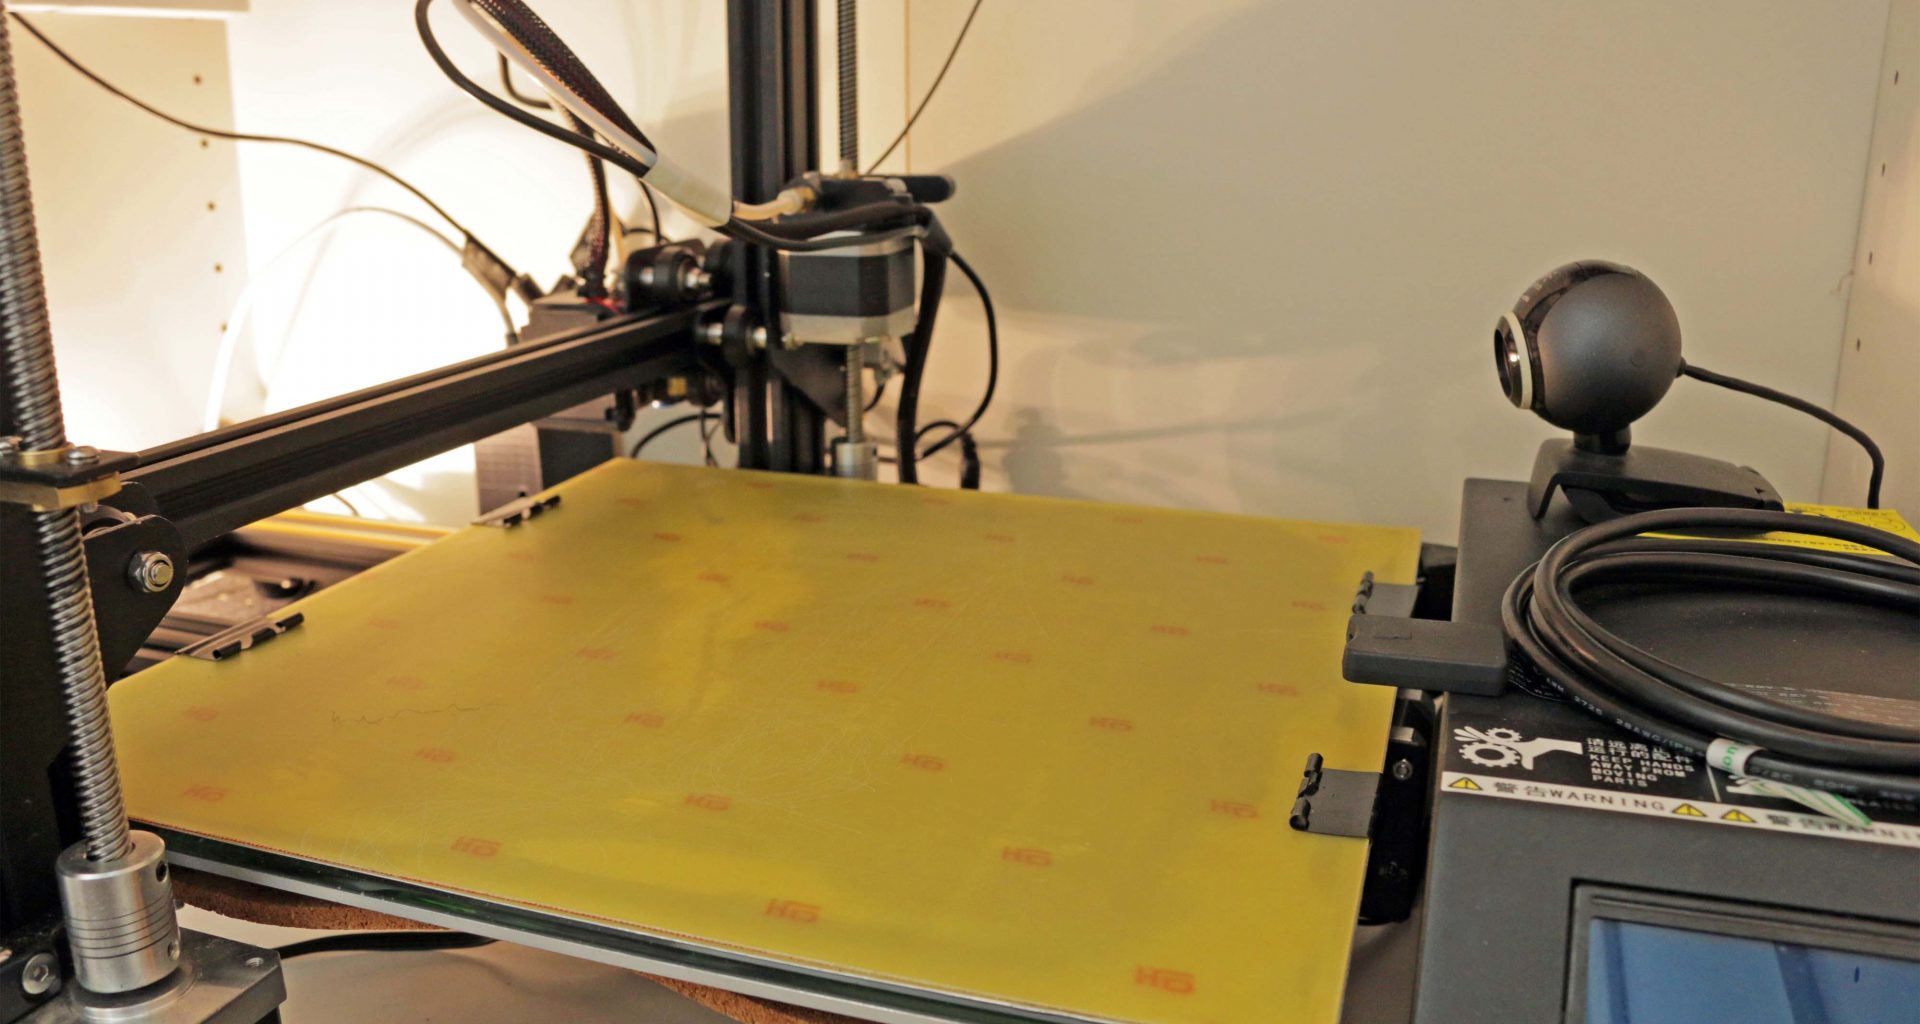
In Order to steadily surround a 3D Printer with warm air, a enclosure was built to keep the air near the printer to prevent plastic cracks and warping. Unfortunately this solution had a serious downside: It wasn’t possible to observe the Print while in process, since the necessary door-opening would have released the warm air. To overcome this issue, two Logitech E3500 USB-Webcams, alongside with a lamp were placed inside the enclosure to monitor the printing using live streaming. A Raspberry Pi 3 Plus was used to process the two video streams from the webcams using hardware acceleration and output them into a neat und clean website.
This step by step guide will show all the taken steps and points out all the important actions.
Step 1 – Preparations
Before beginning, make sure that your system is up to date and has all the necessary packages installed.
sudo apt-get update && sudo apt-get upgrade
sudo apt-get install git build-essential libpcre3 libpcre3-dev libssl-dev libomxil-bellagio-dev
After those packages are installed, you are now able to setting up nginx with its RTMP Streaming Module.
Step 2 – Installing nginx with RTMP streaming module
Since nginx is going to be downloaded and built, changing to a directory for this specific purpose will help us to keep the setup clean.
cd /usr/local/srcIt is suggested to use this fork of the RTMP module over the original one, considering it’s being maintained and contains overall more improvements and fixes. Proceed with cloning the module.
sudo git clone https://github.com/sergey-dryabzhinsky/nginx-rtmp-module.gitNow we have to get nginx itself.
The latest version can be downloaded from this page. By the date of writing this article, the newest version of nginx is 1.13.10.
sudo wget http://nginx.org/download/nginx-1.13.10.tar.gz
sudo tar -xzf nginx-1.13.10.tar.gz
sudo rm -rf nginx-1.13.10.tar.gz
cd nginx-1.13.10
All of the needed files for nginx are now downloaded and ready for compiling.
sudo ./configure --with-http_ssl_module --add-module=../nginx-rtmp-module
sudo make -j4
sudo make install- Make sure that the
--add-module=../nginx-rtmp-moduleargument is pointing to the path of the previously cloned nginx RTMP module - You can/must replace the
-j4argument ofmakewith the numbers of cores your CPU has, in order to accelerate the compiling process
Your nginx binary including the RTMP module is now present at /usr/local/nginx/sbin.
Step 3 – Set up a service for nginx
Although nginx is now functional, servicing it is quite troublesome in the current state. Restarting and stopping of the binary for example, or reloading the config files is a sketchy venture. Therefore creating a special service for it, is solving this problem relatively easy.
sudo nano /etc/systemd/system/nginx.serviceIn this file, all instructions are specified which the nginx service returns to the binary, given a specific service-command. The content of this nginx.service should be as follows:
[Unit]
Description=The nginx server
After=network.target

[Service]
Type=forking
PIDFile=/usr/local/nginx/logs/nginx.pid
ExecStartPre=/usr/local/nginx/sbin/nginx -t -q -g 'daemon on; master_process on;'
ExecStart=/usr/local/nginx/sbin/nginx -g 'daemon on; master_process on;'
ExecReload=/usr/local/nginx/sbin/nginx -g 'daemon on; master_process on;' -s reload
ExecStop=-/sbin/start-stop-daemon --quiet --stop --retry QUIT/5 --pidfile /usr/local/nginx/logs/nginx.pid
TimeoutStopSec=5
KillMode=mixed

[Install]
WantedBy=multi-user.target- Please note that the specified path of the nginx binary (in this case
/usr/local/nginx/sbin/nginx) alongside with the PID file (/usr/local/nginx/logs/nginx.pid) is valid.
Now start and enable the nginx service.
sudo systemctl start nginx.service && sudo systemctl enable nginx.serviceAfter rebooting the system, check if the nginx service is still active and enabled.
sudo shutdown -r now
sudo systemctl is-enabled nginx.service
sudo systemctl status nginx.service
The console should return enabled and print out ●nginx.service active (running) in a green font.
Step 4 – Configure nginx settings
To configure nginx with its RTMP module, firstly remove the nginx.conf, since we are going to install our own config instead.
sudo rm -rf /usr/local/nginx/conf/nginx.conf
sudo nano /usr/local/nginx/conf/nginx.conf
After reinserting the worker settings back into the file, the RTMP settings can be adjusted.
events {
    worker_connections 1024;
}

worker_processes auto;
This particular configuration listens to the standard RTMP Port 1935, however this can be adjusted if this Port is already used by another process.
Following the configuration file, the application webcam is defined. This means that the RTMP endpoint will have the name webcam. Since the aim of this project is to stream two webcams at once, two streams will consequently exist. Those will follow the Syntax rtmp://.
Going further, the HLS path is specified to /Services/Webcam/HLSStream, which basically means that the HLS m3u8 files will be placed here, waiting to get picked up by a video player.
rtmp {
    server {
        listen 1935;
        chunk_size 4000;

        application webcam {
            live on;
            hls on;
            hls_path /Services/Webcam/HLSStream;
            hls_fragment 3;
            hls_playlist_length 60;
            deny play all;
        }
    }
}- Please make sure that nginx has write permissions to your specified
hls_path
After the RTMP module is configured, the HTTP server settings can be inserted now. As you can see under the types bracket, MIME types have been specified for the HLS files.
http {
    sendfile off;
    tcp_nopush on;
    directio 512;
    default_type application/octet-stream;

    server {
        listen 80;

        location /HLSStream {
            add_header 'Cache-Control' 'no-cache';
            add_header 'Access-Control-Allow-Origin' '*' always;
            add_header 'Access-Control-Expose-Headers' 'Content-Length';

            if ($request_method = 'OPTIONS') {
                add_header 'Access-Control-Allow-Origin' '*';
                add_header 'Access-Control-Max-Age' 2592000;
                add_header 'Content-Type' 'text/plain charset=UTF-8';
                add_header 'Content-Length' 0;
                return 204;
            }

            types {
                application/dash+xml mpd;
                application/vnd.apple.mpegurl m3u8;
                video/mp2t ts;
            }

            root /Services/Webcam/;
        }
    }
}
To summerize the complete /usr/local/nginx/conf/nginx.conf file:
events {
    worker_connections 1024;
}

worker_processes auto;

rtmp {
    server {
        listen 1935;
        chunk_size 4000;

        application webcam {
            live on;
            hls on;
            hls_path /Services/Webcam/HLSStream;
            hls_fragment 3;
            hls_playlist_length 60;
            deny play all;
        }
    }
}

http {
    sendfile off;
    tcp_nopush on;
    directio 512;
    default_type application/octet-stream;

    server {
        listen 80;

        location /HLSStream {
            add_header 'Cache-Control' 'no-cache';
            add_header 'Access-Control-Allow-Origin' '*' always;
            add_header 'Access-Control-Expose-Headers' 'Content-Length';

            if ($request_method = 'OPTIONS') {
                add_header 'Access-Control-Allow-Origin' '*';
                add_header 'Access-Control-Max-Age' 2592000;
                add_header 'Content-Type' 'text/plain charset=UTF-8';
                add_header 'Content-Length' 0;
                return 204;
            }

            types {
                application/dash+xml mpd;
                application/vnd.apple.mpegurl m3u8;
                video/mp2t ts;
            }

            root /Services/Webcam/;
        }
    }
}
Issue a service restart to reload the changed configuration file.
sudo service nginx restartStep 5 – Installing ffmpeg with OpenMAX H.264 GPU acceleration module
Right now, just one of the two pillars (namely nginx and ffmpeg) are ready to support the roof (the webcam streams). It’s easy now to get in a rush and simply install ffmpeg/libav from the package sources and call it a day. Perhaps that might be appropiate for a full size tower computer with capable enough hardware to encode H.264 on the fly, but we are talking about a Raspberry Pi here.
Since software encoding (i.e. the common used libx264 codec) and its high demand of CPU Power is not a proper option for the RPi, it is almost a obligation to use the RPis GPU to hardware accelerate the H.264 encoding process. And that’s where OpenMAX IL API comes into play.
Without getting too much into detail, the OpenMAX driver is a standard API stitting above the RPis VCHIQ kernel driver, which communicates with the VideoCore IV GPU. By using OpenMAX or rather the OpenMAX specific h264_omx codec in ffmpeg, the encoding runs on the GPU, thus drastically reducing the load on the CPU.
To get started, change to the already known source folder:
cd /usr/local/srcAnd clone ffmpeg with git:
sudo git clone --depth 1 --branch release/4.3 https://github.com/FFmpeg/FFmpeg.git
cd FFmpeg
Regarding, that the OpenMAX driver was previously downloaded in Step 1, all of the required packages are now ready to compile ffmpeg with OpenMAX support.
sudo ./configure --arch=armel --target-os=linux --enable-gpl --enable-omx --enable-omx-rpi --enable-nonfree
sudo make -j4
sudo make install- The
--enable-omx --enable-omx-rpiarguments are including the OpenMAX driver from thelibomxil-bellagio-devpackage - You can/must replace the
-j4argument ofmakewith the numbers of cores your CPU has, in order to accelerate the compiling process - Since ffmpeg is a quite large application, compiling may take a bit of time
(RPi 3 Plus: ~25 minutes)
Considering that ffmpeg can also be called outside of this webcam streaming application, it has to be globally callable, therefore creating a Symlink in /usr/bin fulfills this Requirement.
sudo ln -s /usr/local/src/FFmpeg/ffmpeg /usr/bin/ffmpegYou can now change to any directory you want and call ffmpeg to test the Symlink.
cd /
sudo ffmpeg -version
Step 6 – Setting up the streaming working directory
To revisit the metaphor again: Both pillars nginx and ffmpeg are now standing and ready to support the roof (the webcam streams). As the nginx config points to a working directory and ffmpeg is fit for encoding, it is about time to create the working directory.
sudo mkdir -p /Services/Webcam/HLSStreamTo further centralize the webcam streaming application, Symlinks of both the nginx.conf and the RootIndex are created into the Webcam folder. Further on, the aforementioned write permissions (Step 4) at the hls_path are being set.
cd /Services/Webcam
sudo ln -s /usr/local/nginx/conf/nginx.conf nginx.conf
sudo ln -s /usr/local/nginx/html Website
sudo chown -R nobody:staff HLSStream/
Now that nearly all software demands are met, the system is ready to get the two USB-Webcams plugged in. You can check if the webcams got detected by issuing the command:
ls /dev/video*In this two webcam setup the command returned /dev/video0 /dev/video1, effectively detecting both webcams. Now that both cameras are ready, the ffmpeg start scripts, which will trigger the webcams to stream, can now be set up.
sudo nano webcam0.shThe content of this webcam0.sh should be as follows:
#!/bin/bash
ffmpeg -threads auto -f video4linux2 -i /dev/video0 -s 720x480 -r 25 -vcodec h264_omx -vb 9000k -bufsize 9000k -vf "format=yuv420p" -g 50 -an -f flv rtmp://127.0.0.1:1935/webcam/webcam0
-threads | Used CPU cores |
-f | Input format |
-i | Input source |
-s | Video resolution |
-r | Desired framerate |
-vcodec | Video codec |
-vb | Video bitrate |
-bufsize | Buffer size (Important for streaming) |
-vf | Pixel format |
-g | GOP (Group of Pictures, Important for streaming) |
-an | Use no Audio |
-f | Output format |
To utilize the second webcam, simply copy the script and change the name. Further change the affected parameters (Input source and Output stream):
sudo cp -r webcam0.sh webcam1.sh
sudo nano webcam1.sh
#!/bin/bash
ffmpeg -threads auto -f video4linux2 -i /dev/video1 -s 720x480 -r 25 -vcodec h264_omx -vb 9000k -bufsize 9000k -vf "format=yuv420p" -g 50 -an -f flv rtmp://127.0.0.1:1935/webcam/webcam1You can now start both scripts in two consoles and get ffmpeg to encode the raw sensor data from the webcams into two H.264 RTMP streams by utilizing the RPis GPU and get it passed over to the nginx server. From there, nginx is processing the RTMPs into two HLS Streams, which are now accessible with a compatible video player (i.e. VLC Media Player).
cd /Services/Webcam/
sudo bash webcam0.sh
cd /Services/Webcam/
sudo bash webcam1.shThe first stream can be accessed by connecting to:http://
The second stream can be accessed by connecting to:http://
Step 7 – Establish the online HLS Player
Since constantly starting up two consoles plus a external media player to get the application to run is quite tedious, a implementaion of a online HLS Player is the step to go.
Simply remove the existing content of nginx’s RootIndex and substitute it with a online HLS player, mentioned here as index.html.
cd /Services/Webcam/Website/
sudo rm -rf *
sudo nano index.html
Webcam Streaming
- Please remember to replace
The online player can be accessed by typing in the IP-Address of the Raspberry Pi into your Browser: http://.
Step 8 – Auto startup
With a online player in place, there is just one step left to complete the streaming: Creating a auto startup for both webcam scripts. To set this up, issue the sudo crontab -e command and select a editor of your choice.
Place these records in:
@reboot sleep 25 && bash /Services/Webcam/webcam0.sh
@reboot sleep 25 && bash /Services/Webcam/webcam1.sh
By waiting 25 seconds, there should be enough buffer for the network to go online and be ready. Save the file and restart your system.
sudo shutdown -r nowAnd there you have it. The webcams are starting automatically with the system and just after a few seconds the stream is online and accessible over your browser.


3 comments
Alright, it worked on the first try. Thanks for everything.
Hi Shobhit,
OpenMAX is installed through the
libomxil-bellagio-devPackage in Step 1 indeed. Subsequently, theh264_omxCodec is accessible in ffmpeg via the-vcodec h264_omxflag. Make sure to compile ffmpeg with theh264_omxCodec embedded into it. For guidance please consult Step 5.Hi,
As you mentioned, “Regarding, that the OpenMAX driver was previously downloaded in Step 1”, but in this article, we haven’t installed OpenMAX. Please guide me through, how to install and setup OpenMAX or any other hardware encoder for ffmpeg. I am using Amazon EC2 Ubuntu Server 18.04.
Thanks